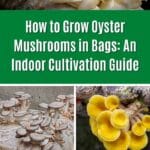
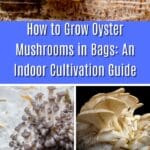
Oyster mushrooms are among the most rapidly growing edible mushrooms you can cultivate at home. It’s pretty simple and straightforward to grow oyster mushrooms in bags. And, you can harvest your first batch just 2 to 3 weeks after you start the growing process. Not only are they quick to grow, oyster mushrooms are also delicious!
Growing oyster mushrooms in bags is an affordable way to get these mushrooms. Some regular grocery stores are starting to sell these mushrooms, but they can be expensive and not the best quality after sitting on the shelves for days. When you grow oyster mushrooms at home, you get super fresh, delicious mushrooms in a very short time. Plus, it is a very fun cultivating experience!
Oyster mushrooms can be grown on logs, in buckets, and even on toilet paper (!), but in this guide, we’re going to focus on growing them in bags. There are several different avenues you can take to grow oyster mushrooms in bags, so you’ll have some decisions to make along the way about how to set it up.
If you’re looking for the absolute simplest option to grow oyster mushrooms, check out our guide to Grow Kits.

Jump to:
- Benefits Of Growing Oyster Mushrooms in Bags
- Oyster Mushroom Growth Basics
- How To Grow Oyster Mushrooms In Bags 101
- How To Grow Oyster Mushrooms In Bags With Prepared Spawn
- Choosing A Substrate To Grow Oyster Mushrooms In Bags
- Preparing Your Growing Space
- Step-by-Step Oyster Mushroom Growing Process
- Monitoring The Growth Stages
- Harvesting Your Oyster Mushrooms
- Oyster Mushroom Farming
- Common Questions About How To Grow Oyster Mushrooms In Bags
Benefits Of Growing Oyster Mushrooms in Bags
- Space-efficient cultivation
Oyster mushrooms grown in bags save space and are perfect for indoor growing. This method allows you to stack the bags vertically, increasing the harvest area in small places like apartments or basements. The bags are simple to fill with the substrate, and you can easily manage and move them during the growing period. - Year-round production
Indoor cultivation provides a controlled environment to grow oyster mushrooms, letting you grow mushrooms throughout the year. - Cost-effective
After the initial setup, growing oyster mushrooms at home can be more economical than purchasing them regularly from stores. And using bags is a pretty inexpensive way to get started. - Low maintenance
Oyster mushrooms are relatively easy to grow and require minimal care. Once the bags are inoculated with mushroom spawn, they need only occasional misting and proper temperature control to thrive. Plus, the transparent plastic bags allow you to easily observe your substrate. You can keep a close eye on its growth and check for any signs of contamination. - Quick harvest cycle
Compared to many other mushroom varieties, oyster mushrooms have a rapid growth cycle. From inoculation to harvest, it typically takes only 3-4 weeks to grow oyster mushrooms. - Bags withstand high heat
Mushroom cultivation bags are crafted from high-grade polypropylene plastic capable of withstanding the high temperatures within an autoclave or steamer. This feature allows you to fill the bag with your mushroom substrate and subsequently heat-sterilize it while already loaded in the bag. - Educational experience
Learning to grow oyster mushrooms indoors provides an excellent opportunity to learn about fungi, biology, and sustainable food production!

Oyster Mushroom Growth Basics
To understand how to grow oyster mushrooms, first, you need a basic understanding of their lifecycle. The oyster mushroom growth cycle begins with spores, which germinate into thread-like hyphae. These hyphae intertwine to form a network called mycelium, which spreads through the substrate, typically wood.
When environmental conditions are favorable, the mycelium develops small bumps called primordia, which grow into the familiar fan-shaped fruiting bodies. These mature mushrooms then release spores, completing the cycle. The entire process, from spore to mature mushroom, can take anywhere from a few weeks to a few months, depending on the species and growing conditions.
Words To Know:
Spores
Spores are the reproductive units of mushrooms, similar to seeds in plants. In mushroom cultivation, spores are collected and used to start new mushroom growths, either by inoculating a substrate or creating spore syringes for future use.
Mycelium
Mycelium is the vegetative part of a fungus and is made up of a network of fine white filaments (hyphae) that grow through soil or other substrates. In mushroom cultivation, mycelium is the foundation from which mushrooms grow and is often referred to as the “roots” of the fungus.
Substrate
In mushroom growing, substrate refers to the material on which mycelium or mushrooms are cultivated and what they grow on. It serves as both a source of nutrients and a physical medium for the mushroom mycelium to grow and develop into fruiting bodies.
Spawn
In mushroom growing, “spawn” refers to a substrate (such as grain or sawdust) that has been inoculated with mushroom mycelium. Simply put, spawn is a substrate that has mycelium added to it. It serves as the starting material for mushroom cultivation, acting as a vehicle to transfer the fungal culture to a larger growing medium.
The step-by-step process of mushroom cultivation
Mushroom spores are collected (from the wild or traded or sold) and grown into mycelium
- Substrate is prepared (sterilized) for inoculation (this is usually grain)
- The substrate is inoculated with mycelium to create spawn
- Mycelium grows and spreads through the substrate in concentrated amounts – this is now spawn
- A different type of substrate is prepared (sterilized) for inoculation
- Spawn is distributed to prepared second substrate (this is usually sawdust or straw grow bags)
- Mushrooms grow from bags or another setup.
You (most likely) will be jumping into this at step 4. All the previous steps were taken by the person or company from which you purchased the spawn. The reason for the two inoculations is that first, a concentrated version is made, and then it is separated out into grow bags for cultivation.
Think of it like growing a tray of lettuce seedlings all at once. You plant many seeds at the same time and wait a week or so for them to sprout. Then, when they get big enough, you separate them out so each seedling has room to grow. In mushroom growing, the spores are like the seeds, and the first substrate is the dirt. Once the spores create mycelium and start growing and expanding, they are separated out into separate bags or blocks so the mycelium has room to grow into fruiting mushroom bodies.
You can also begin to grow oyster mushrooms starting at step 1 and prepare your own spawn. This takes a little bit more skill and resources. It can be less expensive in the long run, though, as you don’t have to purchase the spawn. It also might give you the ability to grow a wider range of varieties and species since you won’t be as reliant on suppliers for the prepared spawn.
How To Grow Oyster Mushrooms In Bags 101
Oyster mushroom cultivation in bags has many practical benefits. They’re easy to use and don’t require any special skills or science degrees. Setting the bags up is relatively simple, and you can see the results of your efforts in real-time.
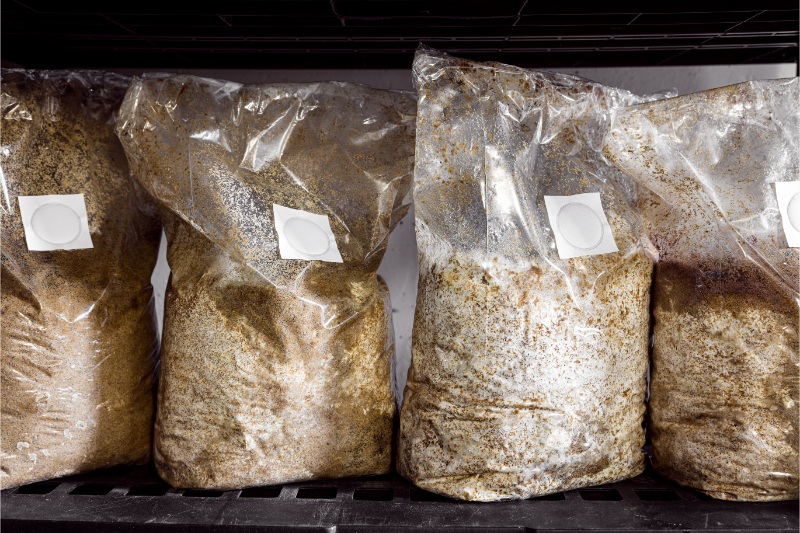
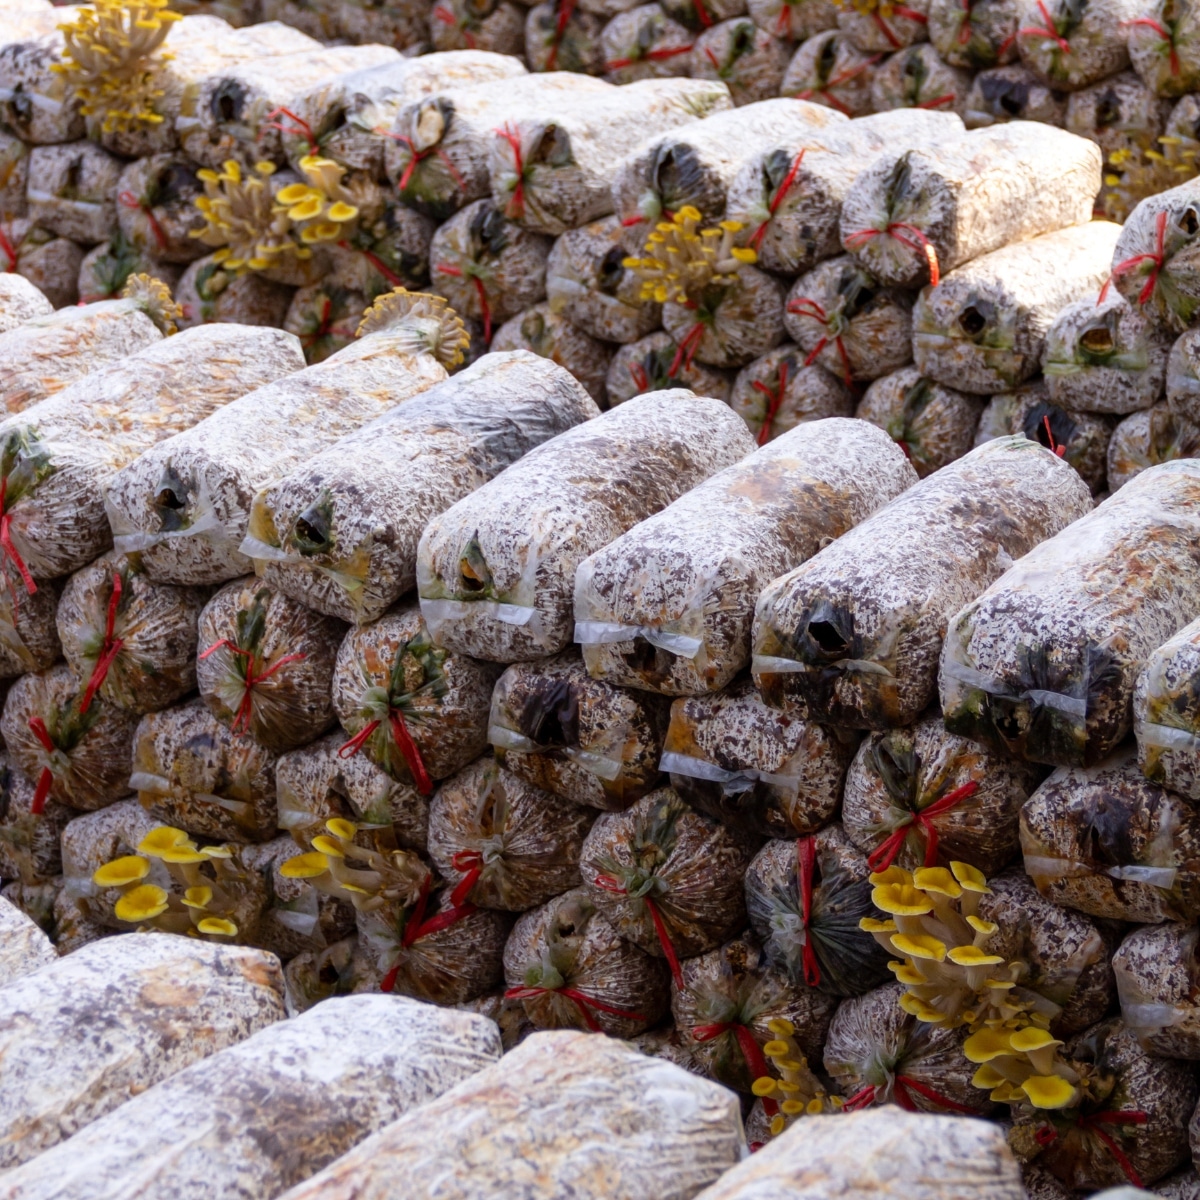
Mushroom grow bags are ideal for growing mushrooms. They create a perfect environment for mycelium to develop and for mushrooms to fruit. The process starts with making the grow bag. These bags are made from strong, heat-resistant plastic and are filled with a rich substrate. This substrate is a mixture of organic materials like sawdust, wood chips, or agricultural by-products, specially chosen to give mushrooms the nutrients they need to grow.
After choosing and mixing the substrate, it needs to be sterilized. This step is important because it removes any bacteria or organisms that might harm mushroom growth. Once sterilized, the bags are filled with mushroom spores or mycelium.
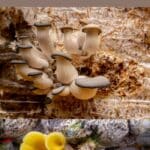
The next phase is colonization. During this period, the mycelium – the vegetative part of the fungus – begins to spread throughout the substrate. The grow bags are kept in a dark, temperature-controlled environment to facilitate optimal mycelial growth. The bags should have a filter patch that allows for gas exchange, providing the necessary oxygen for mycelium development while keeping contaminants out.
Once the substrate is fully colonized by mycelium, which can take several weeks, the bags enter the fruiting stage. This is initiated by changing environmental conditions – often involving exposure to light, increased fresh air exchange, and sometimes a drop in temperature. These changes signal the mycelium to start producing mushroom fruiting bodies.
As the mushrooms begin to form, they emerge through pre-cut holes or areas where the bag has been opened. This allows the mushrooms to grow while still benefiting from the controlled environment within the bag. The bag continues to provide moisture and nutrients to the growing mushrooms until they are ready for harvest.
How To Grow Oyster Mushrooms In Bags With Prepared Spawn
This section covers all you need to know to grow oyster mushrooms from pre-prepared spawn. For most people, this means using the oyster mushroom spawn purchased from a reputable supplier. You need several things to grow oyster mushrooms successfully.
Tools and equipment:
- Sterilization supplies (70% isopropyl alcohol, spray bottles, latex gloves)
- Temperature monitoring equipment (digital probe thermometer)
- Humidity control (spray bottle or humidifier + hygrometer)
- Air exchange system (air circulation, fans)
- LED lighting (6500 – 9000K range)
Your equipment helps you keep the growing conditions just right. A good thermometer tracks temperature changes, and a hygrometer watches humidity levels. These tools make sure your oyster mushrooms get the exact environment they need to grow well.
Your substrate prep area needs good airflow and a clean workspace. A small, clean room or still air box works well for handling spawn and substrate. This controlled space cuts down contamination risks during cultivation.
For the actual mushroom growing, you’ll need:
- Grow bags with filter patches (for air flow and to keep contaminants out)
- Mushroom spawn (colonized grain spawn, not sawdust spawn)
- Substrate
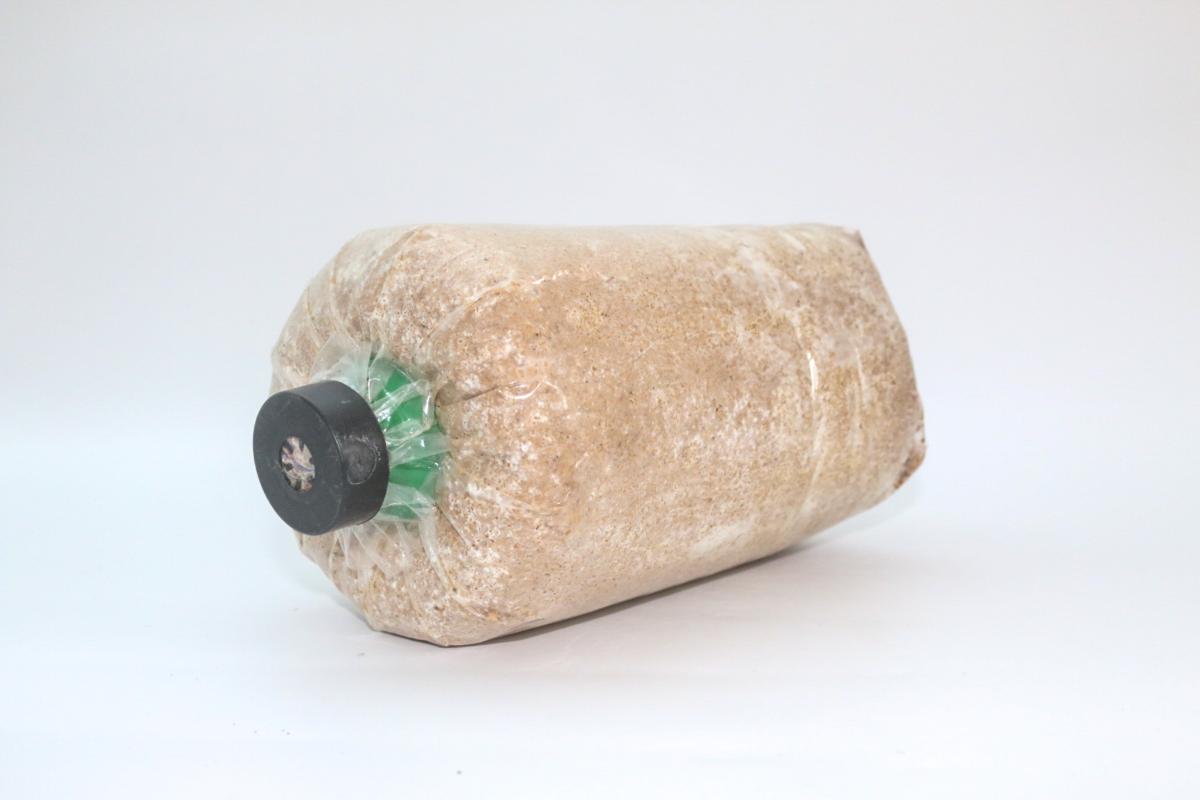
Grow bags serve as your mushroom’s home and come in different specs. The thickness ranges from 2.2mm to 4.0mm. Thicker bags last longer but cost more. Filter patches on these bags have pore sizes between 0.2mm and 5mm. They let air flow while keeping contaminants out.
These specialized bags cost between USD 0.70 to USD 1.00 each. The clear plastic design lets you monitor mycelium growth and detect contamination problems early.
The mushroom spawn is the starter material for growing oyster mushrooms. Do some research and only buy from trustworthy vendors. We suggest North Spore, Mushroom Mountain, and Field and Forest.
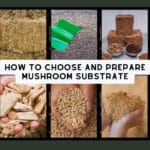
Choosing A Substrate To Grow Oyster Mushrooms In Bags
The substrate is the material you use to “plant” the mushroom mycelium so it can grow into fruiting bodies. The substrate must be rich in nutrients and provide the mycelium with what it needs to form physical mushrooms. Oyster mushrooms grow on a wide range of substrates, which is another reason it’s such a great mushroom to grow. Other species, like shiitake and lion’s mane, are more picky about their substrates.
Top Oyster Mushroom Growing Substrates For Bag Growing:
The most popular and effective substrates are hardwood sawdust, straw (particularly wheat straw), soy husks, and wood chips. Hardwood sawdust from oak or beech is a great nutrient base for growing oyster mushrooms. Straw is also a popular choice because it is easy to find, inexpensive, and often produces high yields. Both of these materials provide the right mix of nutrients and help retain moisture.
Each substrate has its pros and cons, and many growers mix different types to find the best combination for their specific growing conditions and types of oyster mushrooms. The choice often depends on what is available locally, the cost, how easy it is to prepare, and the grower’s level of experience.
For more information about choosing a substrate, popular substrate mix recipes, and how to sterilize substrate, check out our Complete Guide To Choosing and Preparing Mushroom Substrate and DIY Mushroom Substrate Recipes.
Preparing Your Growing Space
Your oyster mushrooms need the right environment to thrive. The location you pick should have stable conditions. Basements make an ideal growing space because they naturally stay cool and have controlled light exposure. A closet or bathroom could also work well to grow oyster mushrooms since these spaces usually have higher humidity and controlled environments.
Oyster mushrooms light needs vary as the mycelium spreads. To grow oyster mushrooms properly, they need darkness in the beginning, and then light when they’re ready to fruit. They thrive with moderate light intensity of 500 to 1000 lux for 12 hours each day. You should place LED lights about 20 inches above the growing area. Direct exposure could dry out your mushrooms, so avoid it.
The right temperature is vital to grow oyster mushrooms successfully. Your growing space should stay within these ranges:
- 46-54°F (8-12°C) for winter strains
- 57-63°F (14-17°C) for universal strains
- 61-77°F (16-25°C) for summer strains
Your growing space needs new air every 10 minutes to prevent CO2 buildup. Good airflow helps prevent long stems and small caps that show up when oxygen levels are too low.
The fruiting phase needs humidity levels between 85-90%. A humidifier with an automatic controller can help regulate moisture levels effectively. We focused on keeping ambient humidity through indirect misting or humidification instead of spraying water directly on mushrooms, which can cause bacterial growth.
Temperature and humidity work together cooperatively – each 1°C rise in temperature above 10°C needs a 1% increase in humidity. A reliable thermometer and hygrometer will help you track these conditions regularly. This careful balance creates the perfect environment for your oyster mushrooms to flourish.
Step-by-Step Oyster Mushroom Growing Process
- Prepare the growing bags
Your substrate needs the right moisture content to start. A good way to test is by squeezing it firmly – it should release just a few drops. You’ll need to add your chosen substrate to a large pot of water at 150-160°F (you can combine this with the sterilization process by first sterilizing the substrate, then letting it come down in temperature) and manage to keep this temperature steady for at least an hour. Let it cool down, drain it really well, and squeeze out extra water until it feels damp but not soaking wet. - Add mushroom spawn
Move the sterilized substrate and spawn to a clean working area where they won’t get contaminated. The spawn needs to mix with your prepared substrate at a 10% ratio. This means you’ll use about 2 pounds of spawn for every 20 pounds of wet substrate. Mix them together completely and break up any clumps to create multiple inoculation points. - Pack the growing bags
Pack the mixed spawn and substrate mixture tightly into the growing bags while you press out extra air during filling. Seal the bags. - Maintain proper conditions
Your sealed bags need a space with temperatures between 68-75°F (20-24°C). The mycelium needs darkness as it colonizes. Make sure the filter patch allows proper gas exchange but keeps contamination out during this time. - Mycelium growth
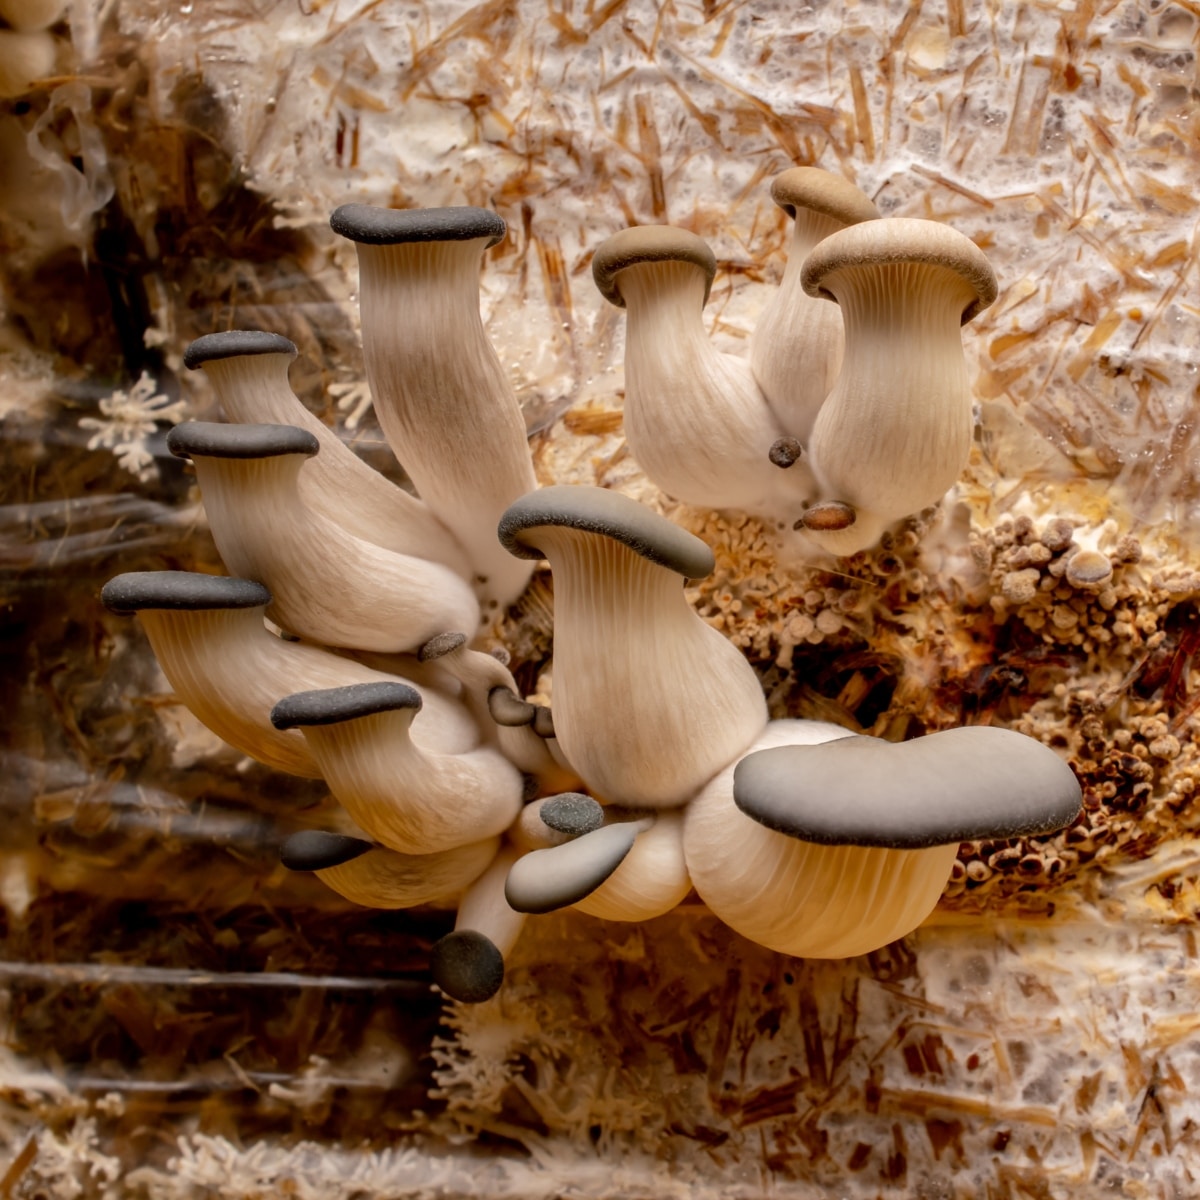
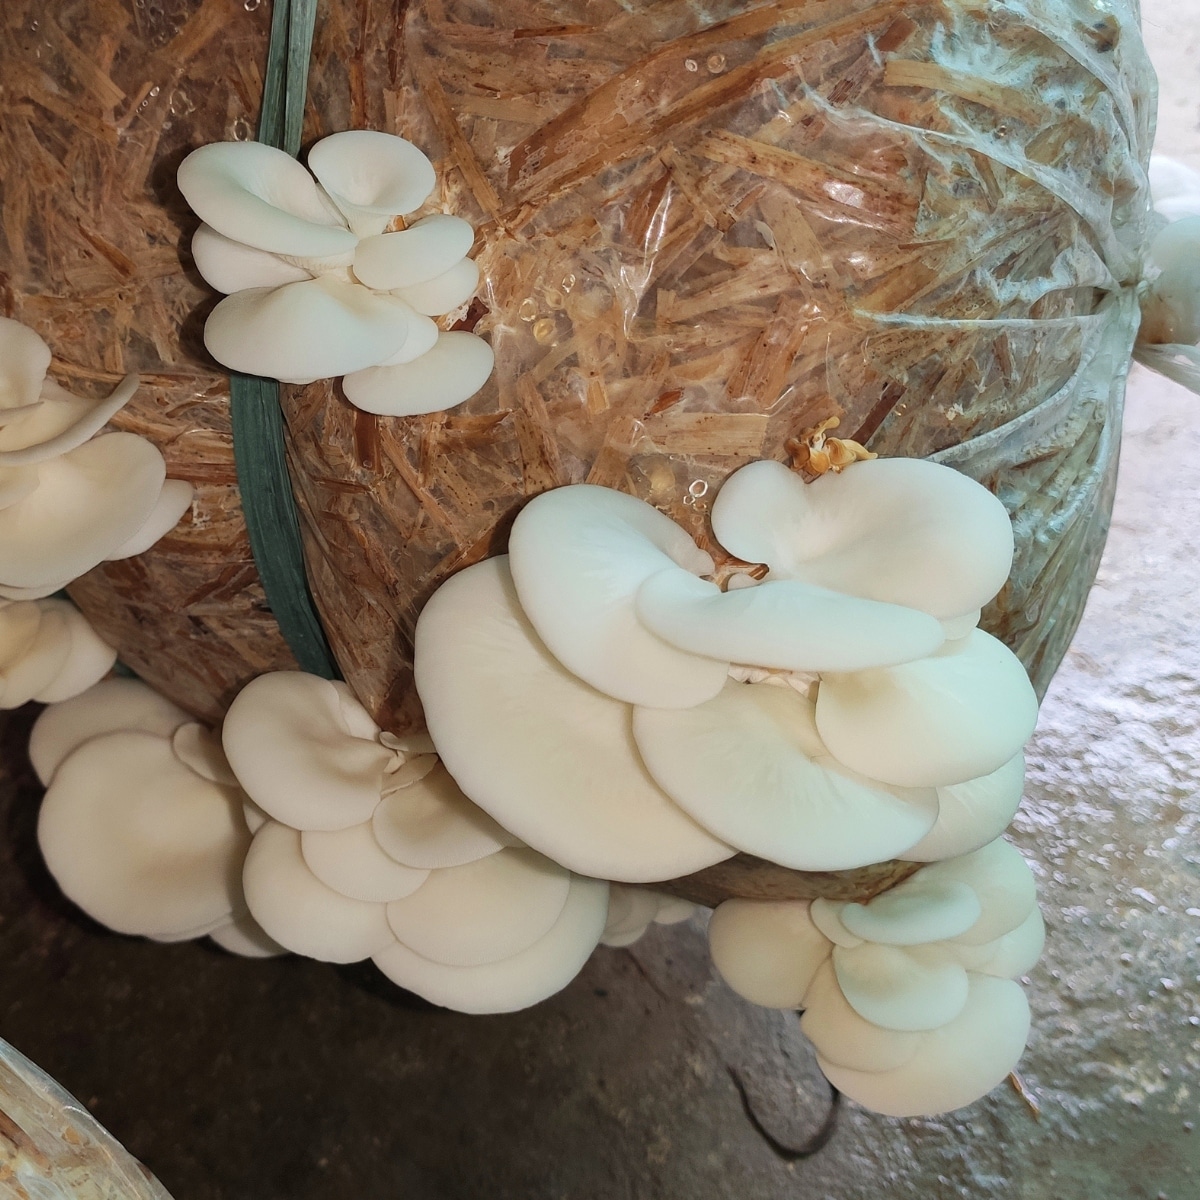
The colonization usually takes 2-3 weeks. White spots start forming in the substrate after a few days and spread through the bag. A completely white substrate means it’s ready for fruiting. - Cut the bags
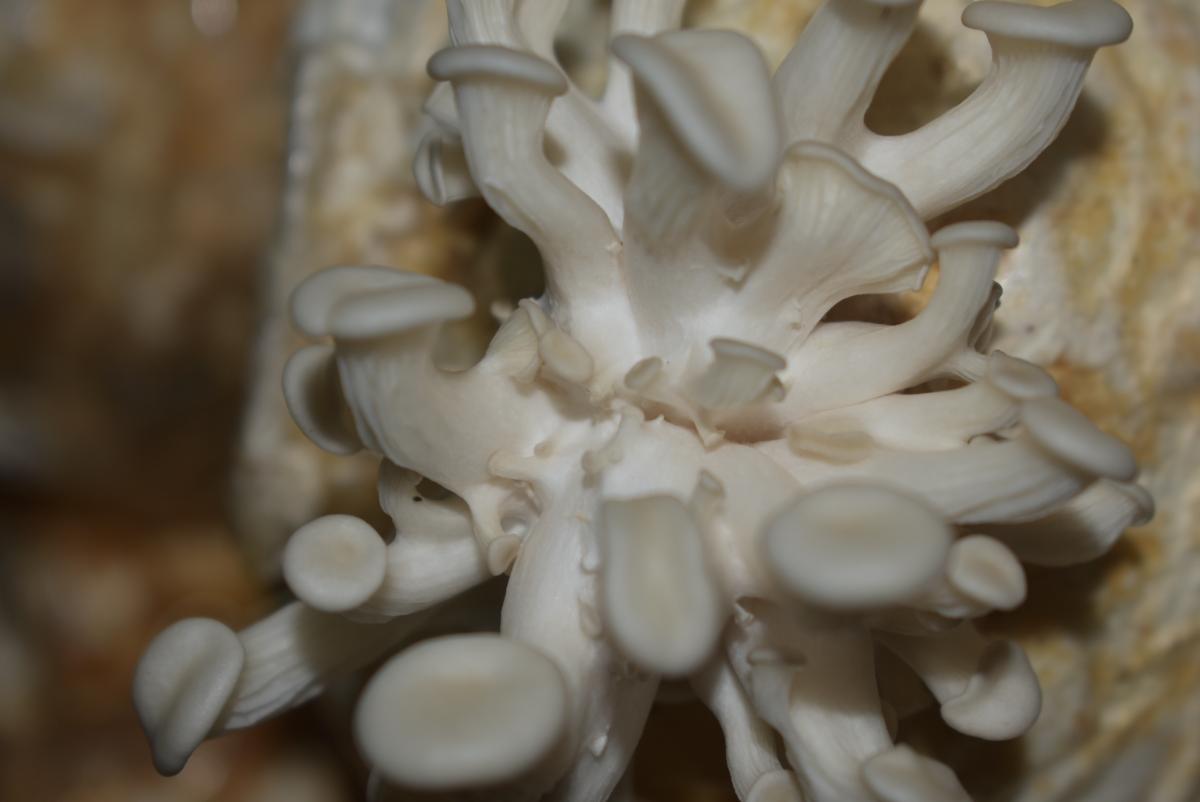
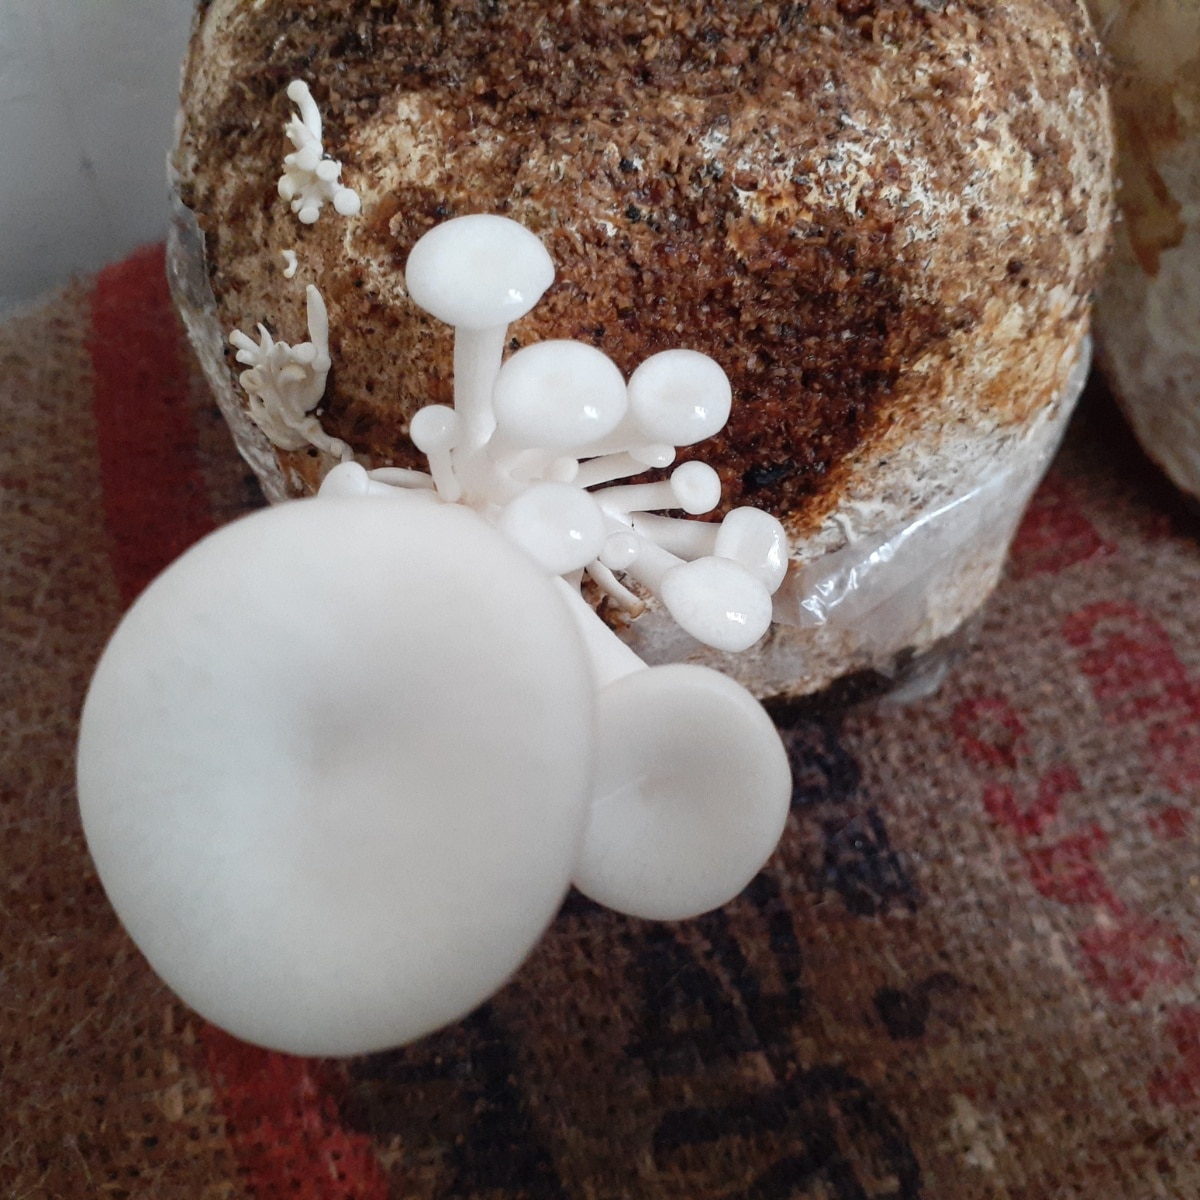
Cut small openings in the bag – either a 2-inch hole or X-shaped cuts work well. This is to encourage the mycelium to form fruiting bodies. The mushrooms will grow through these slits in the bag. - Mushroom growth
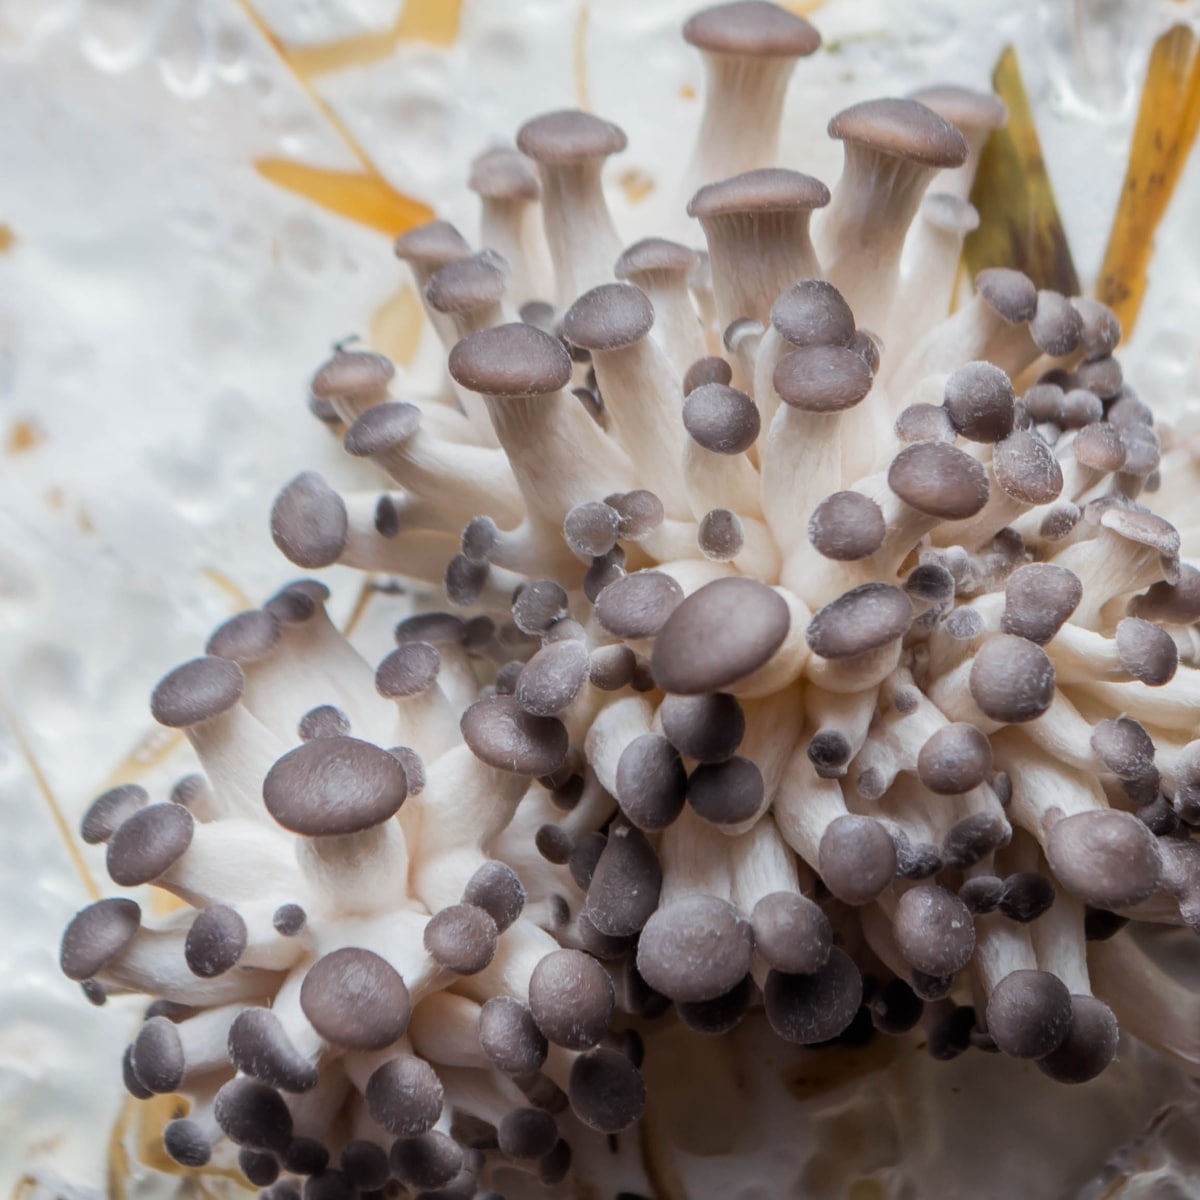
Mushroom pins should emerge 2-5 days after making the openings. The pins (baby mushrooms) grow fast and double in size each day. They’ll reach full size within 7-10 days. HARVEST! - Try for a second harvest
If you take good care of your bags, they can give you multiple harvests, called flushes, over several weeks. The mycelium will need a rest of a week or so. Clean off any bits of mushroom from the previous flush. You don’t need to cut new holes, the mushrooms will grow through the same ones. Keep the grow bag in the same location and continue misting it during this time. Give it a couple weeks to see if it will produce another set of mushrooms. It may not, but it’s worth trying!

Monitoring The Growth Stages
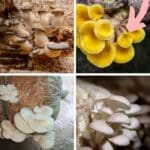
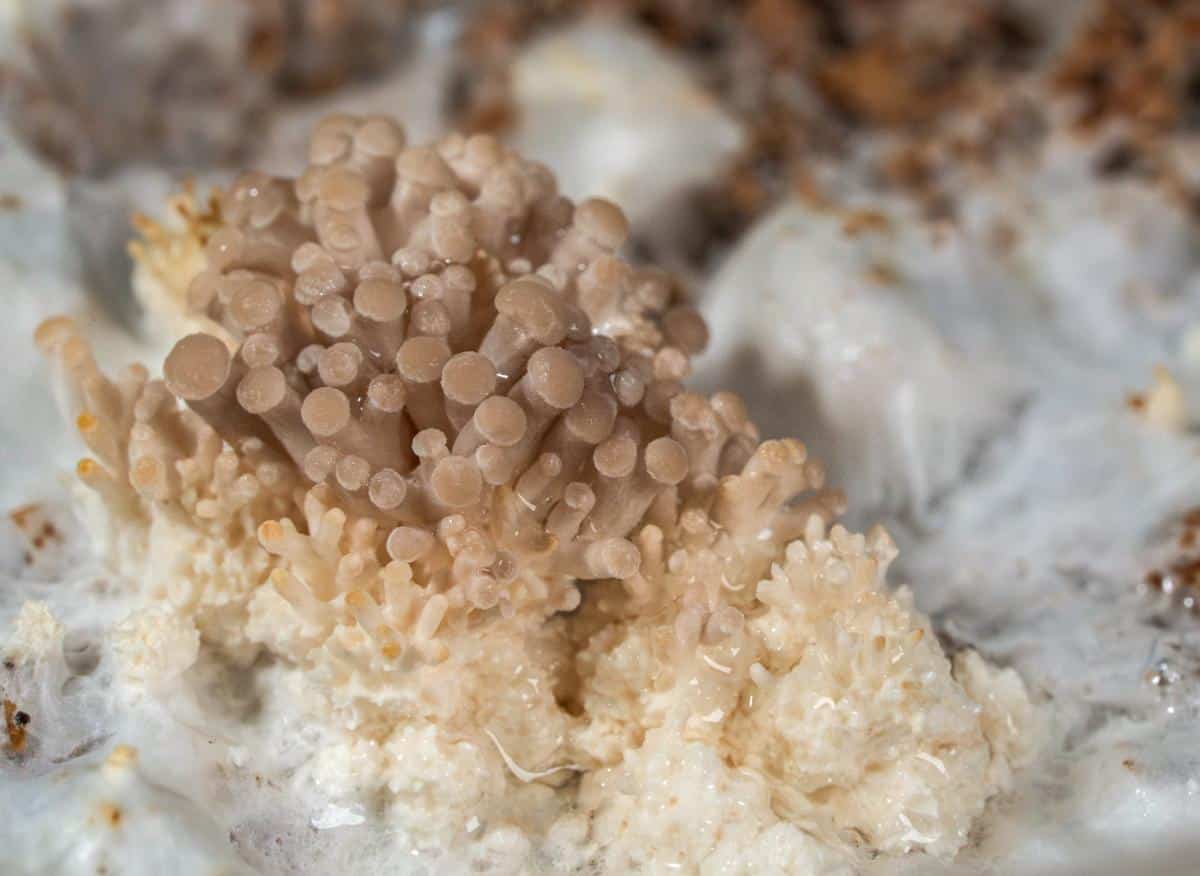
Healthy mycelium shows up as bright white, thread-like growth that spreads through the substrate. You’ll see the mycelium get thicker and whiter inside the bag. Some strains, like pink oyster mushrooms, might look wispy at first, but they develop a distinct pink color over time.
Pinning usually starts 1-4 weeks after you create fruiting conditions. Tiny mushroom formations that look like pinheads emerge from the substrate. Your humidity levels should stay between 90-95% at this stage to ensure proper development.

You can prevent crop failure by catching problems early. Look out for these contamination warning signs:
- Discoloration patches (green, blue, gray, or black) in the substrate
- Strong, unpleasant odors coming from growing containers
- Slimy patches that show bacterial growth
- Abnormal mushroom growth or stunted development
- Insects or mites
A cotton swab test is helpful to tell contamination from natural bruising. Just wipe the discolored area – contamination will transfer to the swab, but bruising won’t. Keep an eye on CO2 levels, too, because too much carbon dioxide leads to long stems with small caps.
Temperature changes can substantially affect growth patterns. Keep temperatures between 62-68 degrees Fahrenheit to get maximum yields. If you don’t see pinning after four weeks, your mycelium might be dormant and need temperature changes to trigger fruiting.
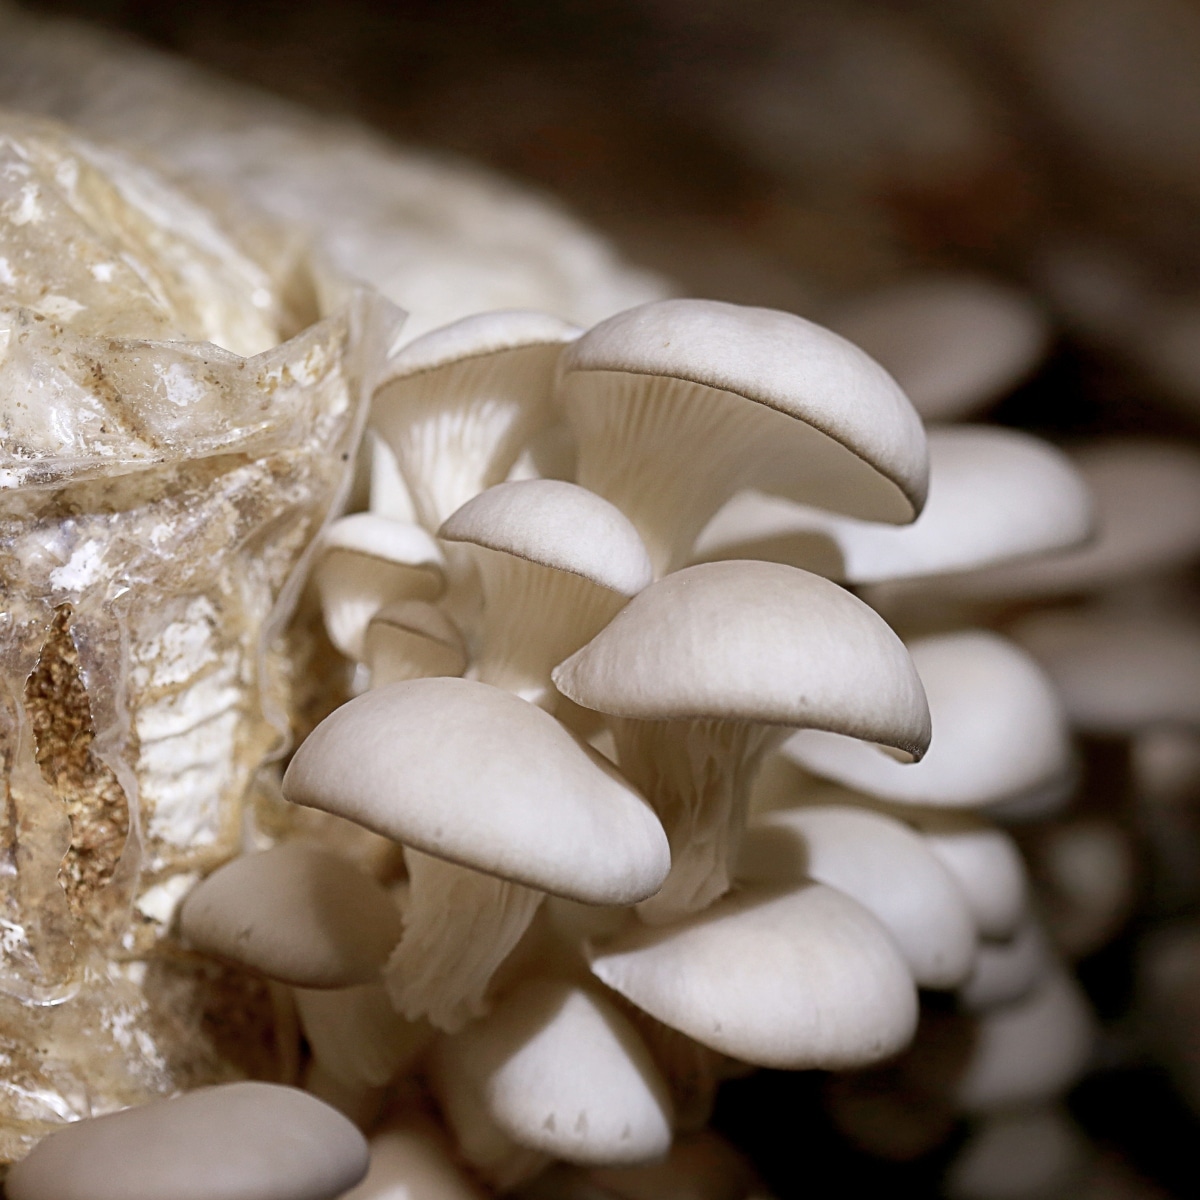
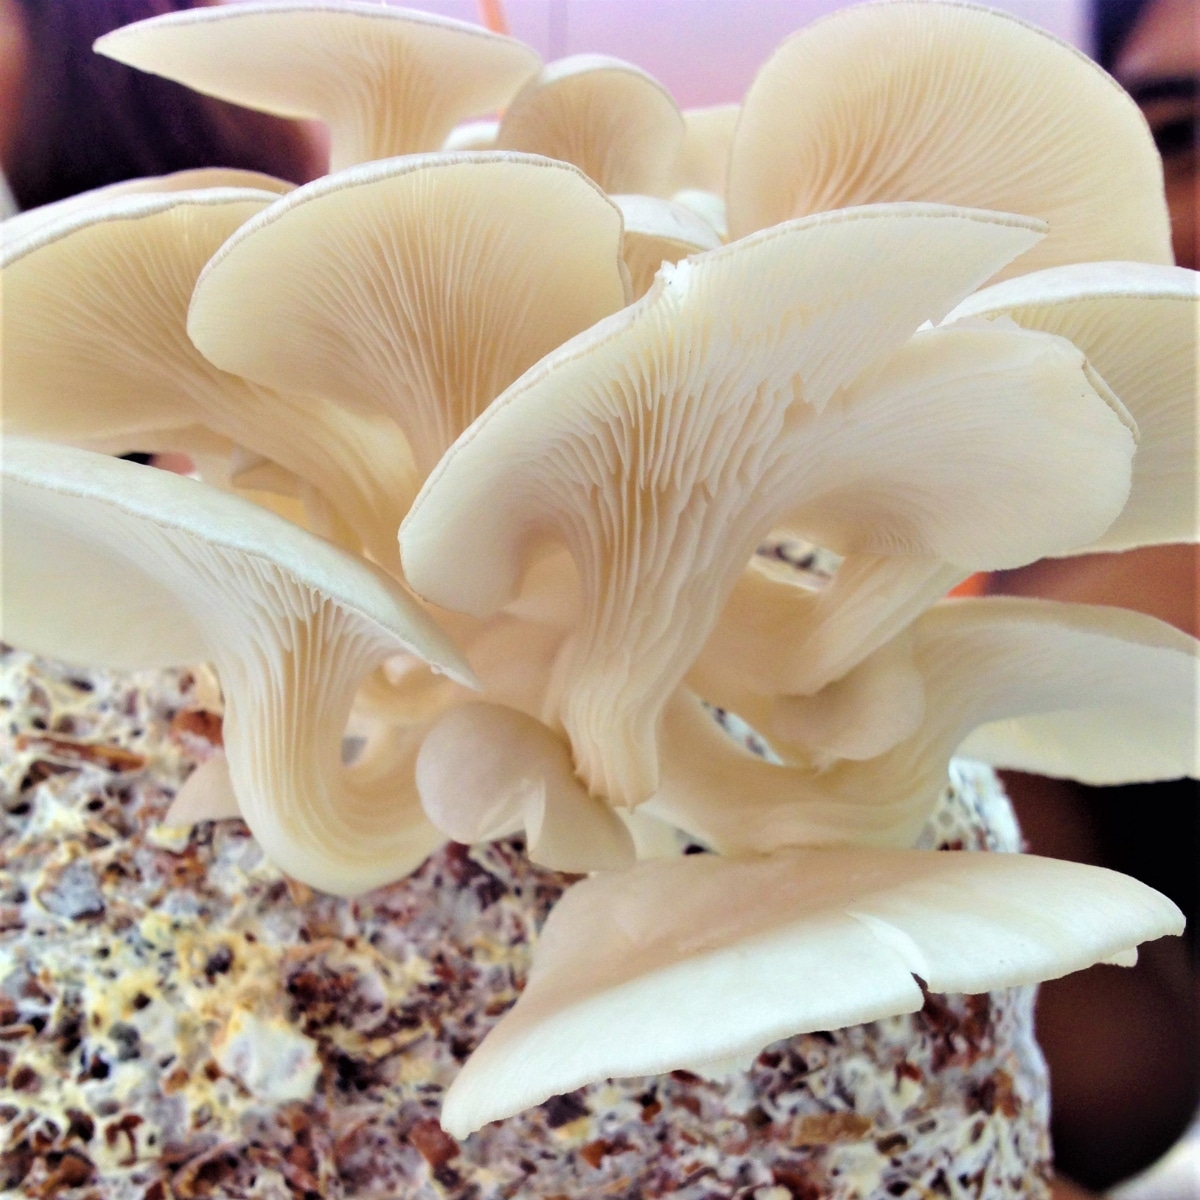
Harvesting Your Oyster Mushrooms
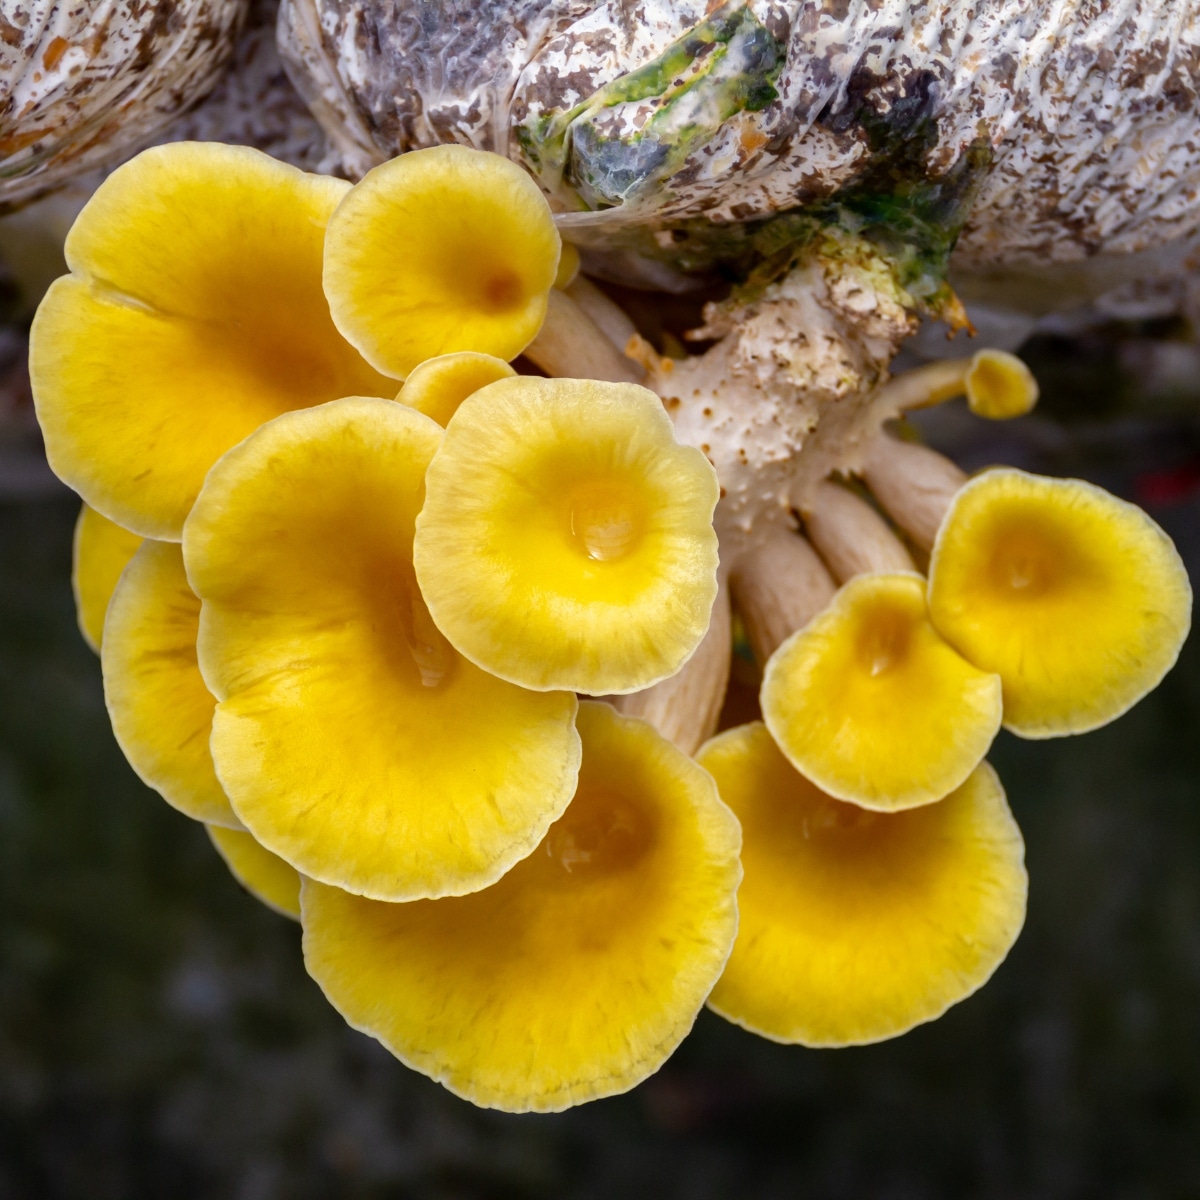
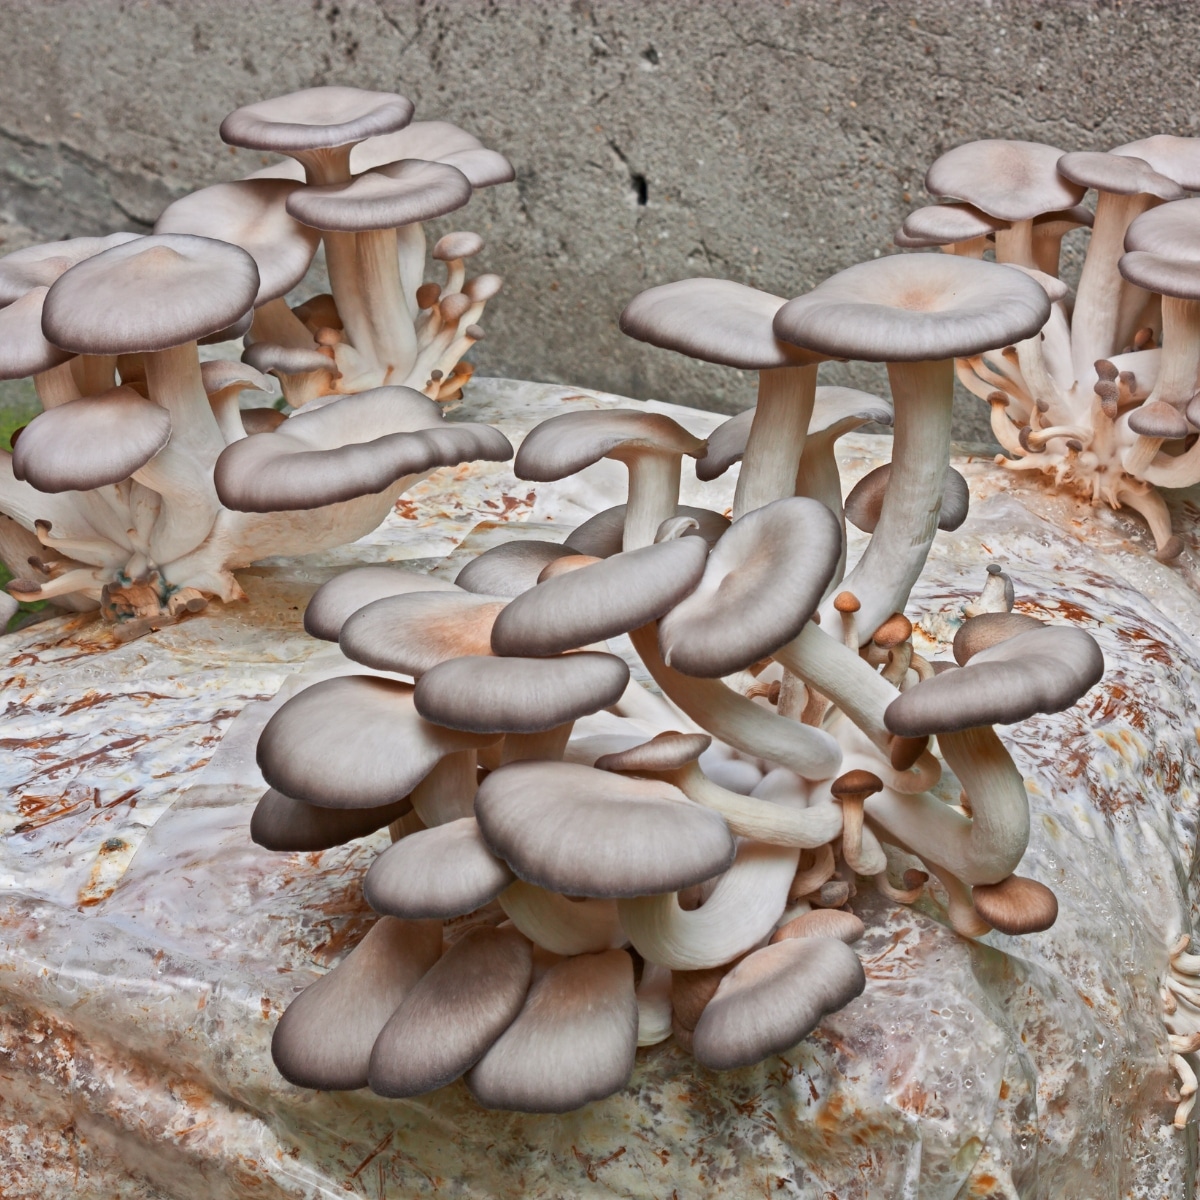
The shape of oyster mushroom caps tells you the best time to harvest them for perfect taste and texture. You can rely on the mushroom caps as they give the most accurate signs of harvest readiness.
You’ll know it’s time to harvest your mushrooms at the time the caps show a broadly rounded shape but haven’t started to flatten or curl upwards. The mushrooms should feel firm with slight moisture to the touch.
These signs tell you the mushrooms are ready to harvest:
- Caps with broadly rounded shape
- Uniform color without spots
- Firm texture when touched
- Edges slightly curled under, not flattened
Oyster mushrooms grow in clusters and don’t always mature together. The best strategy is to harvest the whole cluster once half of the mushrooms are fully mature. Your mushrooms might become slimy or dried out if you wait too long.
You can harvest oyster mushrooms using either of these methods. The first method needs you to gently twist and pull the mushroom cluster from the substrate. The second option is to use a clean, sharp knife or scissors to cut the mushrooms where the stem meets the base.
Pulling works better than cutting because cut stems left on the substrate can let mold and contamination grow. Remember to handle your mushrooms carefully to avoid any damage or bruising.
Fresh mushrooms need proper storage right after harvest. A paper bag or breathable container in your refrigerator works best. Plastic bags trap moisture and make mushrooms slimy, so do not use those.
Standard oyster mushrooms stay fresh for 5-7 days after harvest. Pink oyster varieties need faster use, preferably within 2 days, because they don’t last as long.
Oyster Mushroom Farming
If you’ve been curious or contemplating starting an oyster mushroom farm, here are some things to think about. It’s not impossible to grow oyster mushrooms as a career, but even doing it at a relatively small scale does take investment. Of course, you can start small and expand over time to ensure it’s something you really want to do and that there is a market in your area.
Small-scale oyster mushroom growing won’t break the bank. A simple home setup needs an original investment of between USD 10,000 to USD 20,000. This money covers essential equipment like substrate preparation tools, simple climate control systems, and growing supplies. Small operation owners can start with minimal supplies and expand their setup over time.
Climate control equipment and substrate preparation tools are the biggest expenses. A standard HVAC system for temperature control ranges from USD 20,000 to USD 50,000. However, home growers can use simpler temperature control methods and basic equipment to keep their original costs under control.
Common Questions About How To Grow Oyster Mushrooms In Bags
What are the ideal conditions for growing oyster mushrooms indoors?
Oyster mushrooms thrive in a controlled indoor environment. Maintain temperatures between 68-75°F (20-24°C), humidity levels of 85-90%, and provide indirect light for 12 hours daily. Ensure proper air circulation with fresh air exchange every 10 minutes to prevent CO2 buildup.
How much yield can I expect from a single oyster mushroom grow bag?
A typical oyster mushroom grow bag can produce approximately 2.2-3.3 pounds (1-1.5 kg) of fresh mushrooms per harvest. Multiple harvests, known as flushes, are possible from a single bag over several weeks with proper care and maintenance.
What’s the best location to place my oyster mushroom grow bags?
Place your oyster mushroom grow bags in a space with stable temperature, light, and humidity conditions, such as a kitchen counter or basement, away from direct sunlight. Ensure the area has good air circulation and maintains the required temperature and humidity levels.
When is the right time to harvest oyster mushrooms?
Harvest oyster mushrooms when their caps are broadly rounded but haven’t yet flattened or curled upwards. The mushrooms should feel firm and slightly moist to the touch. If growing in clusters, harvest the entire cluster when about half of the mushrooms reach full maturity, typically 7-10 days after pins appear.
Leave a Reply