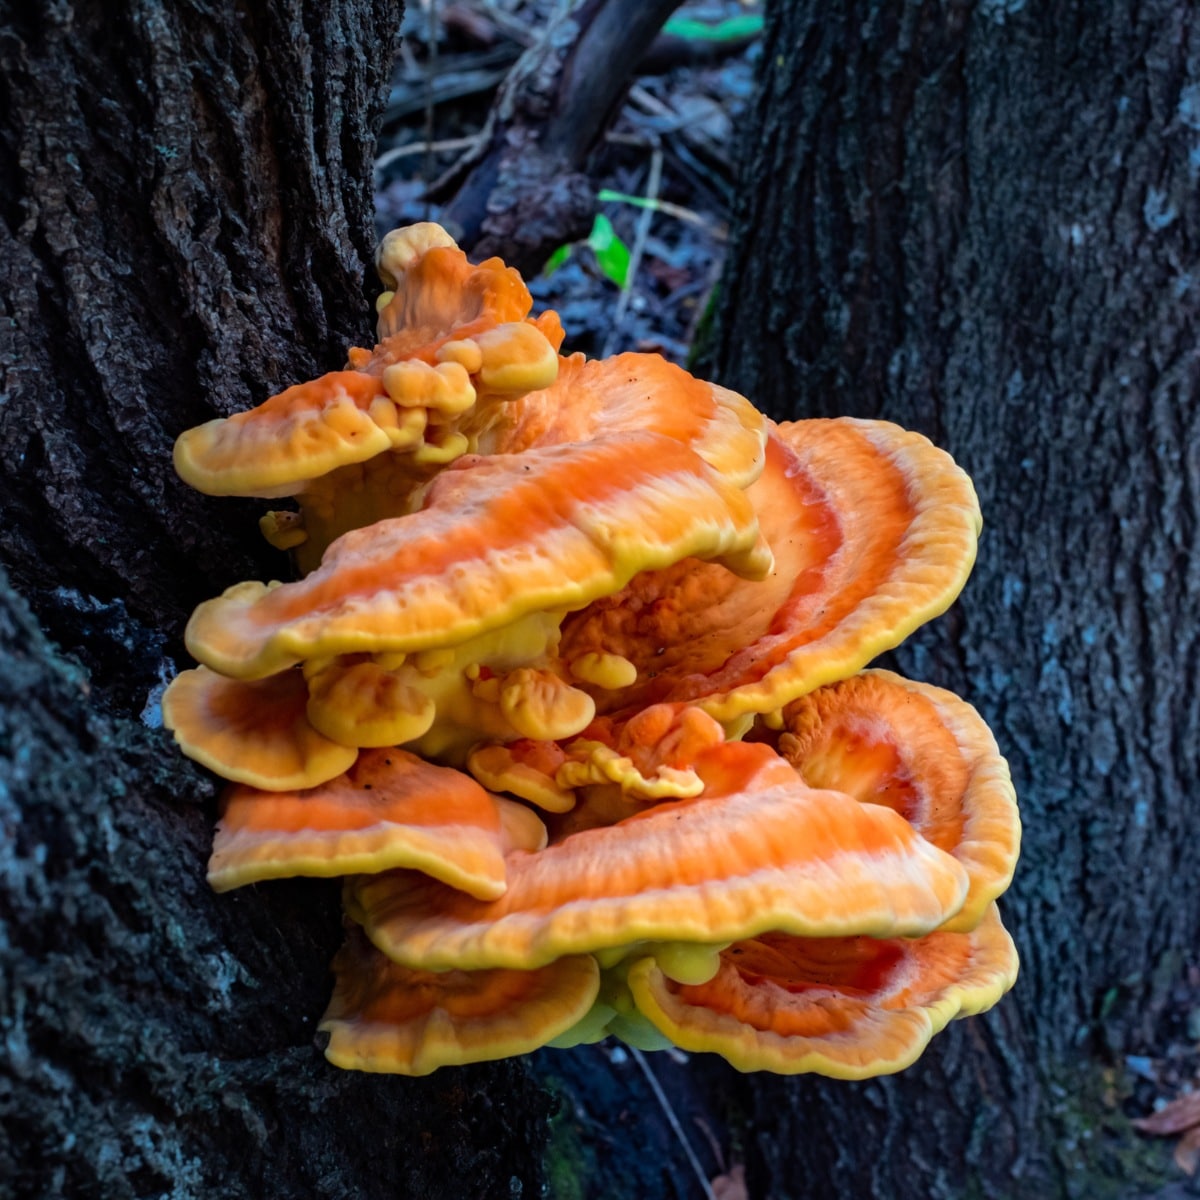
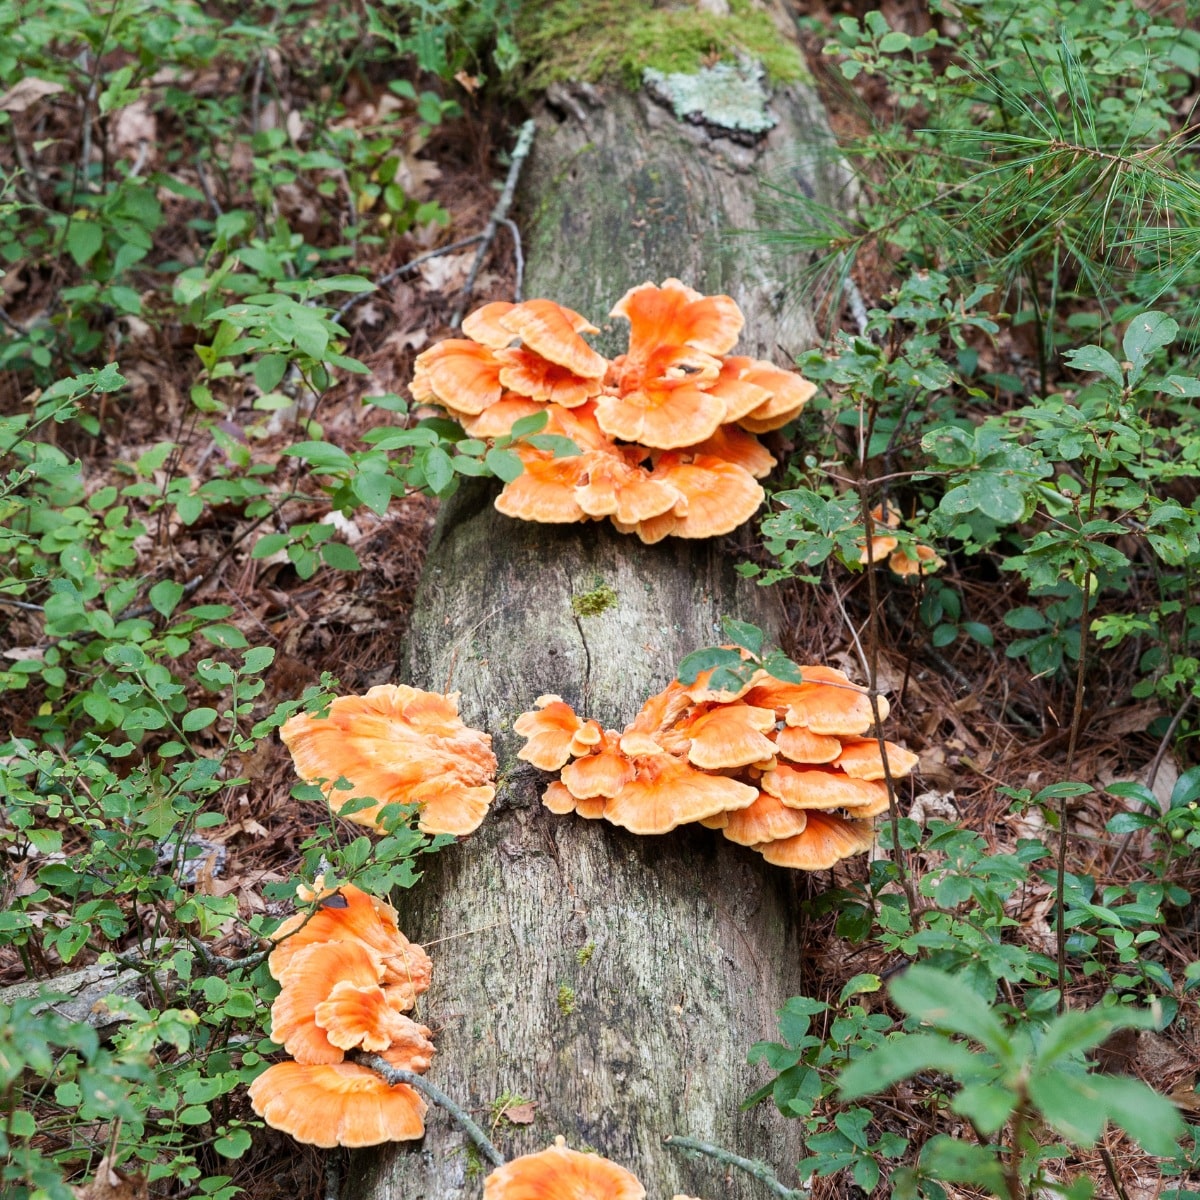
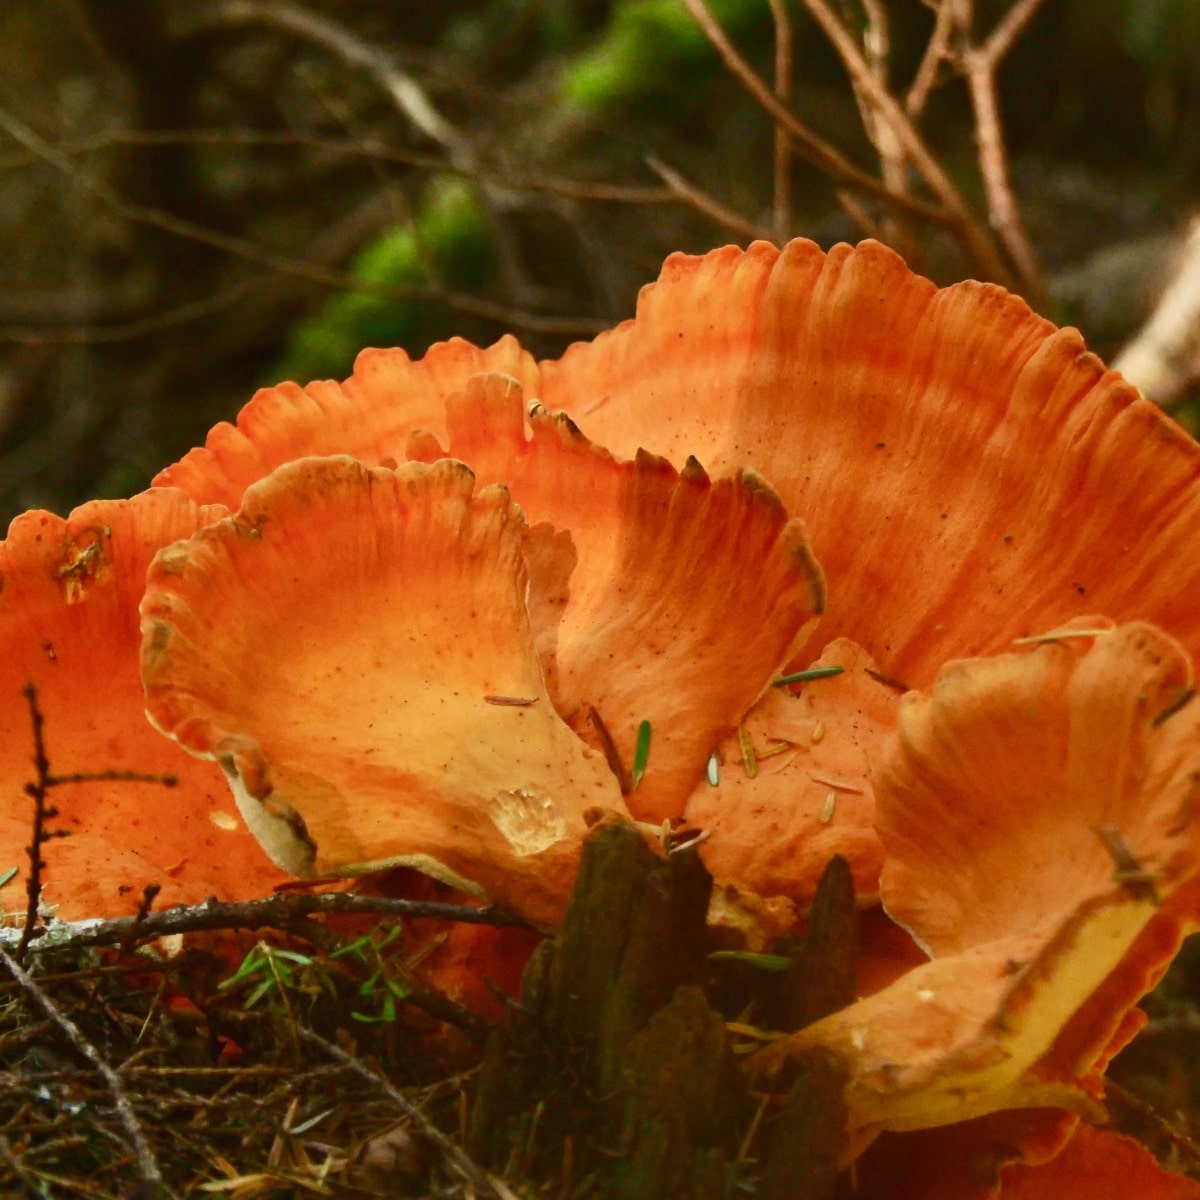
Chicken of the Woods (Laetiporus spp.) is a visually striking mushroom known for its vibrant yellow and orange colors and chicken-like taste and texture. Growing these mushrooms on logs at home is a rewarding and exciting project for both beginners and experienced mushroom cultivators. This comprehensive guide will provide detailed instructions on how to grow Chicken of the Woods on logs, with expert advice and tips for success.
Jump to:
Why Grow Chicken of the Woods?
If you’ve been fortunate enough to try this wild edible mushroom, you know how tasty it is! Chicken of the woods is dense and meaty with a mild mushroom taste and succulent texture. It is an incredible meat substitute in any dish calling for chicken – it cooks up basically the same, so it’s an easy substitute, too. This mushroom can be fried, stir-fried, baked, sauteed, grilled, barbequed, and added to stews and pasta.
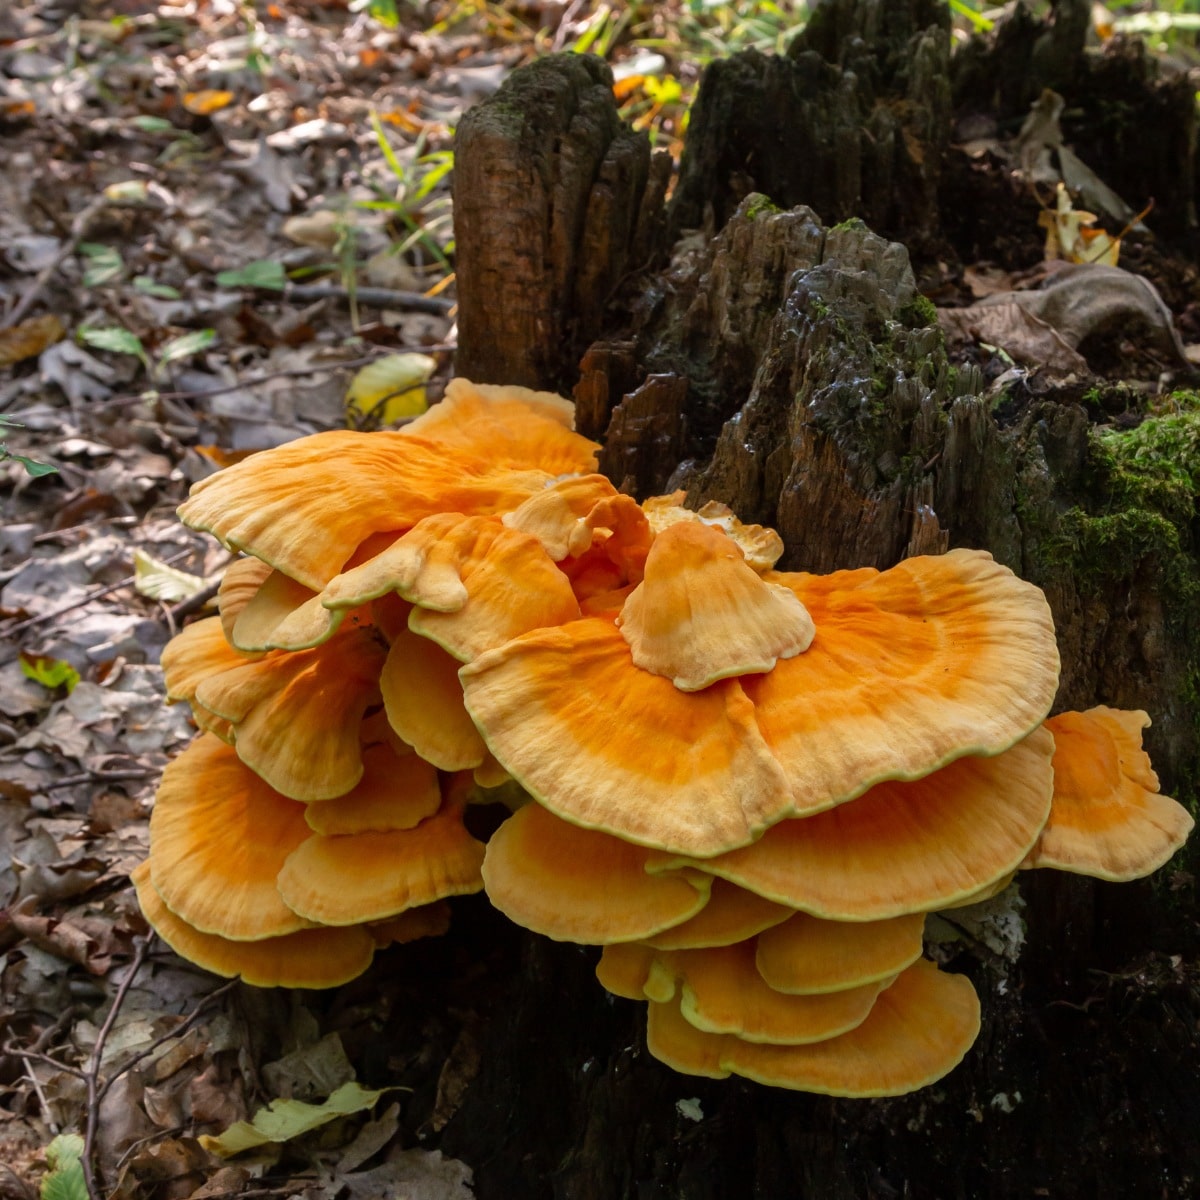
Chicken of the woods isn’t grown commercially because it is tricky to cultivate and requires a lot of time and patience. And it isn’t always successful. This means that the main ways to get this mushroom are either wild-foraged or home-grown. Wild foraging is still the most viable way to get a good quantity of the mushroom, although it does take some consistent and constant hunting to find it.
Is Chicken of the Woods Difficult To Grow?
Yes, chicken of the woods is considered a difficult mushroom to grow. It’s generally marketed to experienced growers, but anyone can give it a try as long as they follow the proper setup. The process itself isn’t complicated; it’s just that the mushroom itself is picky, and its needs are hard to replicate. Wild fungi often have very specific needs that we don’t fully understand yet, and this one certainly does. It isn’t impossible, though! Most spore suppliers list chicken of the woods as an experimental mushroom, with no guaranteed results because it is so finicky.
To grow chicken of the woods just takes some patience and understanding that it may or may not work. We suggest inoculating a bunch of logs to improve the chances of getting a flush—the more you attempt, the more likely you are to succeed.
Cultivated chicken of the woods is not as prolific or large as wild specimens. The clusters will be smaller, and there will be fewer of them. This is unfortunate, but growing them is a good option since finding them in the wild can be very hit or miss. If you start the process to grow chicken of the woods, there’s at least some chance you’ll be able to harvest in the near future!
How To Grow Chicken of the Woods: Overview
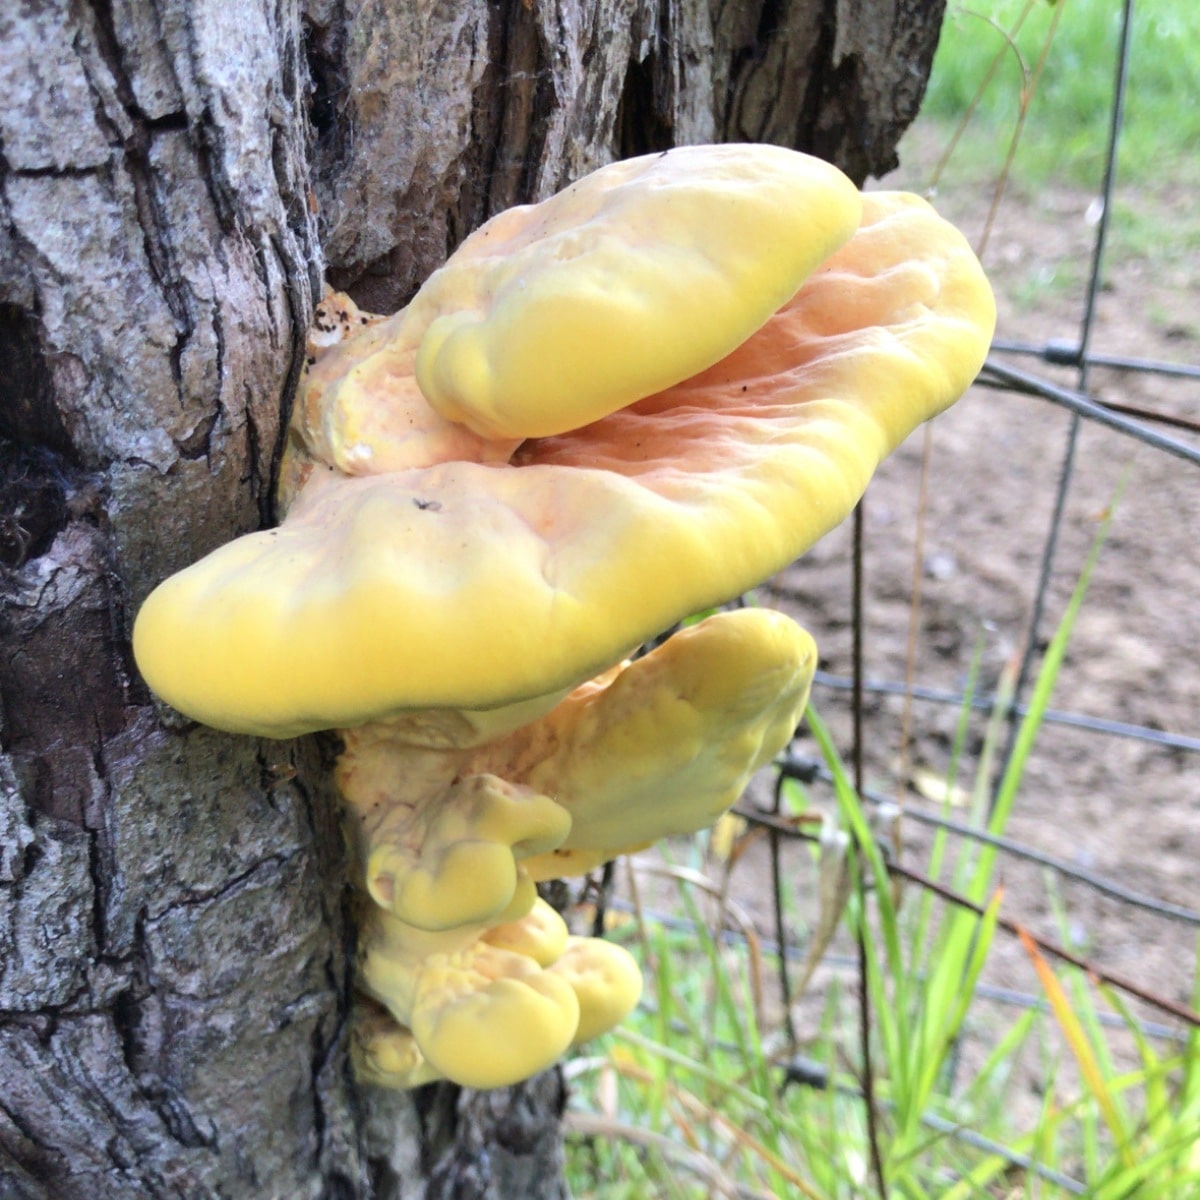
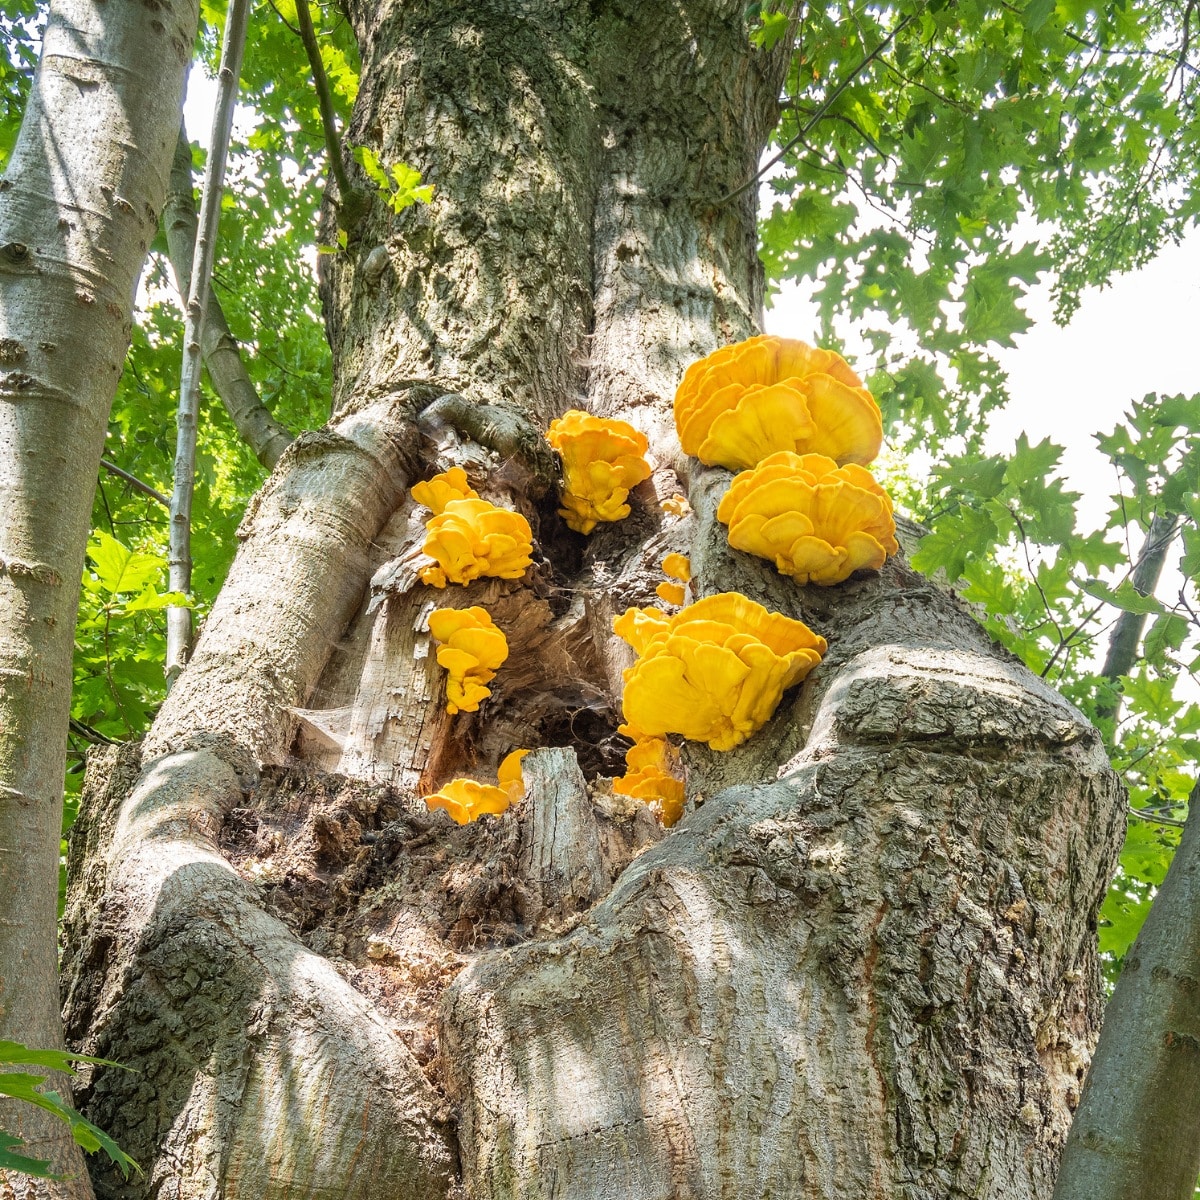
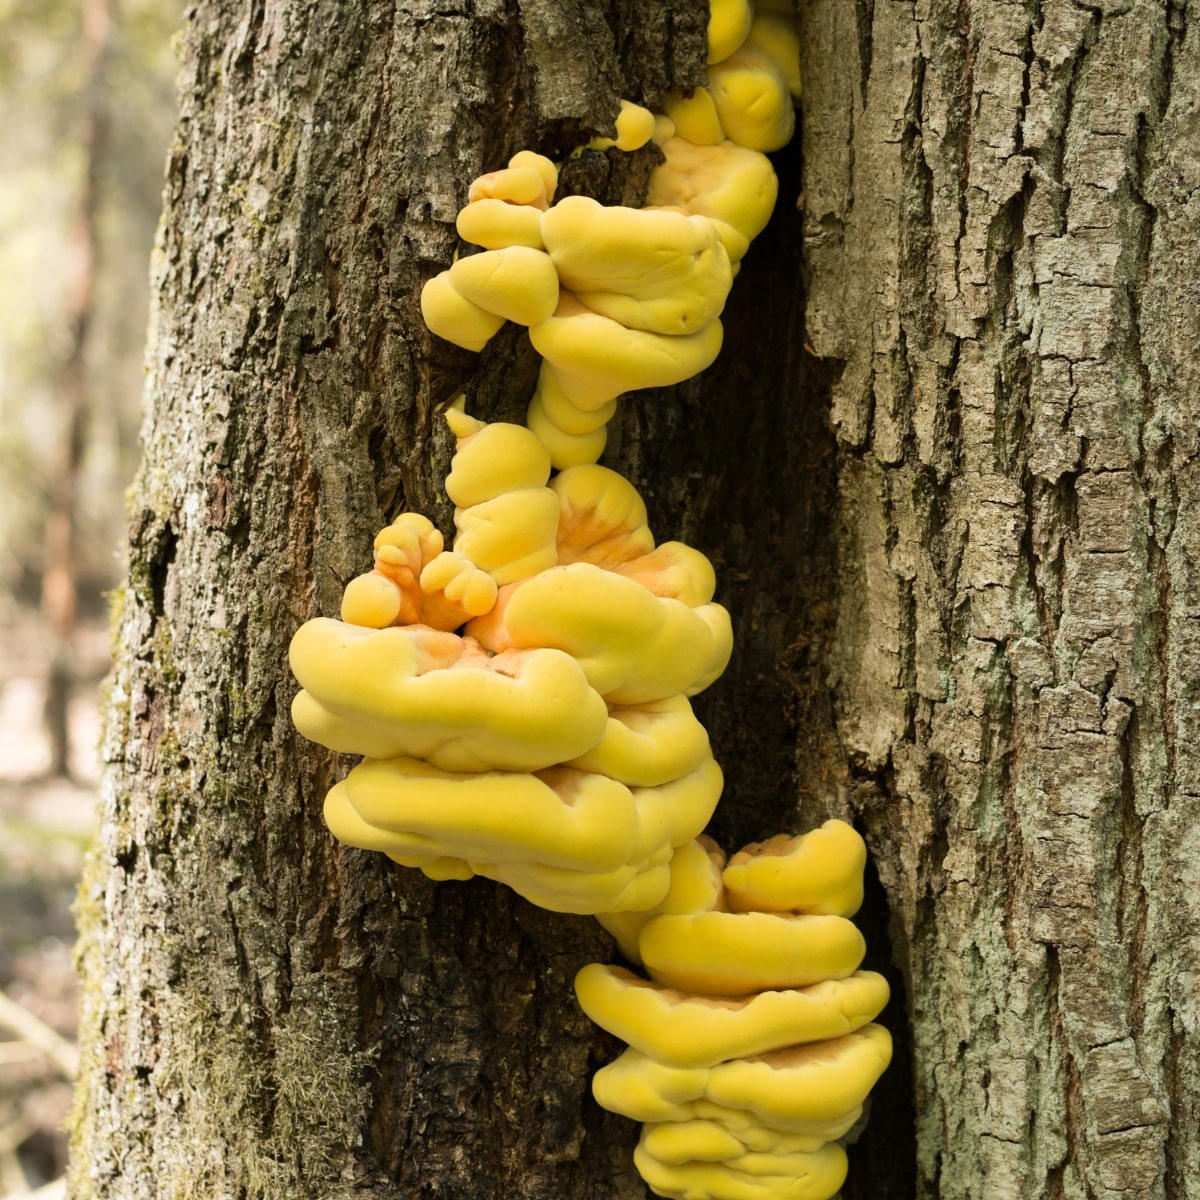
In the wild, chicken of the woods grows on dead and dying hardwood species like oak and ash. This fungus is parasitic, a brown rot species, which means it attacks and decomposes the wood it is on and uses the nutrients to grow. Brown rot attacks the heartwood of the tree (the center “heart) and causes the wood to turn brittle and eventually to powder. The tree, if not dead already, will die.
Replicating this process is a little tricky but definitely not impossible. This is what you’ll need:
- Living branches or logs of oak trees, preferably white oak, bur oak, or red oak.
- A 22-quart or larger pressure cooker (for sterilization) or a way to steam or boil the logs.
- Autoclavable bags, collars, and foam plugs
- Chicken of the woods spores or spawn
- Outdoor location to bury the logs
- Patience
How To Grow Chicken of The Woods: Step by Step
Spawn
Source your chicken of the woods spawn from a reputable grower. Or, collect your own spores and create your own spawn from wild chicken of the woods in your region. Here are some well-regarded spawn suppliers to consider:
- Mushroom Mountain Chicken of the Woods Sawdust Spawn
- Field and Forest Chicken of the Woods Sawdust Spawn
- North Spore Outdoor Chicken of the Woods Grow Kit
- Hidden Harvest Chicken of the Woods Spawn Substrate
Timing
To give the inoculated logs the best chance for survival and fruiting, it’s best to start this process in early spring. Treat and inoculate the logs in March or April, then bury them outside in June when the outdoor temperatures are more amenable to mycelial growth.
The inoculated logs may fruit as early as that first August, or it could take 2-3 years. So much depends on the climate where you live and how much rain and humidity there is. Be patient and check the logs weekly because there is no predicting when they’ll show up.
Choosing the Right Logs
Chicken of the Woods mushrooms almost exclusively grow on hardwood tree species, such as oak and green ash. Avoid using logs from coniferous trees like pine or spruce, as they may not be conducive to the growth of this mushroom. Red oak, bur oak, and white oak are the best options.
Choose healthy, living trees or branches for Chicken of the Woods cultivation. Diseased trees or logs that have been on the ground for a long time are not the ideal growing environment for this fungus. Other fungi can outcompete the chicken of the wood’s spores, so starting out with fresher logs is essential. Keep in mind that the logs should be cut into manageable sizes that will fit into the sterilization equipment used later in the process.
Typical log sizes for growing Chicken of the Woods are between 8″x 8″ and 11″x 11″. Don’t use small pieces of wood (less than two pounds) because they will not provide enough substrate and nutrition for the mushroom to grow. When cutting logs, don’t forget to take into account the size limitations of the pressure cooker or other sterilization equipment.
Treating the Logs
Before inoculating the logs with Chicken of the Woods spawn, they must first be treated using one of three methods: pressure cooking, steaming, or boiling. This step is crucial to ensure the logs are contaminant-free and provide an ideal environment for the fungal mycelium to grow. Do not skip this step; chicken of the woods is easily out-competed by other resident fungi.
Place each log section into an autoclavable bag and secure the opening with a plastic collar and foam plug. This will help protect the log during treatment and provide a clean environment for inoculation.
Log Treatment Methods
There are three methods for treating the logs, as follows:
- Sterilizing or Pressure Cooking
This is the most effective treatment. Place the bagged log into a pressure cooker, ensuring that no plastic touches the canner’s surfaces except where the log rests on the rack. Add enough water to achieve a 120-minute cooking time. This usually requires several inches of water. Sterilize at 15 psi for 120 minutes. - Steaming
Place the bagged log into a steamer and steam for at least 3 hours. There is a lower risk of contamination if the logs are steamed for 6 hours. Be sure to monitor water levels during the steaming process. - Boiling
Carefully put the bagged log in a large pot. Set it to boil and keep it at a low rolling boil for 1 hour. Avoid getting water into the bag, as excessive moisture can be detrimental to the mushroom’s growth.
After treatment, allow the logs to cool before proceeding to inoculation. If the logs seem dry, they may be soaked for up to 1 hour before treatment. It is important that the logs are well-soaked during inoculation.
Inoculating the Logs
Once the logs are cool, they are ready to be inoculated with Chicken of the Woods spawn. To Break apart the sawdust spawn, knead the bag well, ensuring that the mycelium is evenly distributed throughout the sawdust.
Take the collar and foam plug off the bagged log. Then, pour 1 to 1 ½ cups of spawn into each log bag. Quickly replace the collar and foam plug, then manipulate and jiggle the spawn around so that the log’s top and bottom (cut ends) are coated with spawn.
Place the inoculated logs in an area at room temperature (55-70°F) to incubate for 2-3 months. The mycelium will spread across the log as a white coating and will eventually turn yellow and then orange as the log is colonized.
Important Note: Contaminants
Green mold contaminants may develop during incubation, but they should not impact the growth of the Chicken of the Woods mushrooms. Monitor the logs regularly for contamination signs and promptly address any issues.
Burying the Logs
The log should be almost entirely covered in mycelium and ready to be buried outside in 2-3 months. Bury the logs in a shaded spot – this will provide the ideal conditions for fruiting.
Partially bury the logs vertically in the soil, leaving the top 1-4″ exposed. This will help maintain moisture levels and provide the necessary conditions for the mushrooms to fruit.
Another option is to lay the log horizontally on the soil surface and then partially bury it in mulch and wood chips until it is mostly covered. Don’t forget to mark the location of your logs, as they can easily be forgotten or lost, especially 2-3 years later.
The logs need to be kept regularly moist. This usually happens naturally with rain, but if you’re in a drought, water the logs every 2-3 weeks to keep them strong.
Fruiting and Harvesting
Chicken of the Woods mushrooms require specific conditions to fruit, such as a drop in temperature and an increase in relative humidity. Patience is key when growing these mushrooms, as it can take anywhere from 4 to 6 months for pin formations to appear. Keep a close eye on the logs and observe any changes in mycelium growth or the appearance of primordial or pinhead formations.
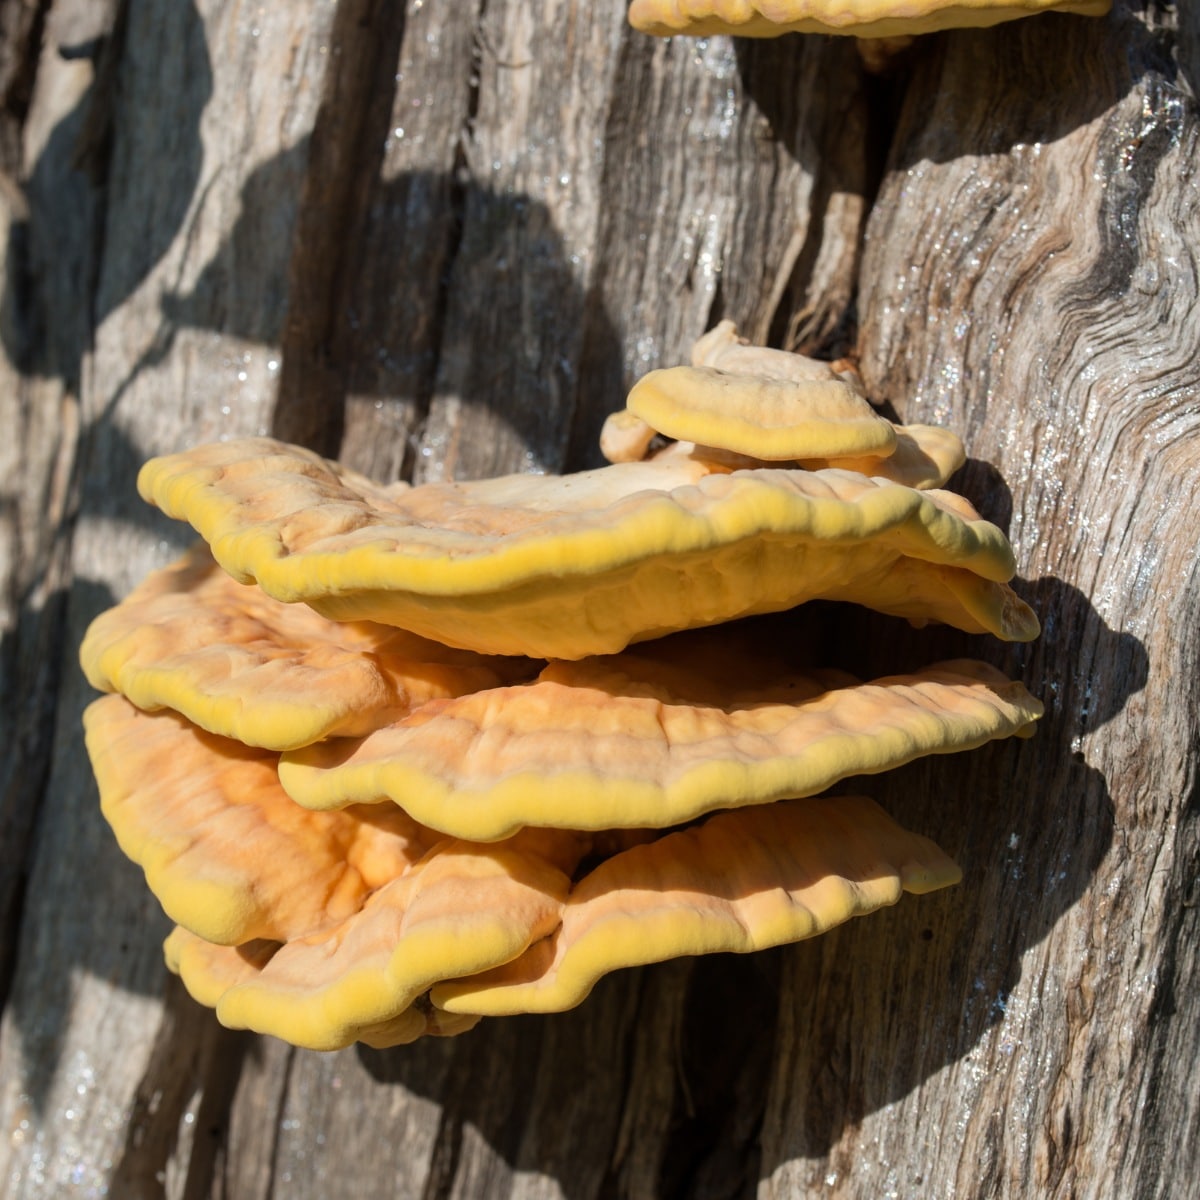
Once the mushrooms have reached a desirable size and are tender to the touch, they are ready to be harvested. Use a sharp knife to cut the mushrooms away from the log, being careful not to damage the mycelium beneath.
The log will only fruit once per year. However, it may fruit for several years in a row, so be sure to check back in the following years after the first harvest.
Storing and Using Chicken of the Woods
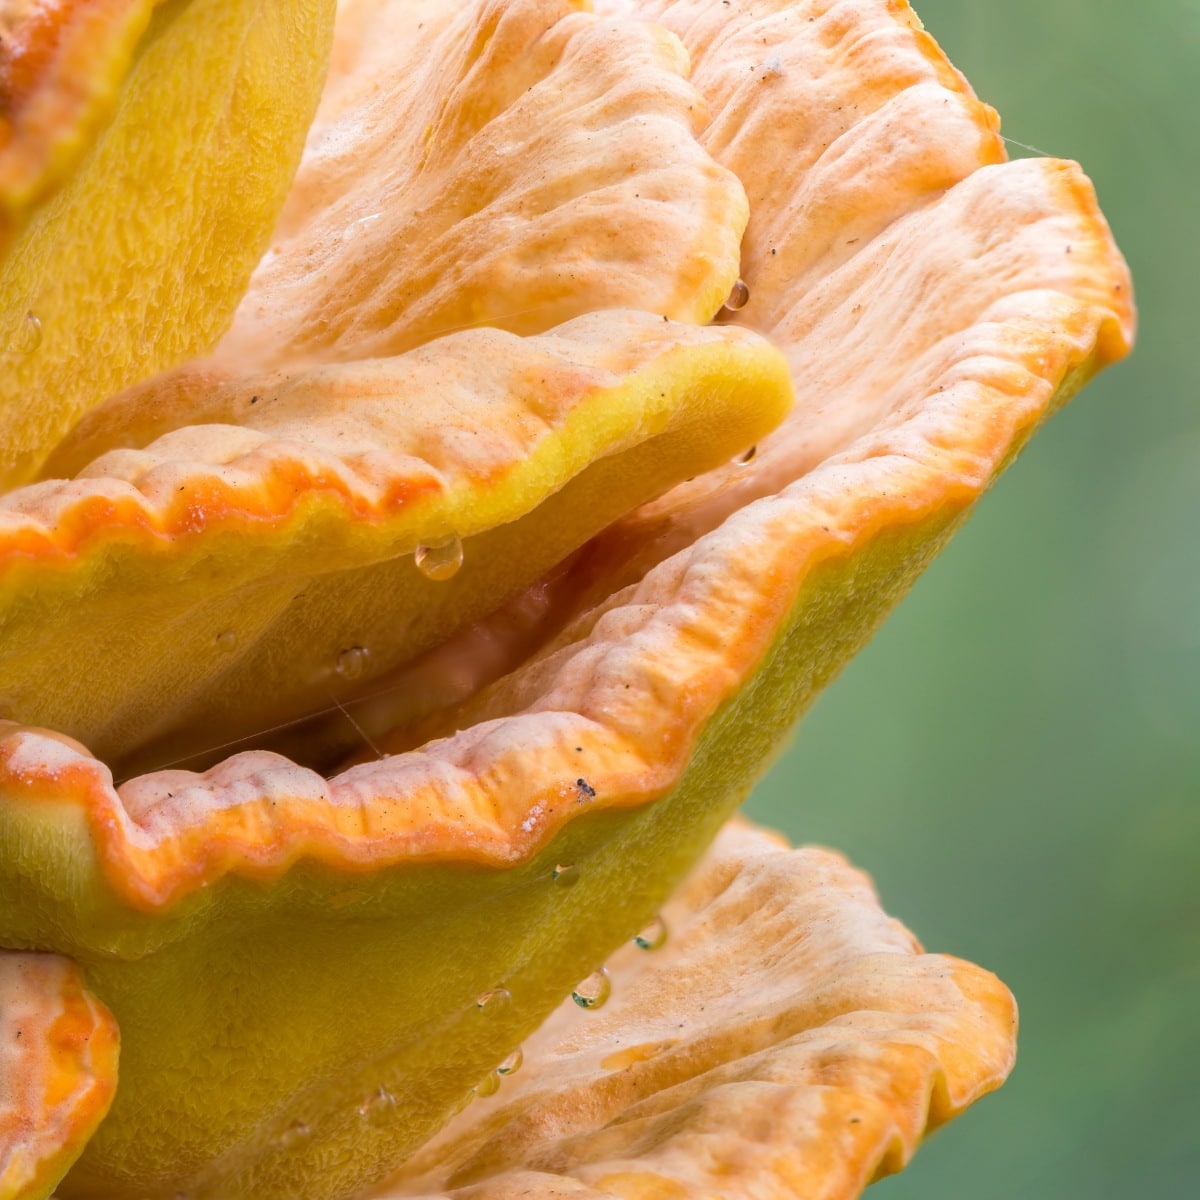
Harvested chicken of the woods mushrooms can be stored in a paper bag or wrapped in a damp cloth in the refrigerator for up to a week. They can also be dehydrated or frozen for long-term storage.
These mushrooms can be used in various dishes, including stir-fries, soups, and even breaded and fried like chicken fingers. Their unique taste and texture make them a great substitute for meat in many recipes.
Chicken of the Woods Cultivation: Troubleshooting
No Fruiting
If no fruiting occurs after several months, don’t be alarmed. Fruiting can take years, literally. It takes a lot of patience to grow chicken of the woods! You can try adjusting the environmental conditions, such as temperature, humidity, or light exposure — watering the logs if there’s a drought, providing more shade if you think there’s too much sun. Some logs may take longer than others to fruit, so patience is crucial.
Contamination
If contamination is an issue, try increasing the sterilization time during log treatment or improving the cleanliness of the inoculation area. Do not consume any mushrooms that have grown in contaminated conditions. If any contamination happens, dispose of the affected logs and start over.
Common Questions About How To Grow Chicken of the Woods
Can I grow Chicken of the Woods indoors?
Growing Chicken of the Woods mushrooms indoors is challenging since they require specific environmental conditions and a longer incubation period compared to other mushrooms. Indoor cultivation is best suited for experienced growers who are up for a challenge. There is only limited reported success growing this species indoors and not many details how to actually grow chicken of the woods indoors. Outdoor cultivation, though, does have lots of success.
Are there ready-to-fruit chicken of the woods grow kits?
There are no ready-to-fruit kits available to grow Chicken of the Woods mushrooms indoors, at this time.


Leave a Reply