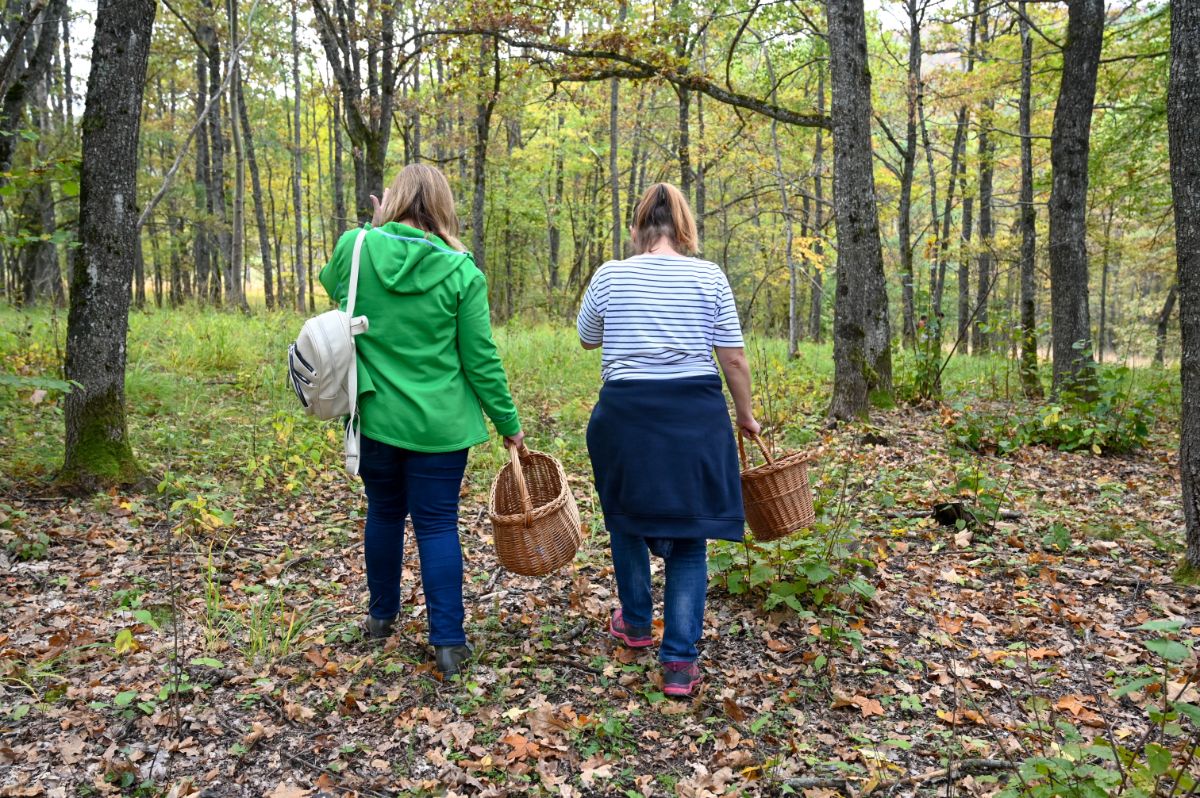
A fungi herbarium is a collection of dried and preserved fungi specimens that can be used for the study, identification, and appreciation of the incredible diversity of these organisms. Whether you’re a seasoned mycophile or a curious beginner, creating a fungi herbarium is a fun and rewarding way to explore the world of fungi and deepen your understanding and appreciation of these fascinating organisms.
Jump to:
The Importance of Creating a Fungi Herbarium
Fungi are a vital part of our ecosystem, playing essential roles in decomposition, nutrient cycling, and symbiotic relationships with other organisms. They are also incredibly diverse, with an estimated 1.5 million species worldwide. However, despite their importance and diversity, fungi are often overlooked or misunderstood. Creating a fungi herbarium is a way to deepen your understanding and appreciation of these fascinating organisms and to contribute to our collective knowledge about them.
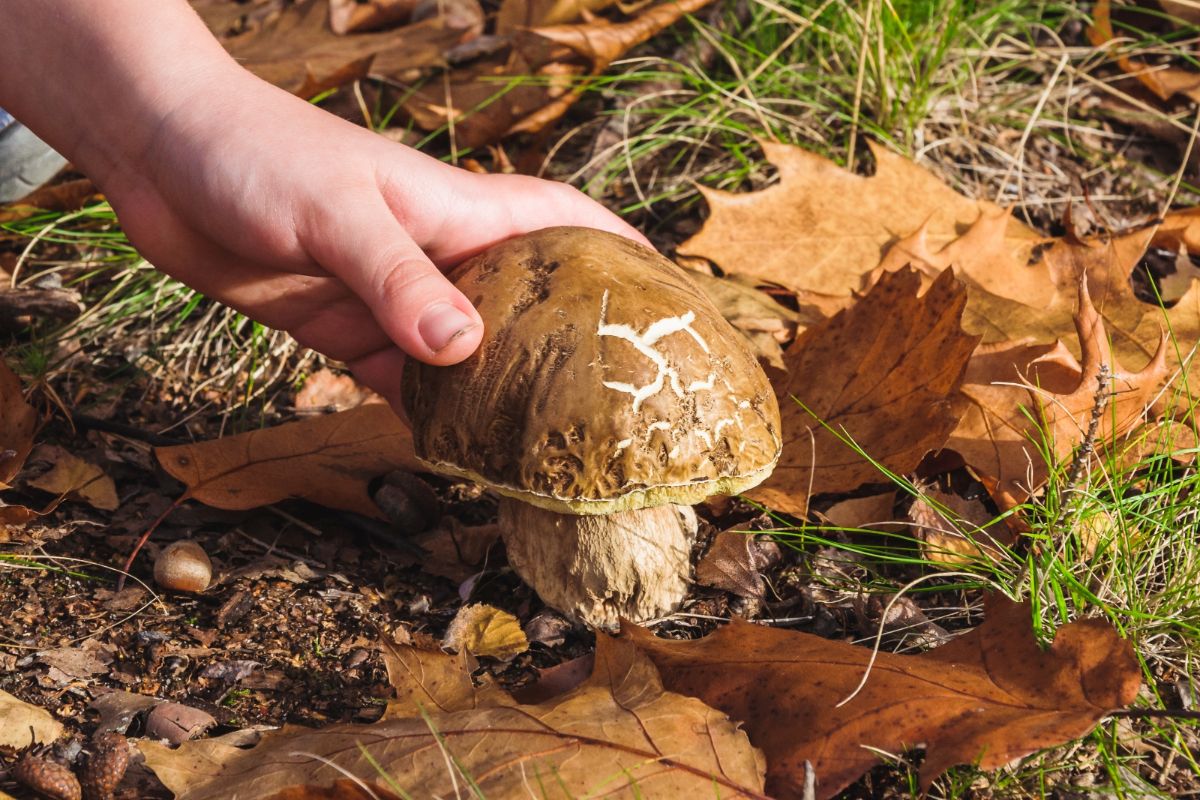
A fungi herbarium allows you to collect, preserve, and study fungi specimens over time. By collecting specimens from different locations and at different times, you can track changes in fungal populations and better understand their distribution and ecology.
Additionally, a fungi herbarium can be used for identification purposes, both for your own learning and for contributing to citizen science projects. Finally, a well-curated fungi herbarium can be a beautiful and unique display showcasing these organisms’ incredible diversity.
Benefits of Herbariums:
- a reliable source for accurate identification.
- a foundation for taxonomists and researchers to conduct research.
- type specimens that serve as the basis for scientific names.
- a historical document of a particular species in a specific time frame and place.
- reliable distribution maps and habitat information.
- vouchers for scientific research, such as taxonomy, ecology, biochemical analyses, and DNA sequencing.
- data to produce fungal inventories for local areas.
- reference material to identify fungi species that are most suitable for localized revegetation programs.
- information for monitoring programs to document the spread of invasive alien species.
Creating a fungi herbarium may seem daunting at first, but with a few supplies and some basic knowledge, anyone can do it.
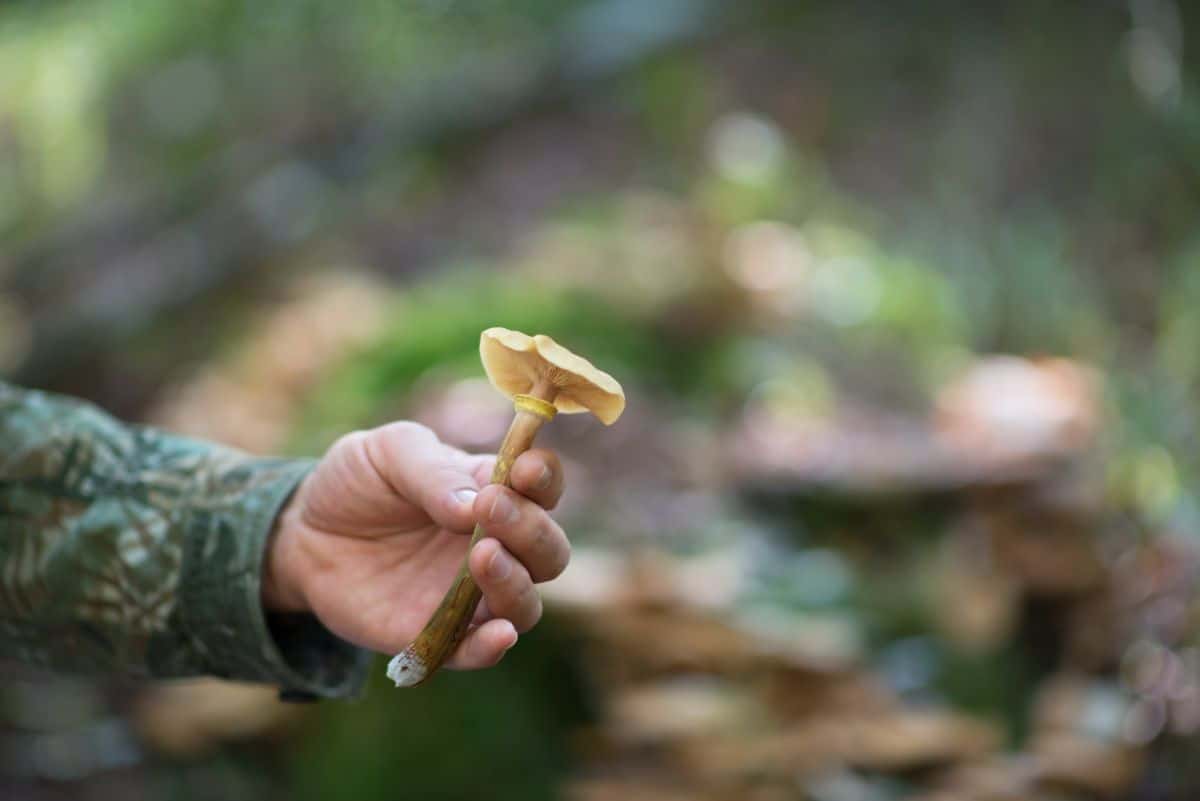
How To Create A Fungi Herbarium, Step by Step
Materials needed for creating a fungi herbarium:
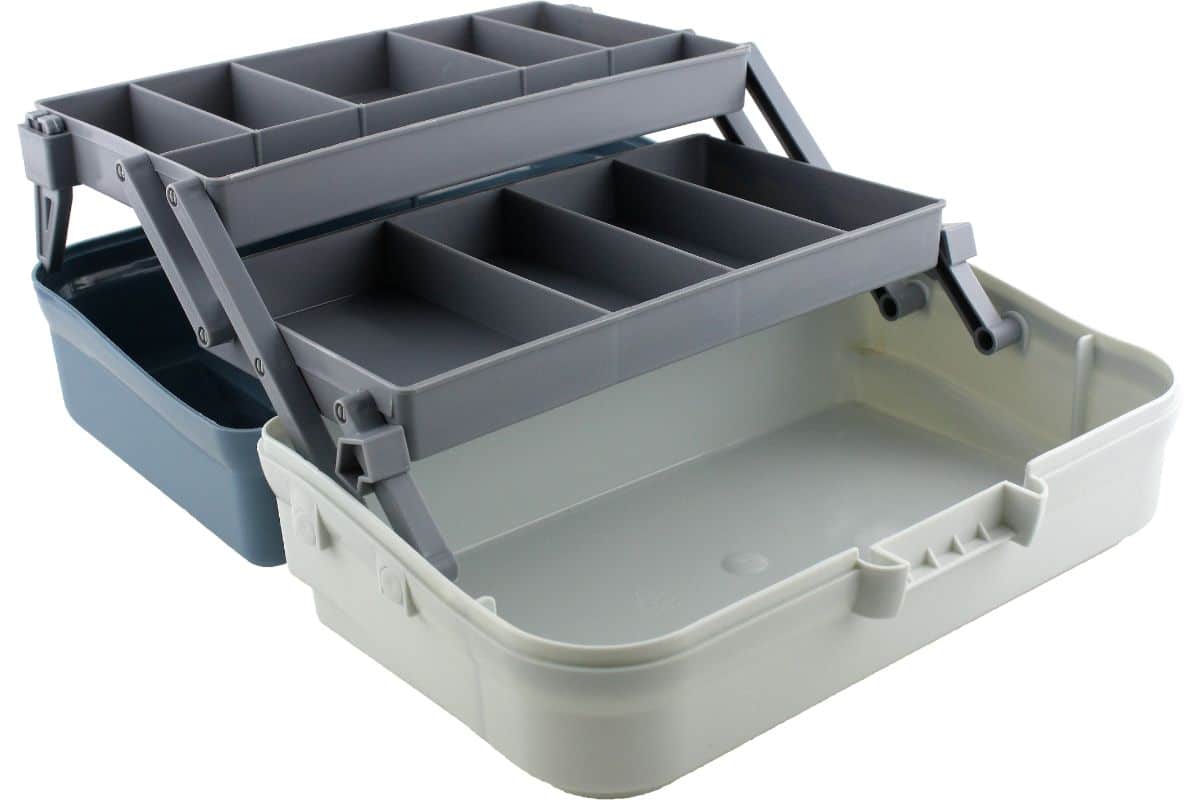
- A basket or container for collecting specimens (a clear plastic tackle box is ideal for collecting small fungi and keeping them safe from being crushed. Small plastic containers work well too.)
- Wax paper or aluminum foil for separating species in the field
- A magnifying glass or hand lens for examining specimens in the field
- Pocket knife
- Camera/Smartphone – for pictures and GPS, if possible
- Ruler
- A field notebook for recording observations and collecting data
- A cooler with ice for transporting fresh specimens long distances (if necessary) – this is mostly for when the mushrooms will be taking a ride in a hot car, which can really deteriorate them.
- A dehydrator (optional) for speeding up the drying process
- Plastic baggies for storing dried specimens
- Labels and a marker for labeling specimens (index cards are excellent for this)
- A storage box or cabinet for organizing and storing specimens
- A logbook or computer spreadsheet
Notes About Collecting Fungi Specimens
- Only collect specimens that are in good condition and appear healthy. Look for signs of bug infestations, maggots, decay, withering, or other detrimental signs that would make the specimen unsuitable for collecting.
- Collect specimens from multiple individuals, if possible, including buttons and mature specimens.
- Avoid collecting rare or endangered species.
- Collect multiple specimens from the same area as this reduces the risk of a mixed collection, and also collect enough material that it’s okay if some accidentally get destroyed.
- A good sample should include all components of the fungus, such as cap, gills, pores, stem, ring, and volva (if present). Also, try to obtain a little of the mycelium when possible.
- Some fungi have a sclerotium underground, like the earth balls, which can be collected without it.
- Never mix collections from different sites.
- Do not press the fungi, but dry them whole.
- Respect private property and obtain permission before collecting on private land.
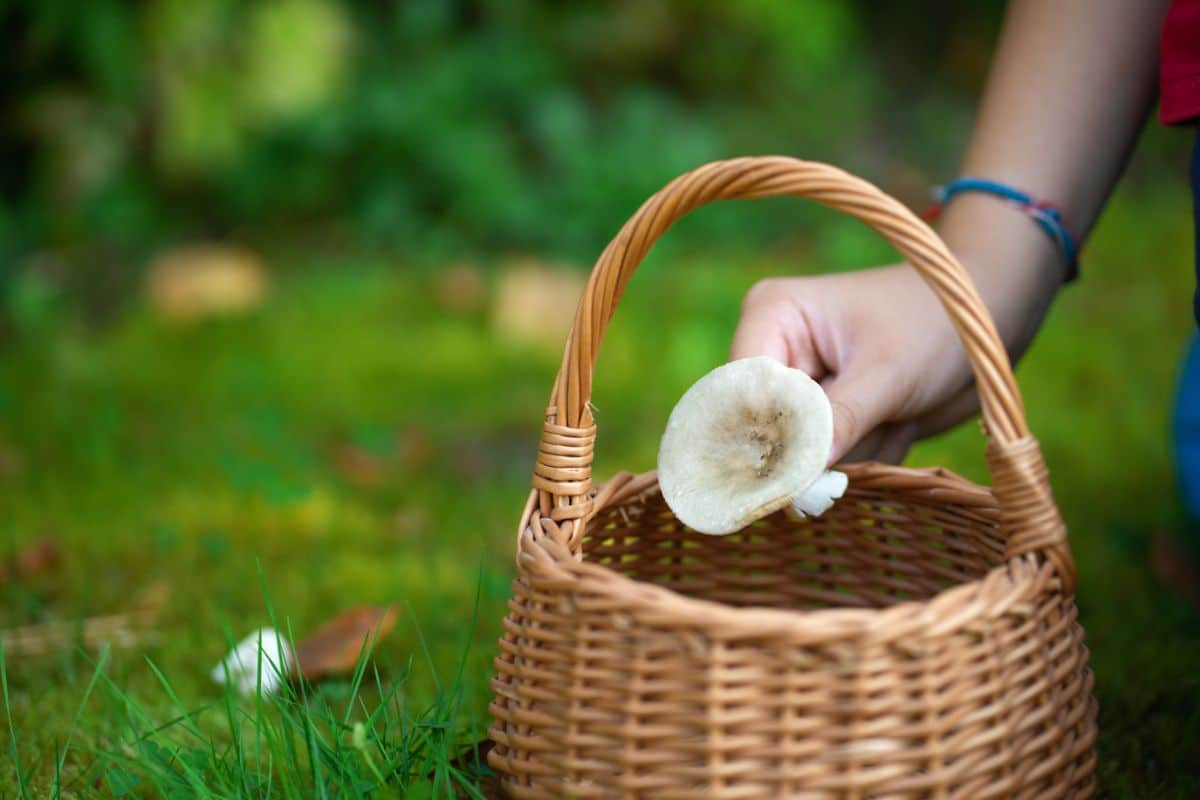
Steps to Collecting Fungi Specimens In The Field
- Record the date, location, and habitat of each specimen in your field notebook. This includes types of trees nearby, whether the mushroom was growing in soil or on wood, and the weather conditions. Including the GPS coordinates is also super helpful for future studies.
- You should also take note of any distinctive features, such as color, shape, and texture, that will help with identification. After picking and while being transported home, the colors may change – usually, they start to darken or become muter.
- Include any staining (always cut across the cap, underside, and stem to see if they change color).
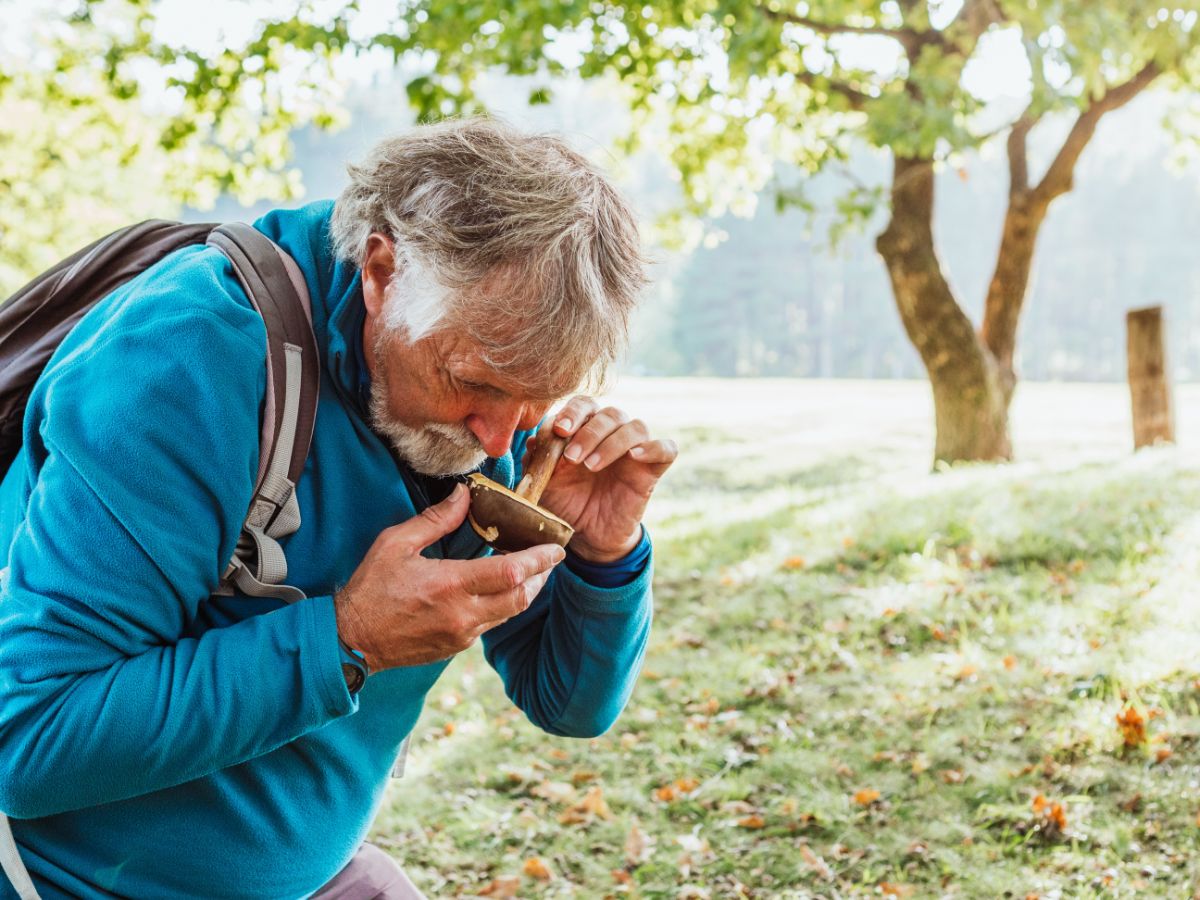
- Don’t forget to smell the mushroom – the scent is vital!
- Is the cap slimy, velvety, smooth, rough, or textured?
- Take measurements – how tall is it? How wide is the cap?
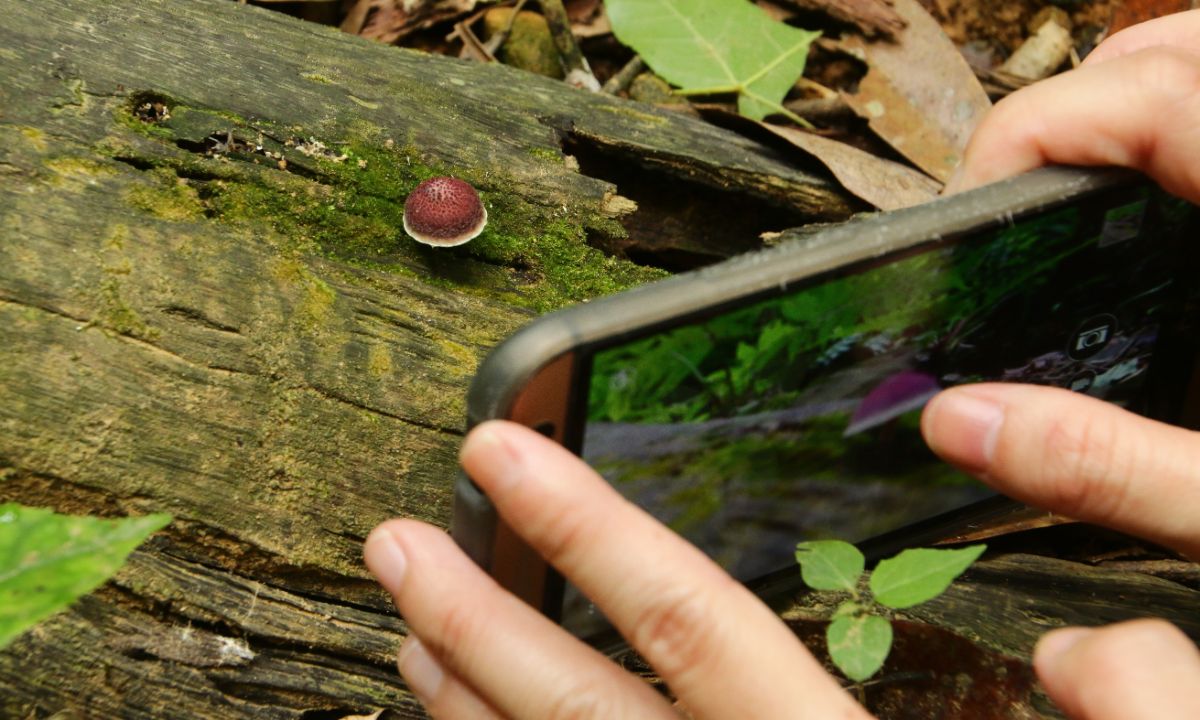
- Take pictures from all angles, including underneath the cap, the stem, and the base of the mushroom.
- Wrap the individual specimens in waxed paper or aluminum foil to keep them from getting damaged or mixed up in your basket or bags. A tackle box or plastic containers with individual compartments are also great. Do not let specimens from different locations come in contact with each other, as this will contaminate your collection.
- Label the specimen as soon as it is collected to prevent confusion between collections once you get them home. Even if you don’t know what it is, label it somehow so you know which notes in your field book refer to it.
- If it’s a hot day, use an insulated bag or small cooler to store the specimens. This is especially important if they have a long journey before you get them home to dry. Some mushrooms break down extremely rapidly, even in the best of conditions. Or, they may be infested with insect larvae that aren’t noticed and will turn into a gross mass of decomposing mushrooms before you get them home.
Identifying and Storing Fungi Specimens
- Once you get home, identify each specimen. Start by taking a close look at its physical features. Note the color, shape, and size of the fruiting body, as well as any distinctive features such as gills or pores.
- Take a spore print by placing the cap of the mushroom on a piece of white paper and covering it with a glass or bowl for several hours. This will allow the spores to drop onto the paper, revealing their color and shape.
- Label each index card with the date, location (town, state, be as specific as possible), identification (including genus and species), habitat, and substrate. If you aren’t 100% on identification, write that down along with your best estimates. Since this is your personal collection, use a labeling system that makes sense to you. Starting with the number 1 and going from there is usually a great way to start. [See next section for a sample of what to include on the index card and more specifics on labeling systems.]
- Prepare fungi specimens for drying by gently cleaning any dirt or debris from the surface of the fruiting body. Use a soft brush or cloth to remove any debris, being careful not to damage the specimen.
- Dry the mushroom whole if it is small, or cut it lengthwise or quarter it if it is large. This will help the specimen to dry more quickly and evenly. Do not remove the stem or any other potentially identifying features. Cut it but ensure the entire specimen is preserved.
- Include the index card with the drying specimen so you don’t forget what it is – if you’re dehydrating several herbarium species at a time, it is extremely easy to mix them up.
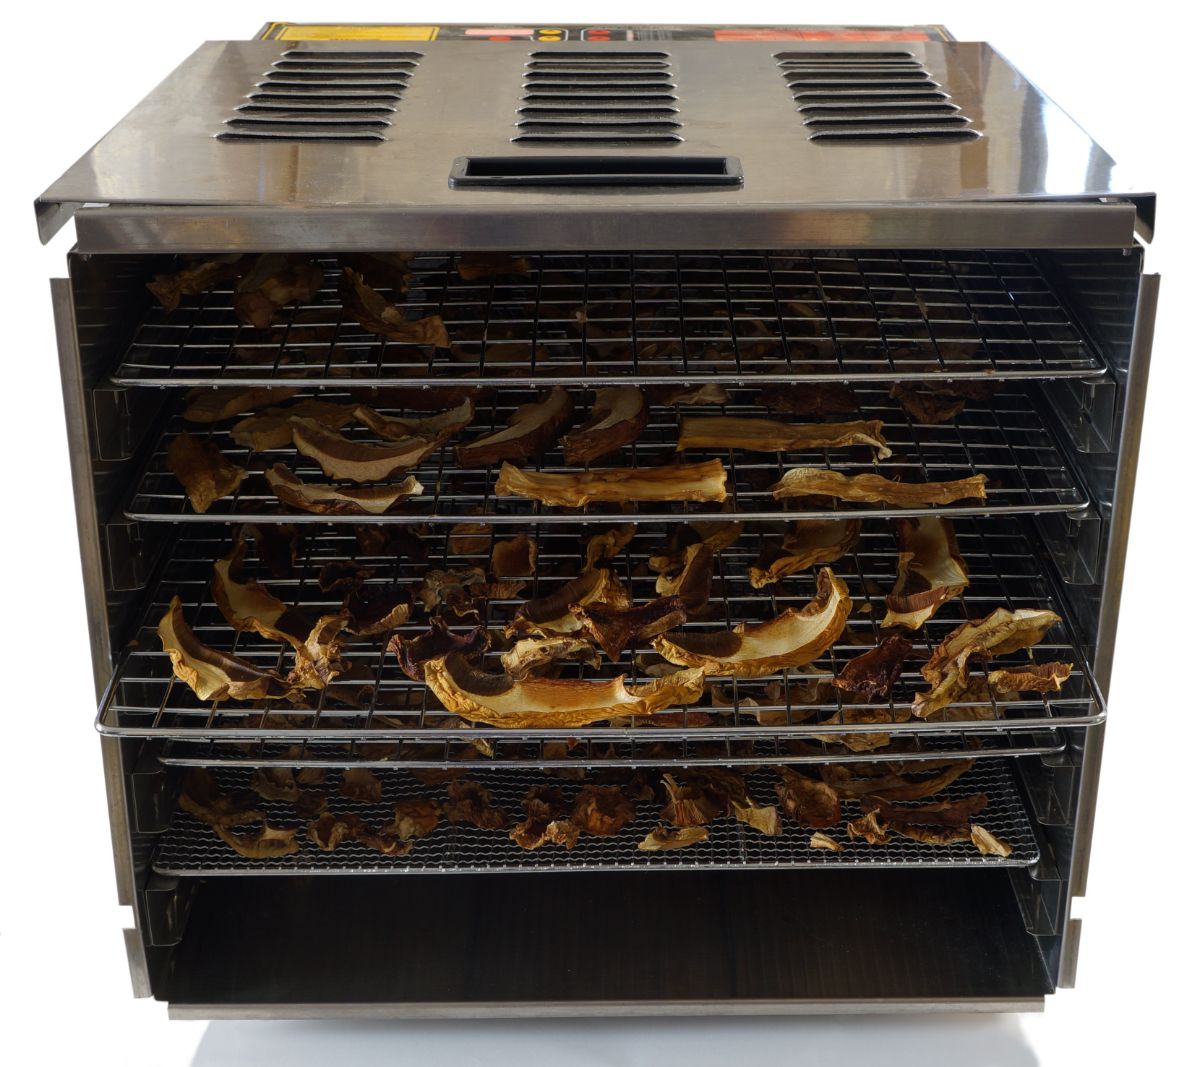
- If you have a dehydrator, you can use it to speed up the drying process. Set the dehydrator to the lowest temperature and place the specimens on the drying racks. Check on them periodically to make sure they are not overheating.
- Once the specimens are completely dry and crisp, remove them from the dehydrator. Place them in small plastic bags with zipper seals along with the index card, giving each specimen and its collection card its own bag.
- If the fungus is especially large, use a cardboard box of suitable size.
- Store the bags in a storage box or cabinet, being careful to keep them dry and free from pests. You can also add some silica gel packets to the box to help absorb any moisture.
- Arrange the specimens in a way that makes sense to you. Many collectors choose to use the hierarchy classification system, which is a universal method. But this is your collection, and you need to be able to find things. It’s a good idea to do a little write-up of how you’ve organized the collection in case someone else wants to use it. Include this explanation in your storage box.
- Record the collection number in a log book along with a basic written description including genus, species, date, collector’s name, year, location, and any other pertinent notes. If you prefer computers and spreadsheets, this is another excellent alternative to handwritten. Make sure you back up the data somewhere so it isn’t lost.
- Because the dried fungi look entirely different from the fresh specimen, creating a file storage system for the photos you took is crucial. Either create folders on your computer with shared labeling so it’s easy to match them up or print them out to include with your logbook.
Creating the Best Identification Cards For Your Fungi Herbarium
The key pieces of information to record on your index card or labeling form include all these points. Many people like to design a form and print them out to make things easier. This also prevents the information from being skipped.
- Collector’s name – initials or surname
- Identification – Genus and species. We like to put a percentage next to it indicating how certain or uncertain this identification is since once it’s dried, it becomes much harder to identify by eye.
- Identifier – Name or initials of the person who identified the species, if it wasn’t you.
- Date – The date the mushroom was collected and the date it was identified
- Collection number – This is the number you assign to it based on your labeling method. A popular method is to use your initials followed by a unique sequential number.
- Substrate – The host or material the mushroom was growing from, for example, rotting wood, leaf litter, soil, or living tree. Be as specific as possible, especially with tree species.
- Habitat – Was the mushroom found in the woods or open meadow? What trees or other vegetation was nearby? Was there a source of water close by?
- Identification details — Describe the cap, stem, base including size, colors, ornamentation.
- Scent – What does the mushroom smell like – some surprisingly common odors are almond paste, anise, and apricots.
- Associated species — List all the plants growing nearby as best as you know
- Permit number – If applicable
- Location – Town, state, street address, park, or official area name. Be as specific as possible – if you can provide a GPS location, that is ideal. The goal is to provide enough information so another person can find the site. The collection is significantly less useful for study, especially for ecological and habitat research, if the location is vague.
- Altitude – If you know the approximate altitude, include it. If you have one, a GPS unit should help you figure this out.
- Voucher details – List whether this collection is part of a specific project, research, or survey.
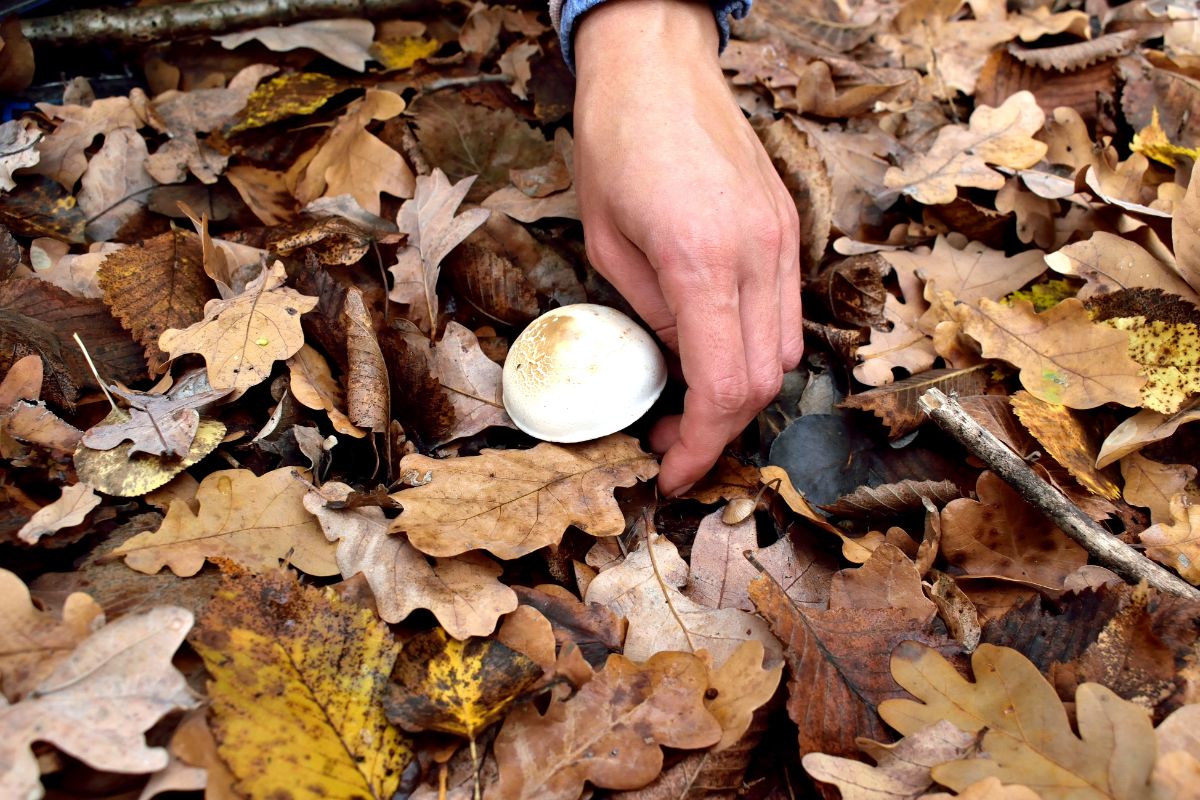
Fungi Herbarium Organization Practices
Labeling and organizing your fungi herbarium is an important step in creating a valuable and informative collection. Each specimen should be labeled with the date, location, and any additional notes about the specimen, such as its identification or habitat.
You can organize your collection in a number of ways, such as by location, species, or date. A useful system is to organize your specimens by genus and species, using a standardized naming system such as the International Code of Nomenclature for algae, fungi, and plants (ICNAFP).
You can also create a database or spreadsheet to keep track of your collection, including information such as the collection date, location, habitat, and identification. This can be a valuable tool for tracking changes in fungal populations over time and contributing to citizen science projects.


Photography Best Practices
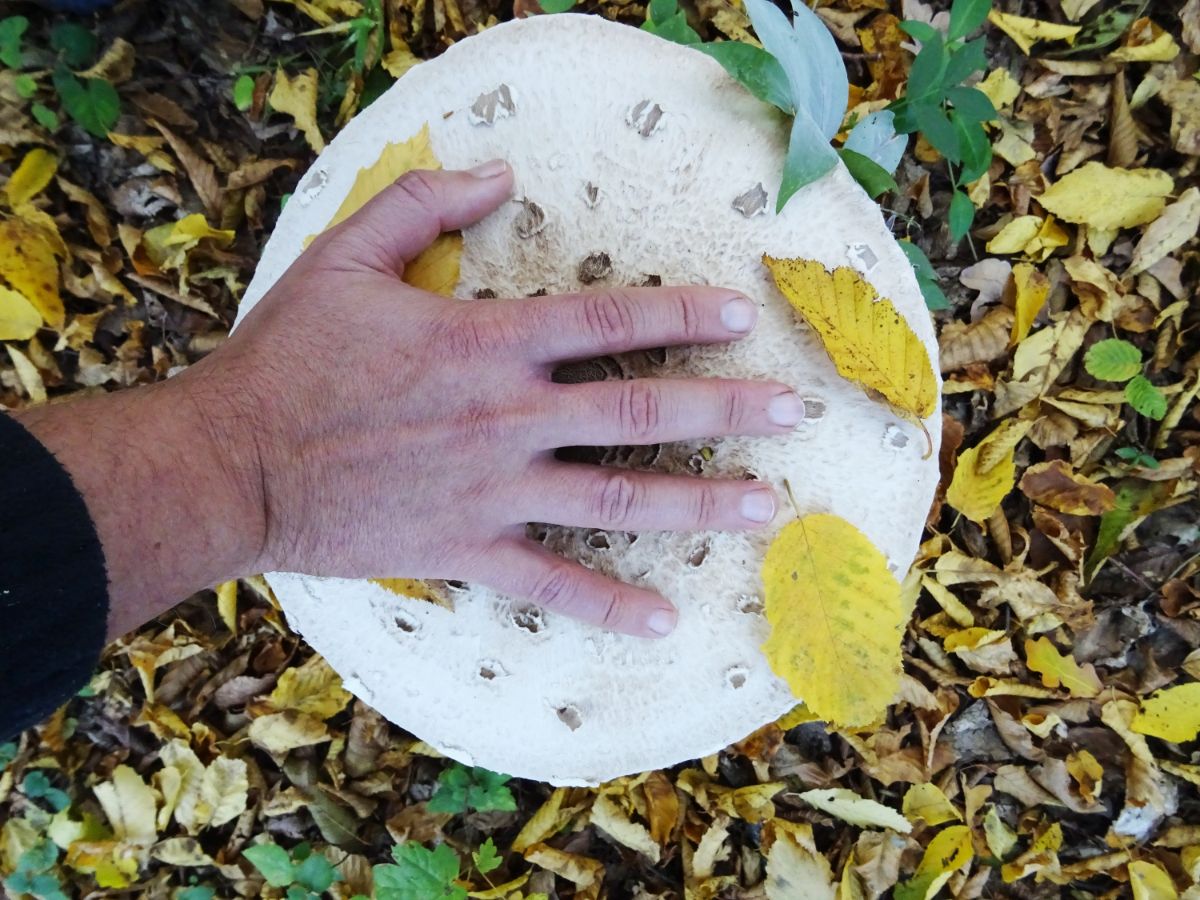
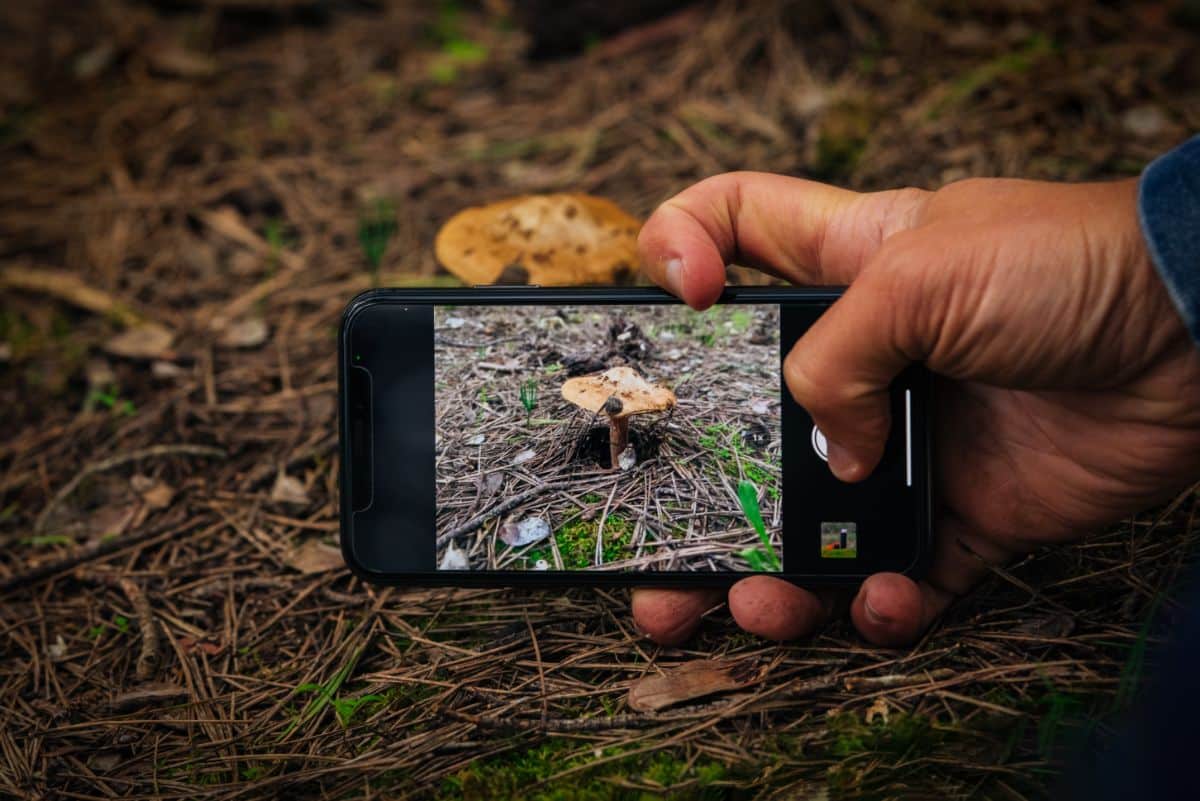
Taking good photos is priceless for identification and recording exactly how the species looks and grows. Once harvested, fungi immediately start decomposing, which can vastly change their appearance. Often, the images taken before collection provide essential keys to the final identification.
- Take a picture of the mushroom undisturbed in its natural habitat. Include the collection tag number with the image to make things easier for yourself later on.
- Take a second picture of the mushroom with any distractions removed, for example, leaf litter covering it up or branches in the way.
- Never move the specimen to a different substrate (location) for better images. This causes lots of confusion and gives misleading information.
- Make sure the photos show all aspects of the mushroom, including the cap, gills, pores, stem, and any other unusual, interesting, or distinctive features.
- If there is more than one specimen in the collection, take a group photo with the specimens arranged so that you can see various parts of the fungus. For example, one is lying on its side while another is upside down, showing its gills.
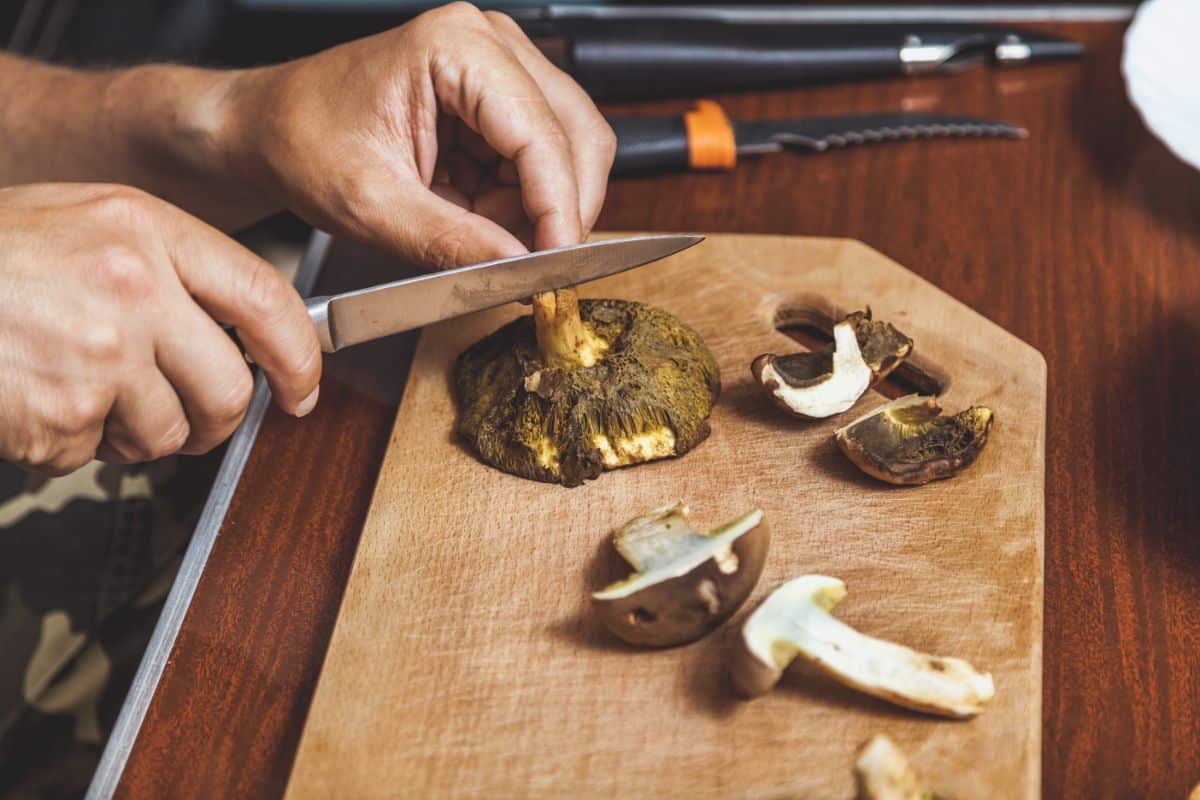
- When photographing boletes, which are notoriously understudied and complicated to identify, scratch, or cut the surface of the cap, pores, and stem and take a photo to record any color changes. Slice the mushroom in half as well to see if the flesh changes color and photograph it.
This usually has to be done with lightning speed as so many bolete species change color in mere seconds. Many boletes bruise easily and will go from yellow to greenish-blue in moments if overhandled. Be gentle with these species so you can get good images of the coloring before it stains.
Fungi Drying Guidelines
Once the photographs and descriptions for your fungi have been taken care of, it is advised that you dry them immediately. Even though it is best to avoid collecting more samples than you can process in one day, sometimes this cannot be avoided. If it is not possible to dry the specimens right away, they can be kept in their containers in the refrigerator for up to 48 hours, provided that the container chosen does not cause the fungi to become moist. This technique is only successful if they are in good condition when collected.
Certain fungi species are not suitable for storage, particularly fleshy ones such as boletes or agarics, which have the ability to self-digest. With practice, you will become familiar with which types of fungi are suitable for storage and which are not.
- It is best to move the dryer to the garage or deck when drying stinkhorns, as family members may not appreciate your hobby if it is done in the house. They earn their name!
- The time it takes for fungi to dry depends on the type, size, shape, thickness, type of fruit, temperature, and humidity, and the efficiency of the drying apparatus.
- When done, the specimens should be slightly crisp and brittle, with a stiff stem. If they are still pliable, they are likely not done yet.
- To reduce moisture once removed from the dryer, add silica gel desiccant sachets to the zip-lock bag.
- Store dried fungi in paper envelopes, bags, or non-biodegradable zip-lock plastic bags. We highly recommend storing the spore print and specimen in a small bag and then putting that bag in a larger one with the notes. This is so that spores don’t land on the crucial collection information card or paper and stain or degrade it.
- Herbarium specimens should be kept in airtight zip-lock bags and frozen at -25°C for two weeks in order to kill any insects or their eggs.
- Specimens in long-term storage should be kept as dry as possible with silica gel desiccant sachets.
- Afterward, all tools and implements used should be cleaned with alcohol or 70% ethanol. This includes boots, camera tripods, and hands after handling fungi specimens.
Maintaining Your Fungi Herbarium
To maintain your fungi herbarium, it’s important to periodically check on the specimens and ensure they are still in good condition. Check for signs of mold, pests, or moisture, and remove any specimens that are damaged or deteriorating.
Sharing Your Fungi Herbarium
Once you have a well-curated collection, you can showcase it in a number of ways, if desired. You can create a display in your home or office using a shadow box or other display case to showcase your specimens. You can also share your collection with others, such as at a local natural history museum or science fair.
We highly recommend (and implore) that you list your collections on Mushroom Observer or iNaturalist. Many mycologists, biologists, and other fungi fanatics use these sites to conduct research. For example, there is a significant push to record chanterelles in North America due to somewhat recent discoveries that there are way more species here than previously thought.
But researchers can’t traverse the country to find all the species themselves; they rely on citizen scientists like us to make accurate recordings. We are the ones out in the woods and fields all the time, seeing these species in their natural habitats. Don’t be surprised if a researcher reaches out to you and asks to borrow or use any of your collections.
A fungi herbarium can also be a useful tool for education and outreach, helping to raise awareness about the importance and diversity of fungi, and inspiring others to explore and appreciate these fascinating organisms.






Kenny says
Would be really cool if precedent of them being plants wasn’t a thing and we could call it a fungorium!
Jenny says
Haha, yes! It is a fungorium, that’s a thing, I should add that to the article.