Finding and foraging wild mushrooms is a great adventure; often cleaning them is not! Whether you’ve hunted down a treasure trove of chanterelles or harvested a stunning hen of the woods, knowing how to properly clean the mushrooms is essential. There’s a lot of debate on the best methods for cleaning wild mushrooms, but fear not! We’ve done the research and compiled the ultimate guide on how to clean mushrooms, including a by species guide for the top 10 edible wild mushrooms in North America.
Jump to:
The Mushroom Washing Controversy
The foraging and culinary experts have long been divided on whether or not we should wash mushrooms. Some argue that mushrooms, mainly being composed of water, absorb too much extra moisture and become overly soggy when washed. This is turn leads to them not being at their best when added to the frying pan. Or, it means they don’t cook up properly.
Others, however, counter this claim and say that mushrooms absorb very little water when washed. This is, of course, when you are just running them under water to wash them. Soaking them in water or a water and salt solution is entirely different. And, it sparks another debate about whether soaking destroys the mushrooms.
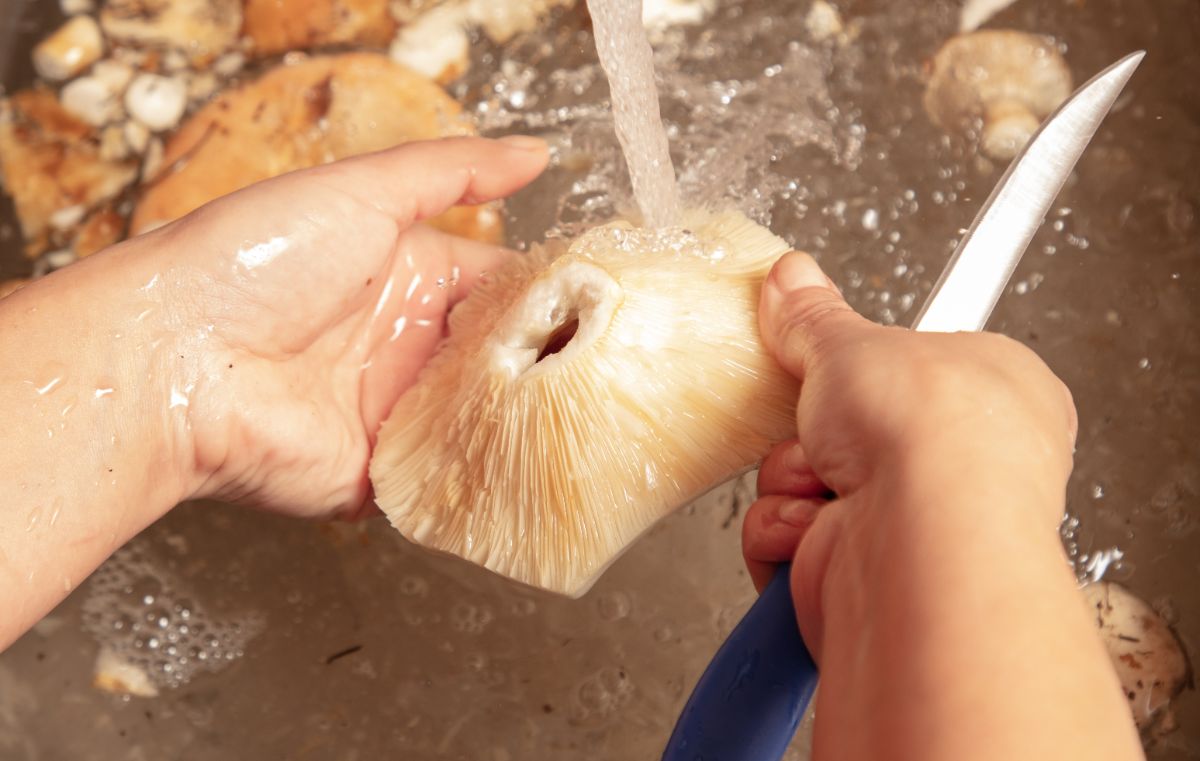
The general consensus? There is none because this is one of those debates where there is not a “one-size-fits-all” answer. The real truth is, it depends. It depends on the species and overall mushroom composition (they vary widely!). There isn’t just one way to clean wild mushrooms. It also depends on what recipe they’re being used in and how you intend to cook them. Overall, it’s perfectly fine to wash your mushrooms. But, some you want to avoid soaking. And remember to do it just before you need them. Unwashed mushrooms tend to last longer in the fridge.
Consider the species and the cooking method you will be using before cleaning wild mushrooms. A wild mushroom, like a hen of the woods, barely absorbs water, while others, like the king bolete (porcini), can absorb a lot. Some mushrooms are way more spongy than others. The cooking method can make a lot of difference, too. If they’re going in a stew or soup, maybe it doesn’t matter that much if they’re waterlogged. For sautés, you may want drier mushrooms. Or, because they’re soaked, they may need a longer cooking time.
As a side note, we almost always dry sauté mushrooms, which is the absolute best way to get rid of any excess moisture. And, when you dry sauté mushrooms, it doesn’t matter if they were washed or soaked, as the liquid naturally evaporates away.
General Tips for Cleaning Wild Mushrooms
Before we get to specific species, here are some basic helpful tips for cleaning wild mushrooms of any type.
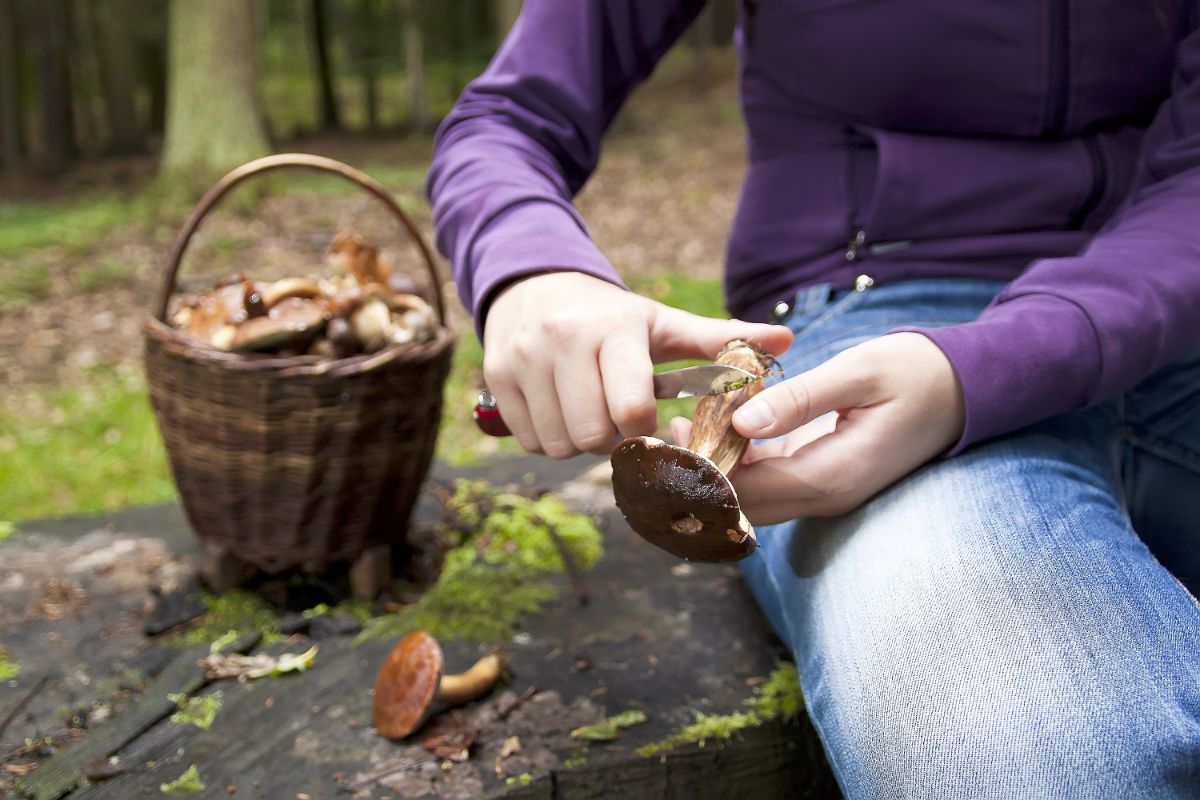
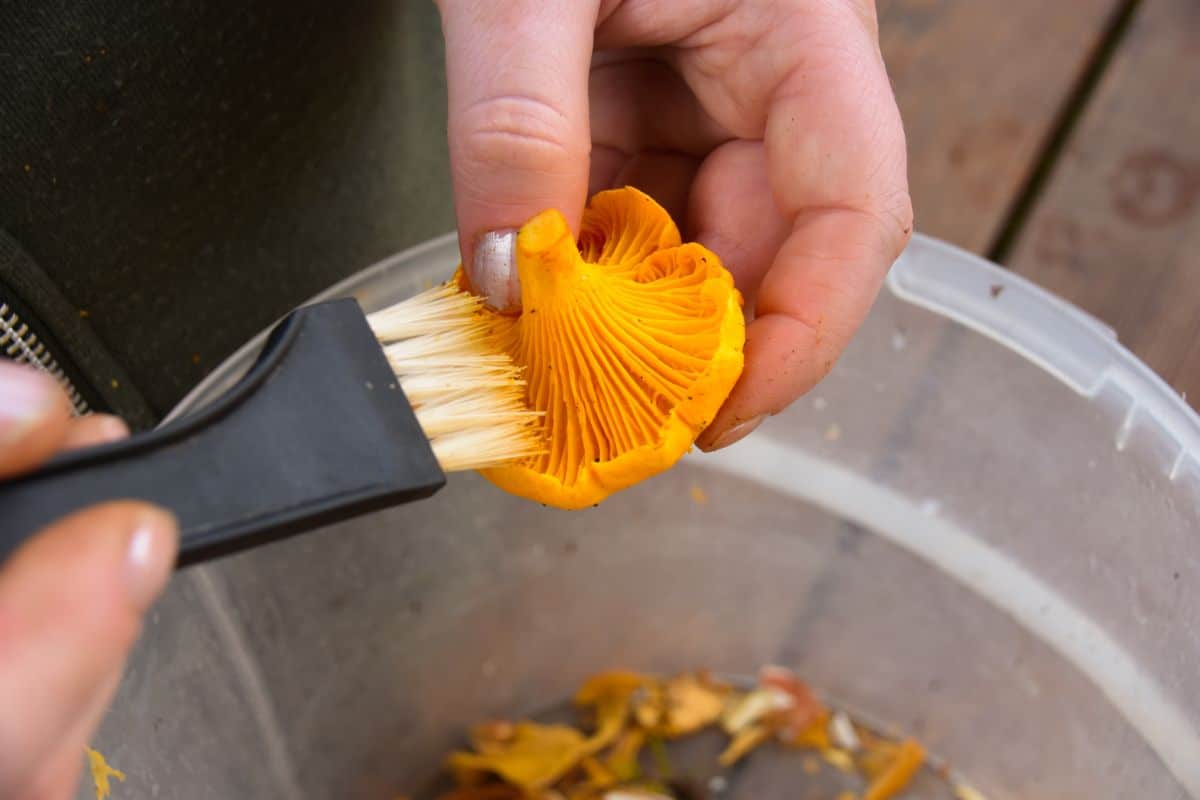
- Leave The Dirt In The Woods: The cleaning begins as soon as you harvest the mushroom! If you’re a mushroom forager, try to bring home as little dirt as possible – that, of course, leads to less time spent cleaning later on. Give the mushrooms a quick brush-off either with your hand or a specific mushroom cleaning brush before they go into your bag or basket. Also, cut off the end of the stem where the most dirt and debris usually reside.
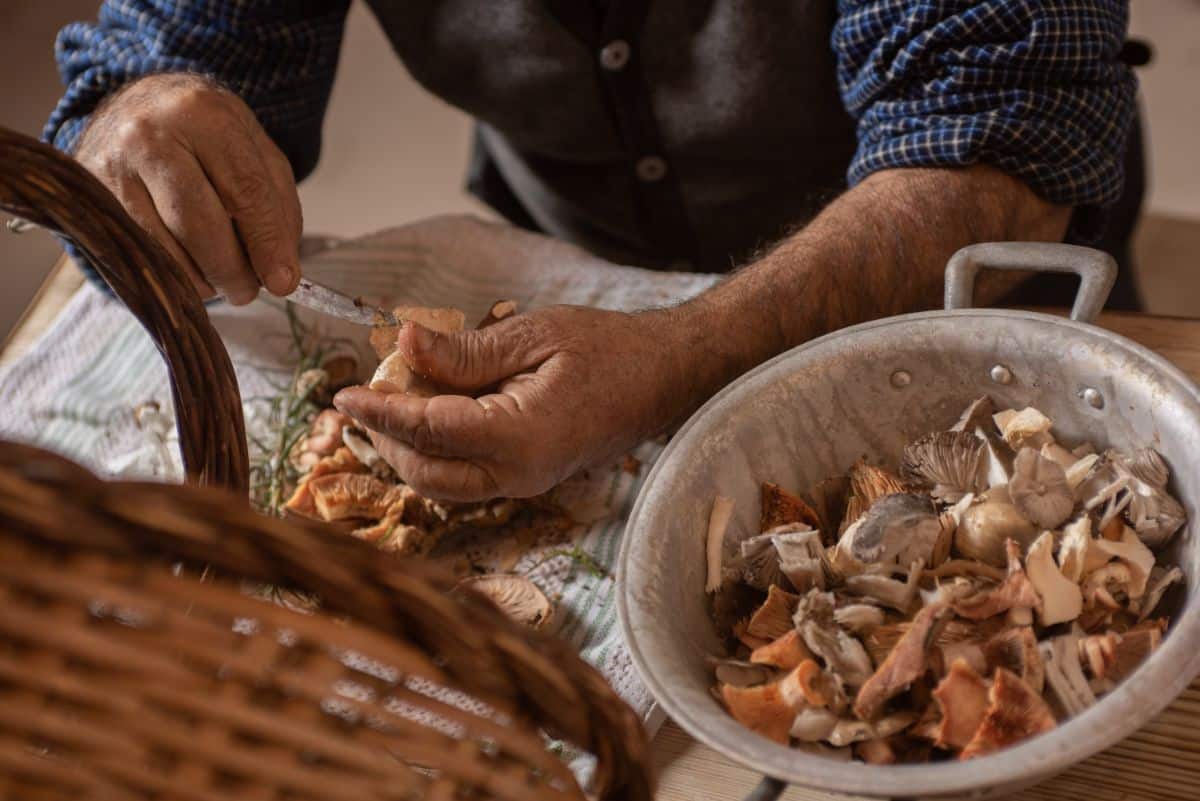
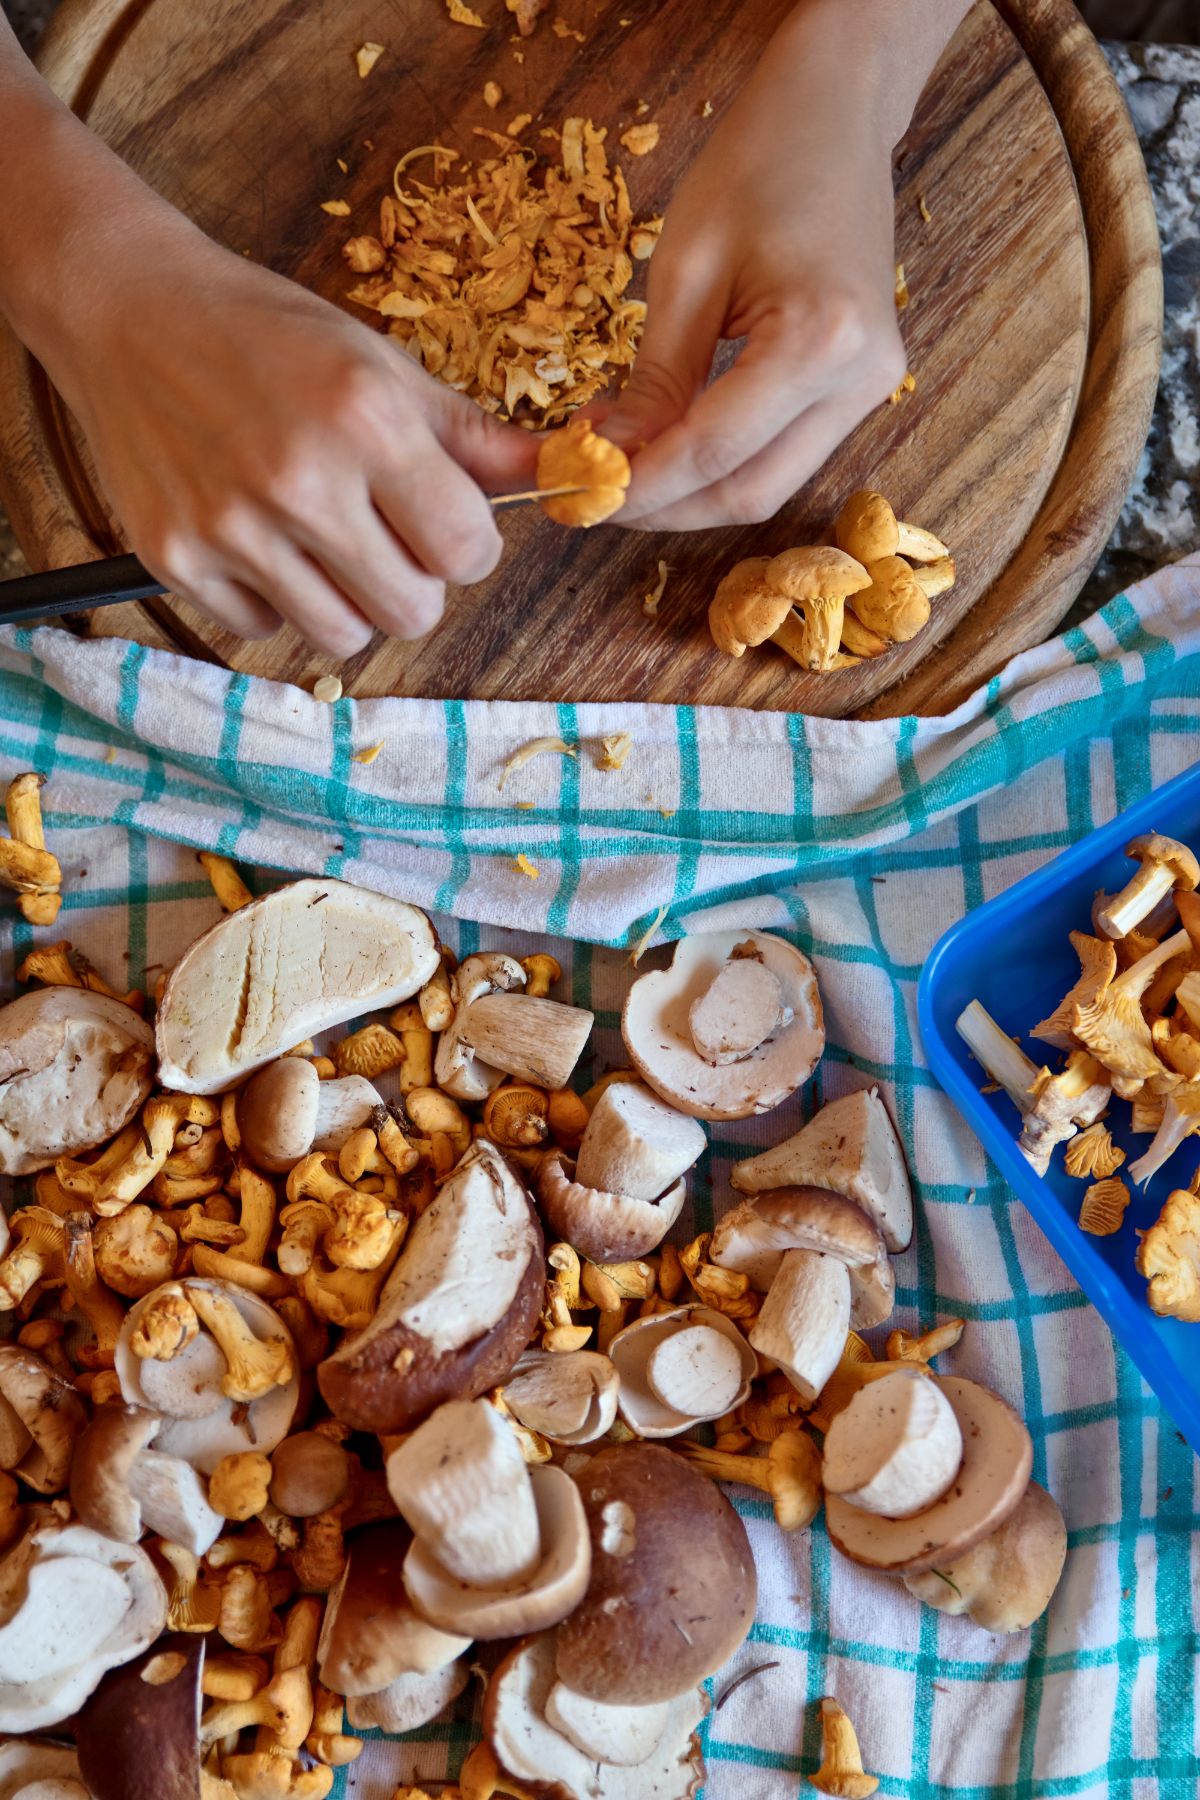
- Trimming & Scraping: Trim off any discolored or soft sections of the mushroom. You’ll have to use your best judgment for this. While trimming, scrape off any debris embedded in the flesh – this is especially helpful with maitake and chicken of the woods. They get leaves embedded in them that do not brush off easily. Many people use a small knife to scrape off these bits, especially along the base of the stem.
- Don’t Wash Them Until You’re Using Them: If you decide to wash your mushrooms, do so just before cooking. Many mushrooms will have a shorter shelf life if they’re rinsed before storage. You can trim and scrape right after foraging, but wait to wash them with water until just before using them. This way of cleaning wild mushrooms significantly preserves their longevity.
General Mushroom Cleaning Instructions
For Delicate Mushrooms: Damp Paper Towel Method
If your mushrooms are relatively clean and have little visible debris, the damp paper towel method is your go-to cleaning technique. This method is perfect for delicate varieties like buttons, portobello, cremini, and shiitake mushrooms.
- Lightly dampen a paper towel.
- Gently wipe the mushrooms with a damp paper towel to remove any dirt or debris.
- Take your time and ensure you cover every nook and cranny of the mushrooms.
- Use a paring knife to remove any really stuck bits.
- Once they’re clean, pat them dry with a clean, dry paper towel.
- Remember, mushrooms are like sponges. If you aren’t planning on dry sautéing, you need to make sure not to oversaturate them.
With the damp paper towel method, you can gently clean your delicate mushrooms without worrying about them absorbing excess water and compromising their texture and flavor. It’s a quick and effective way to achieve clean fungi!
For Sturdy, Dirty Mushrooms: Sink Method
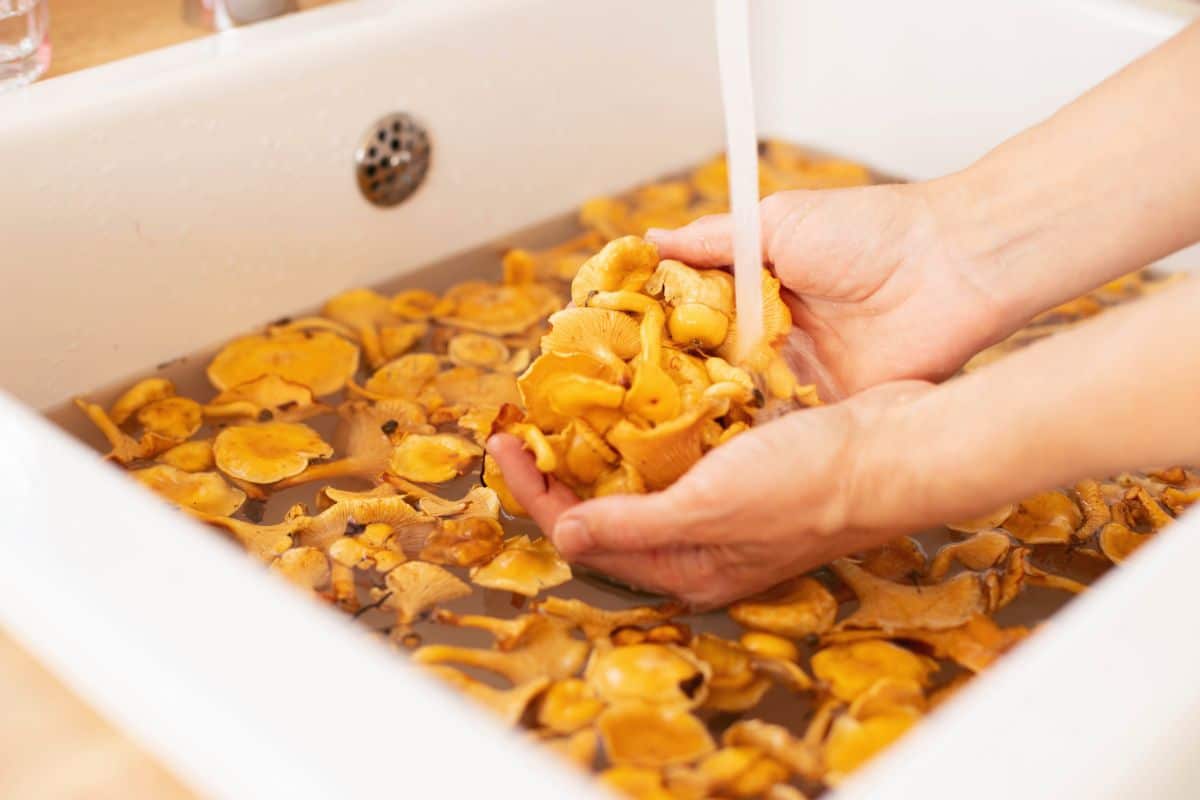
If your mushrooms are super dirty or have visible debris, it’s time to bring out the big guns—the sink method. This method allows for a more thorough cleaning. The sink method is particularly useful for species with a sturdy structure, such as oyster mushrooms and maitake.
- Place the mushrooms in a colander.
- Rinse them under cold running water, inspecting them for any hidden debris, dirt, or bugs.
- If you have a spray nozzle on your sink, use it to dislodge stubborn debris.
- If there are stuck on bits, use a paring knife to dig or cut off those pieces.
- Gently swish the mushrooms around in the colander until they’re clean.
- Once they’re clean, transfer them to a clean kitchen towel or paper towel to dry.
- Pat them dry, making sure to remove any excess moisture.
Cleaning Wild Mushrooms, By Species
How To Clean Chanterelles
Chanterelles are prized for their unique flavor and vibrant color, but every forager knows how dirty they can be with needles and other forest debris stuck in their caps. While you’re out in the woods, you may want to be choosy about which ones you forage. Some are more of a pain in the butt to clean than it is worth.
Your chosen method will depend on how clean or dirty your chanterelles are and whether they’re buggy. While you’re out in the woods, trim off the end of each chanterelle to remove dirt there. Brush off any loose needles or debris before putting them in your bag.
- Examine the mushrooms for any tiny bug holes at the stem end.
- If bug holes are present, create a water bath for the mushrooms with 1 tablespoon salt per 4 cups of water.
- Swoosh the water to dissolve the salt and add the mushrooms.
- Soak the mushrooms for 20 minutes, allowing the saltwater to evict any critters.
- Thoroughly rinse the mushrooms in the salt water.
- (start here if there are no bugs) Use a spray faucet to knock dirt and debris off the chanterelles. If you don’t have a spray faucet, vigorously swish the mushrooms around in a bowl of water. Take your time with this; they may need both concentrated spraying and vigorous swishing! Use your hands to rub off any stuck bits as you go.
- Check each mushroom thoroughly for remaining bits of debris. You may need to get the paring knife out to get stuck bits off. Scraping the top layer of flesh off the stem is a great and quick way to clean those up.
- Drain the chanterelles in a kitchen colander to get rid of excess moisture. Plan on letting them sit for 4-6 hours to really get rid of as much moisture as possible. Of course, they don’t need to dry entirely if you’re cooking them by dry sauté.
- Place on a towel to dry.

How To Clean Morels
With their distinct honeycomb texture, morels require a unique cleaning method to ensure they’re free from dirt and debris. Dirt loves to hide in all the honeycomb crevices of the morel, very frustratingly so! And if you’ve ever bitten into a delectable morel only to have your teeth crunch on hard sand or dirt, you know how important it is to be impeccable as possible with this process.
When out harvesting morels, cut the mushroom off at the dirt line. Leave the dirty stem base in the ground. Give each one a quick shake to dislodge any bugs hanging out on it.
Morels are fragile in that they are hollow and get crushed easily. However, they don’t break easily and aren’t prone to getting water-soaked. There is so little to their body; even if they get waterlogged, it doesn’t matter. They’ll dry out quickly enough on the dish towel or in the frying pan.
- Brush the morels using a mushroom brush or your hand to remove any visible dirt or debris.
- Halve the morels lengthwise to expose their hollow interior. Look for bugs, worms, and other critters and evict them.
- Rinse the halved morels by swooshing them around in a bowl of water. Do this for a minute or so to make sure everything gets out.
- Dry them using a salad spinner or by patting them dry with a clean kitchen towel.
If you prefer to keep the morels whole, brush them thoroughly and rinse and agitate them as directed above, but for a longer time. And repeat the process several times to be as thorough as possible.

How To Clean Hen of the Woods (Maitake)
Hen of the Woods mushrooms aren’t dirty in the same way other mushrooms are. Instead of being covered in dirt, they often have leaves and needles stuck in their fronds that cannot be brushed off. They’re also known to be a popular and coveted bug and critter hotel. This makes cleaning them of critters as important as cleaning off the debris.
The great thing about hens of the woods is that their flesh is dense. They do not absorb water easily. And they’re sturdy and don’t break readily.
When harvesting hen of the woods, cut them off at soil level, leaving their base in the ground. Turn the cluster upside down and give it a few hearty, hard shakes to evict bugs and debris hanging out inside. This likely will only get rid of some of them, but it’s a good start.
- Tear the cluster into pieces to make it easier to clean. The mushroom mass breaks easily into sections.
- Trim off any parts that are too dirty or embedded with debris. You may have to dig in to get some debris out – stems are usually the worst, with all sorts of stuff stuck to and embedded in them. This can take a while, so be patient and be sure to get it all out. You don’t want to bite down on sticks while enjoying your wild mushroom meal.
- Fill a large bowl with water and swish the sections around in it, one at a time. Give them a thorough, vigorous swish for several minutes.
- As you remove each section from the swish bath, pat it dry with a kitchen towel and inspect it to see if anything was missed.

How To Clean Oyster Mushrooms
While oyster mushrooms tend to be pretty clean of dirt and debris, they are well-known and apparently very popular bug hotels. These little bugs love to dig into the mushroom flesh, too, which is very frustrating. Thankfully, it doesn’t take too much effort to remove them. If you find oyster mushrooms super filled with bugs, there’s not much point in foraging them – they’re bug food now.
Oyster mushrooms are sturdy and dense, but they are also big sponges. They will absorb water if allowed to soak. If you end up soaking the oysters, either plan to dry sauté or allow them extra time to dry out.
While you’re out in the woods, cut off the stubby stem base of the mushrooms where they’re attached to the tree. Use your hand or a mushroom brush to remove surface dust, little spiders, and debris.
- Examine the mushrooms for any tiny bug holes – they’re most common around the gills and stem.
- If bug holes are present, prepare a salt water bath for the mushrooms. Add 1 tablespoon salt to 4 cups of water.
- Swoosh the water to dissolve the salt and add the mushrooms.
- Soak the mushrooms for 20 minutes, allowing the saltwater to evict any critters.
- Rinse the mushrooms and then drain them in a kitchen colander to remove excess moisture. Plan on letting them sit for 4-6 hours to really get rid of as much moisture as possible. Of course, they don’t need to dry fully if you use the dry sauté cooking method.
- (start here if there are no bugs) Use a damp paper towel to wipe the mushrooms down.
- A paring knife can be used to get out stubborn embedded bits.
- Rinse the mushrooms briefly under running water to wash off any remaining dirt.

How To Clean Chicken of the Woods
The condition of chicken of the woods highly varies. You may find incredible pristine specimens with barely any dirt, debris, or bugs, and you may find some that are a mess.
Chicken of the woods, when it is young (and prime!), is a sponge. It will soak up any water it touches. On the other hand, older, drier specimens (okay but not prime) won’t absorb much. This means the method you choose depends on the condition of the foraged mushroom.
While out in the forest, cut off any bits close to the stem with dirt or bark stuck to them. Brush the mushrooms off with your hand or a mushroom brush to get the surface dust off.
- Inspect the individual brackets. You’ll need to cut or break the brackets apart to get a good look.
- Trim or scrape off any debris or dirt present.
- If you’ve foraged young chicken of the woods, rinse them under running water. Do not soak them. Use your fingers or a thin, damp towel to rub off any stubborn dirt.
- If you’ve gathered older chicken of the woods, you can put them under running water for longer (if needed). Use your fingers or a thin, damp towel to rub off any stubborn dirt.
- Use a paring knife to dig out any embedded debris.
- Place on kitchen towels to dry. You can also pat them dry.

How To Clean Boletes
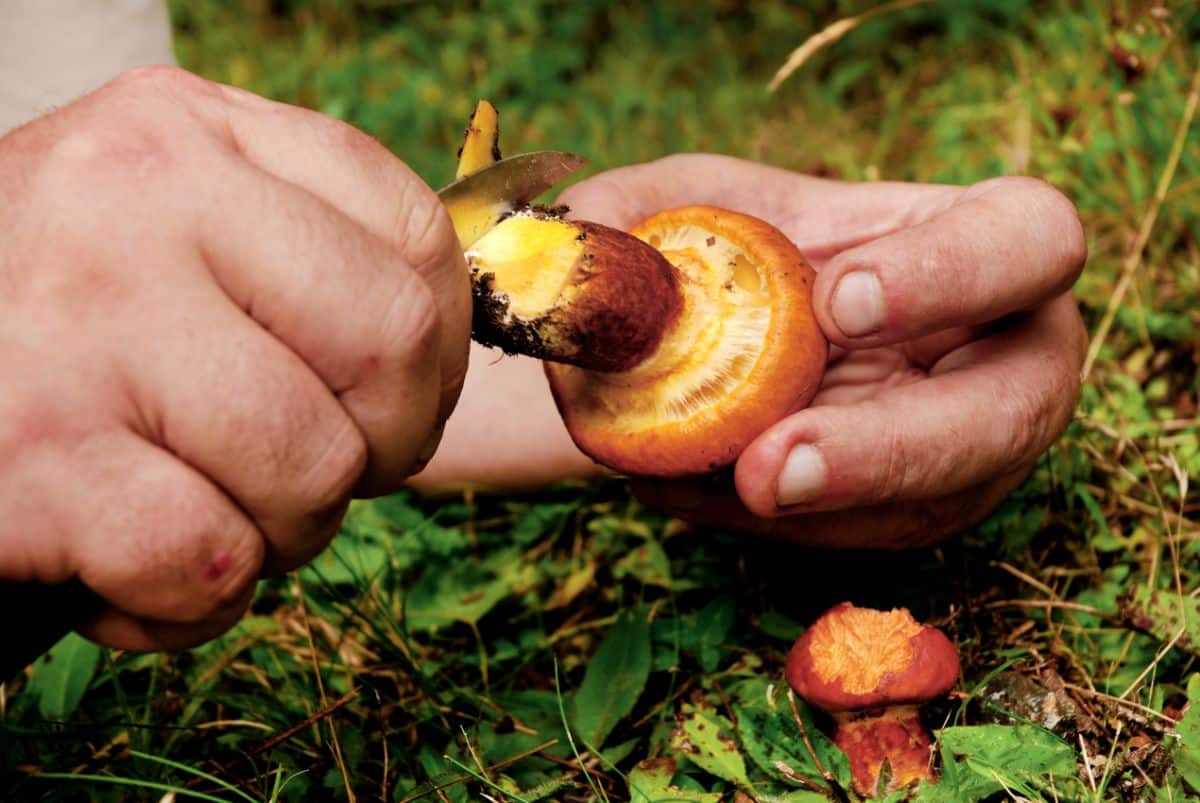
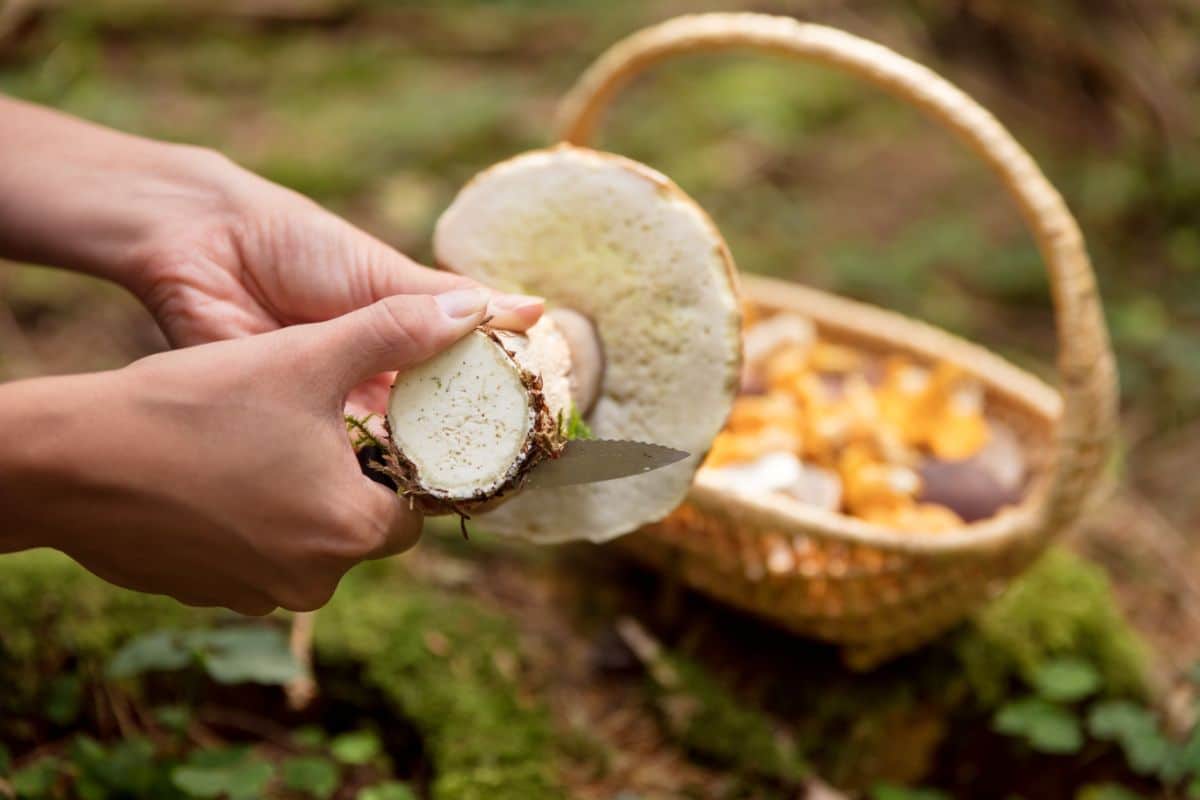
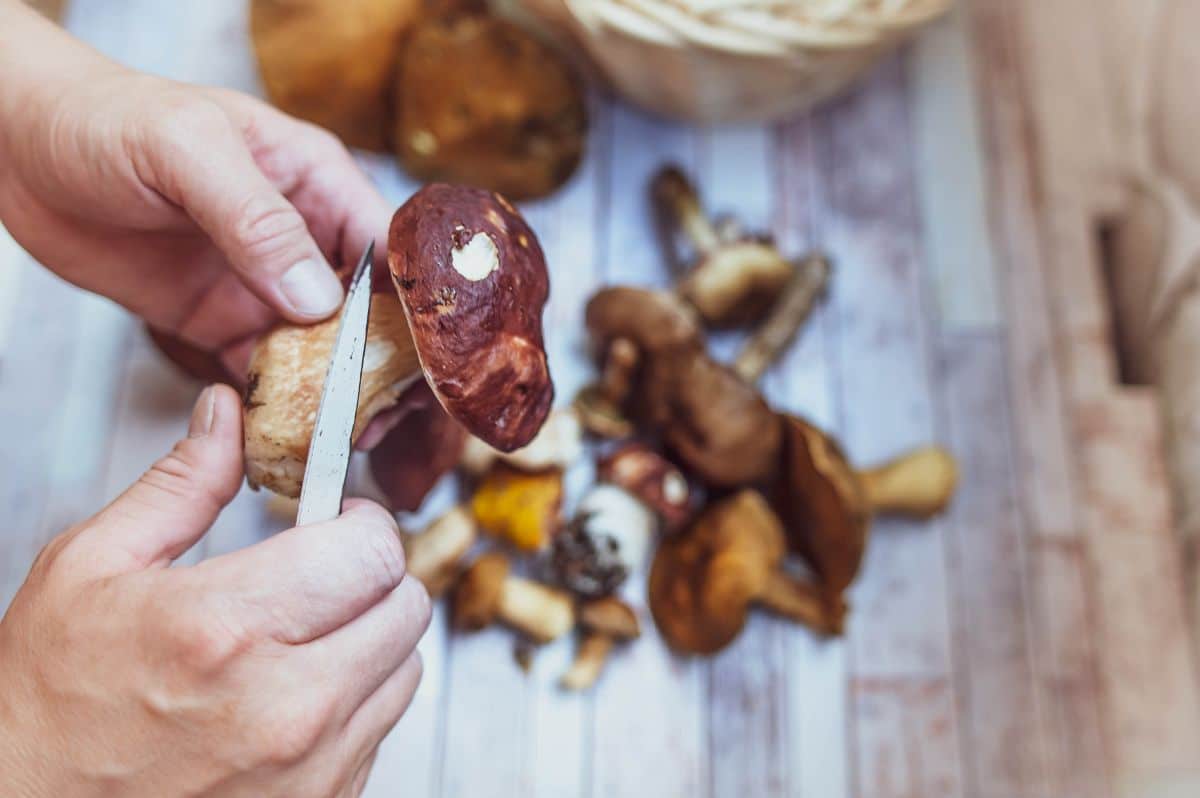
While out in the woods, cut the end off the stem where there is dirt. Most foragers cut the base in a “V” shape as this leads to less waste of the good parts you want to keep. Brush off the cap while you’re out there, too. When you get home, trim off any bad parts on the cap or stem as needed. A kitchen potato peeler works well for this with most boletes.
Keep an eye out for worm holes (and their inhabitants!). Boletes often can be very buggy, but there is always evidence they’re there. If the stem is riddled with holes, the rest of the mushroom will most likely be too. It’s best to toss these as they won’t be good to eat.
Boletes are notorious mushroom sponges. Mature specimens will soak up ALL the water and turn super soggy. Younger ones tend to be firmer but don’t usually need soaking.
- Check for worm holes in the stem – if it’s just a few, it’s usually okay, as far as the integrity of the mushroom. Whether you want to eat them still is up to you. You’re most likely not going to be able to find the worms who made them.
- Dampen a paper towel and wipe the cap and stem, checking for dirt and debris as you go.
- If dirt or debris is stuck on, use a paring knife to dig it off.
- If the stem is especially dirty, you can peel or scrape the top layer off with a paring knife.
- Give the bolete a quick rinse under running water.
- Pat dry with a dish towel.
How To Clean Hedgehog Mushrooms
Hedgehog teeth and caps can get quite dirty and embedded with sticks and needles. They also tend to be rather brittle, so handle these mushrooms with care. It’s easy to go from 1 prime hedgehog to 10 pieces of a prime hedgehog!
Even though they’re brittle, hedgehog mushrooms are stout and dense. They do not absorb water easily, so soaking them is not a problem. Most don’t need to be soaked, but it can make a difference if you find some seriously dirty specimens.
In the woods, cut off the bases of the hedgehog stems before putting them in your bag. Use your hand or a mushroom brush to remove loose dirt.
- Use a damp paper towel to wipe off surface dirt and debris.
- If stuff is embedded in the cap or stem, use a paring knife to cut it out.
- Scrape the teeth away from the underside. They tend to get super dirty, and they’re not essential to the quality or taste of the mushroom.
- Give the mushrooms a final rinse under running water.
- Lay out on a kitchen towel to dry.

How To Clean Lobster Mushrooms
Lobster mushrooms are infamous for being catch-all basins. The often cupped shape of their cap is the perfect place for all sorts of debris to get stuck. Cleaning them can be pretty frustrating at times. Always worth it, though!
Lobster mushrooms, like hedgehogs, are stout and firm but also fragile. They won’t absorb much water, but you have to be careful handling them as they break easily.
When out foraging lobster mushrooms, cut the base of the stem off in the field. Then, turn the mushroom upside down and give it several hard taps to dislodge debris and loose dirt. You may have to decide whether the specimen is worth foraging. If you’re going to have to dig out half the mushroom to get the embedded debris out, maybe leave that one behind.
- Inspect the mushroom for soft spots, including brown and discolored areas, and remove them with a paring knife. These are the beginning of the mushroom deteriorating. If there are a lot of soft spots, discard it; it’s past prime eating.
- There are several ways to remove debris; the best one depends on what you’re dealing with. You may need to employ them all!
- If you have a spray nozzle in your kitchen sink, use it to dislodge debris stuck in the cap. This might work great, or there might not be enough pressure to get that debris to loosen up.
- A paring knife can be used to get out stubborn bits – do this gently, as lobster mushrooms break apart easily.
- Fill a bowl with water and swish the lobster mushrooms around to remove dirt and debris. You may need to do this several times, changing the water each time.
- Lay the mushrooms out on a towel to dry.

How To Clean Matsutake
Matsutake mushrooms grow in pine duff, and it shows! They can be quite dirty and covered with forest debris, but they’re not too complicated to clean.
These mushrooms are pretty dense but will absorb water, so it’s best to avoid full-body soaks. Before putting the matsutakes in your foraging bag, cut the stem off in a “V” shape to conserve as much of the usable stem as possible while also removing the clay dirt. Brush pine needles and dirt off the cap as best as possible.
- Use a damp paper towel to clean off the caps and stem. This should get rid of most of the dirt and debris.
- If there’s dirt not coming off, rinse the mushrooms under running water for a minute. Use your fingers to scrub off any stubborn spots.
- Embedded bits of debris can be removed with a paring knife.
- Use the paring knife to scrape down the sides of the stem, removing the first layer of flesh, which is the dirtiest. Do this gently so as not to destroy the mushroom.

How To Clean Black Trumpets
The black trumpet can be a tricky mushroom to clean. Its flesh is super thin and fragile – this species must be handled carefully. Depending on the age and condition of the black trumpets, cleaning might be easy or tricky. Some are more on the leathery side, while others are quite dry and crumbly – this usually correlates to whether it’s dry or wet outside where they were growing.
Black trumpets are not mushroom sponges. There isn’t much to their bodies, and they do not absorb water easily. Soaking this species is never an issue.
When you forage black trumpets, cut or pinch off the base of the stem where it is attached to the ground. If you can, turn them upside down and give them a little shake to dislodge buggy passengers.
- Cut a slit down one side of the trumpet-shaped mushroom.
- Use your fingers or a damp paper towel to wipe down the inside of the black trumpet.
- Fill a bowl with water and add the black trumpets. Swish them around really well for a minute or two to remove the remaining dirt and debris.
- Strain the mushrooms in a colander and let them sit there for 20-30 minutes to remove excess moisture.
- Lay the black trumpets out on a towel to dry.

Cleaning Store-Bought Mushrooms
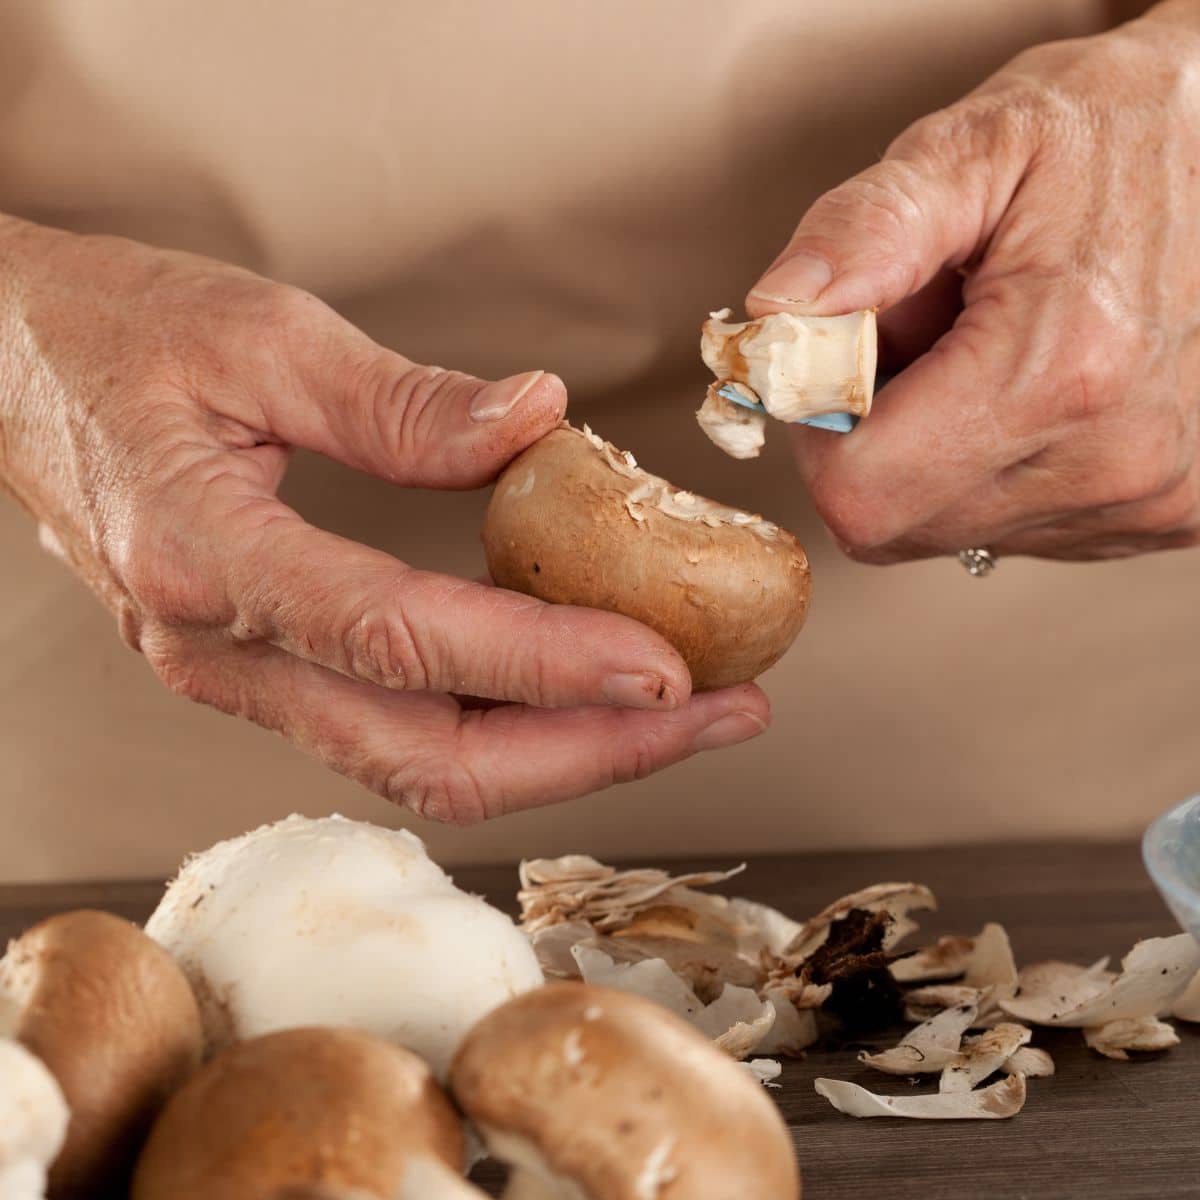
Mushrooms like portobello, cremini, buttons, and shiitakes sold in grocery stores usually come pretty clean, but they may have some growing medium clinging to their caps.
These common store-bought mushrooms can usually be cleaned by simply wiping them with a damp cloth. However, if they’re particularly dirty, they can be quickly rinsed under cold water and then dried with a towel.
- Remove the Stems: Start by de-stemming the mushrooms. Save the stems for later use in broths or stuffing.
- Rinse: Dunk the mushrooms in a large bowl filled with water. Swirl the mushrooms vigorously in the water with your hands for a minute, then drain the mushrooms immediately.
- Dry: Place the mushrooms on cotton dish towels and pat them dry.





Ilene Harris
Thank you for this information. As a relative Newbie, I really appreciate it. I plan to Bookmark your site, so I can refer back.
Jenny
Glad it is useful and thank you! Happy foraging!
Terence Wight
Thanks for doing all of the research for us! This is really helpful.